


Step 2. Go to the Source Site and Migrate the Site Over
Install and activate Migrate Guru on your origin site.
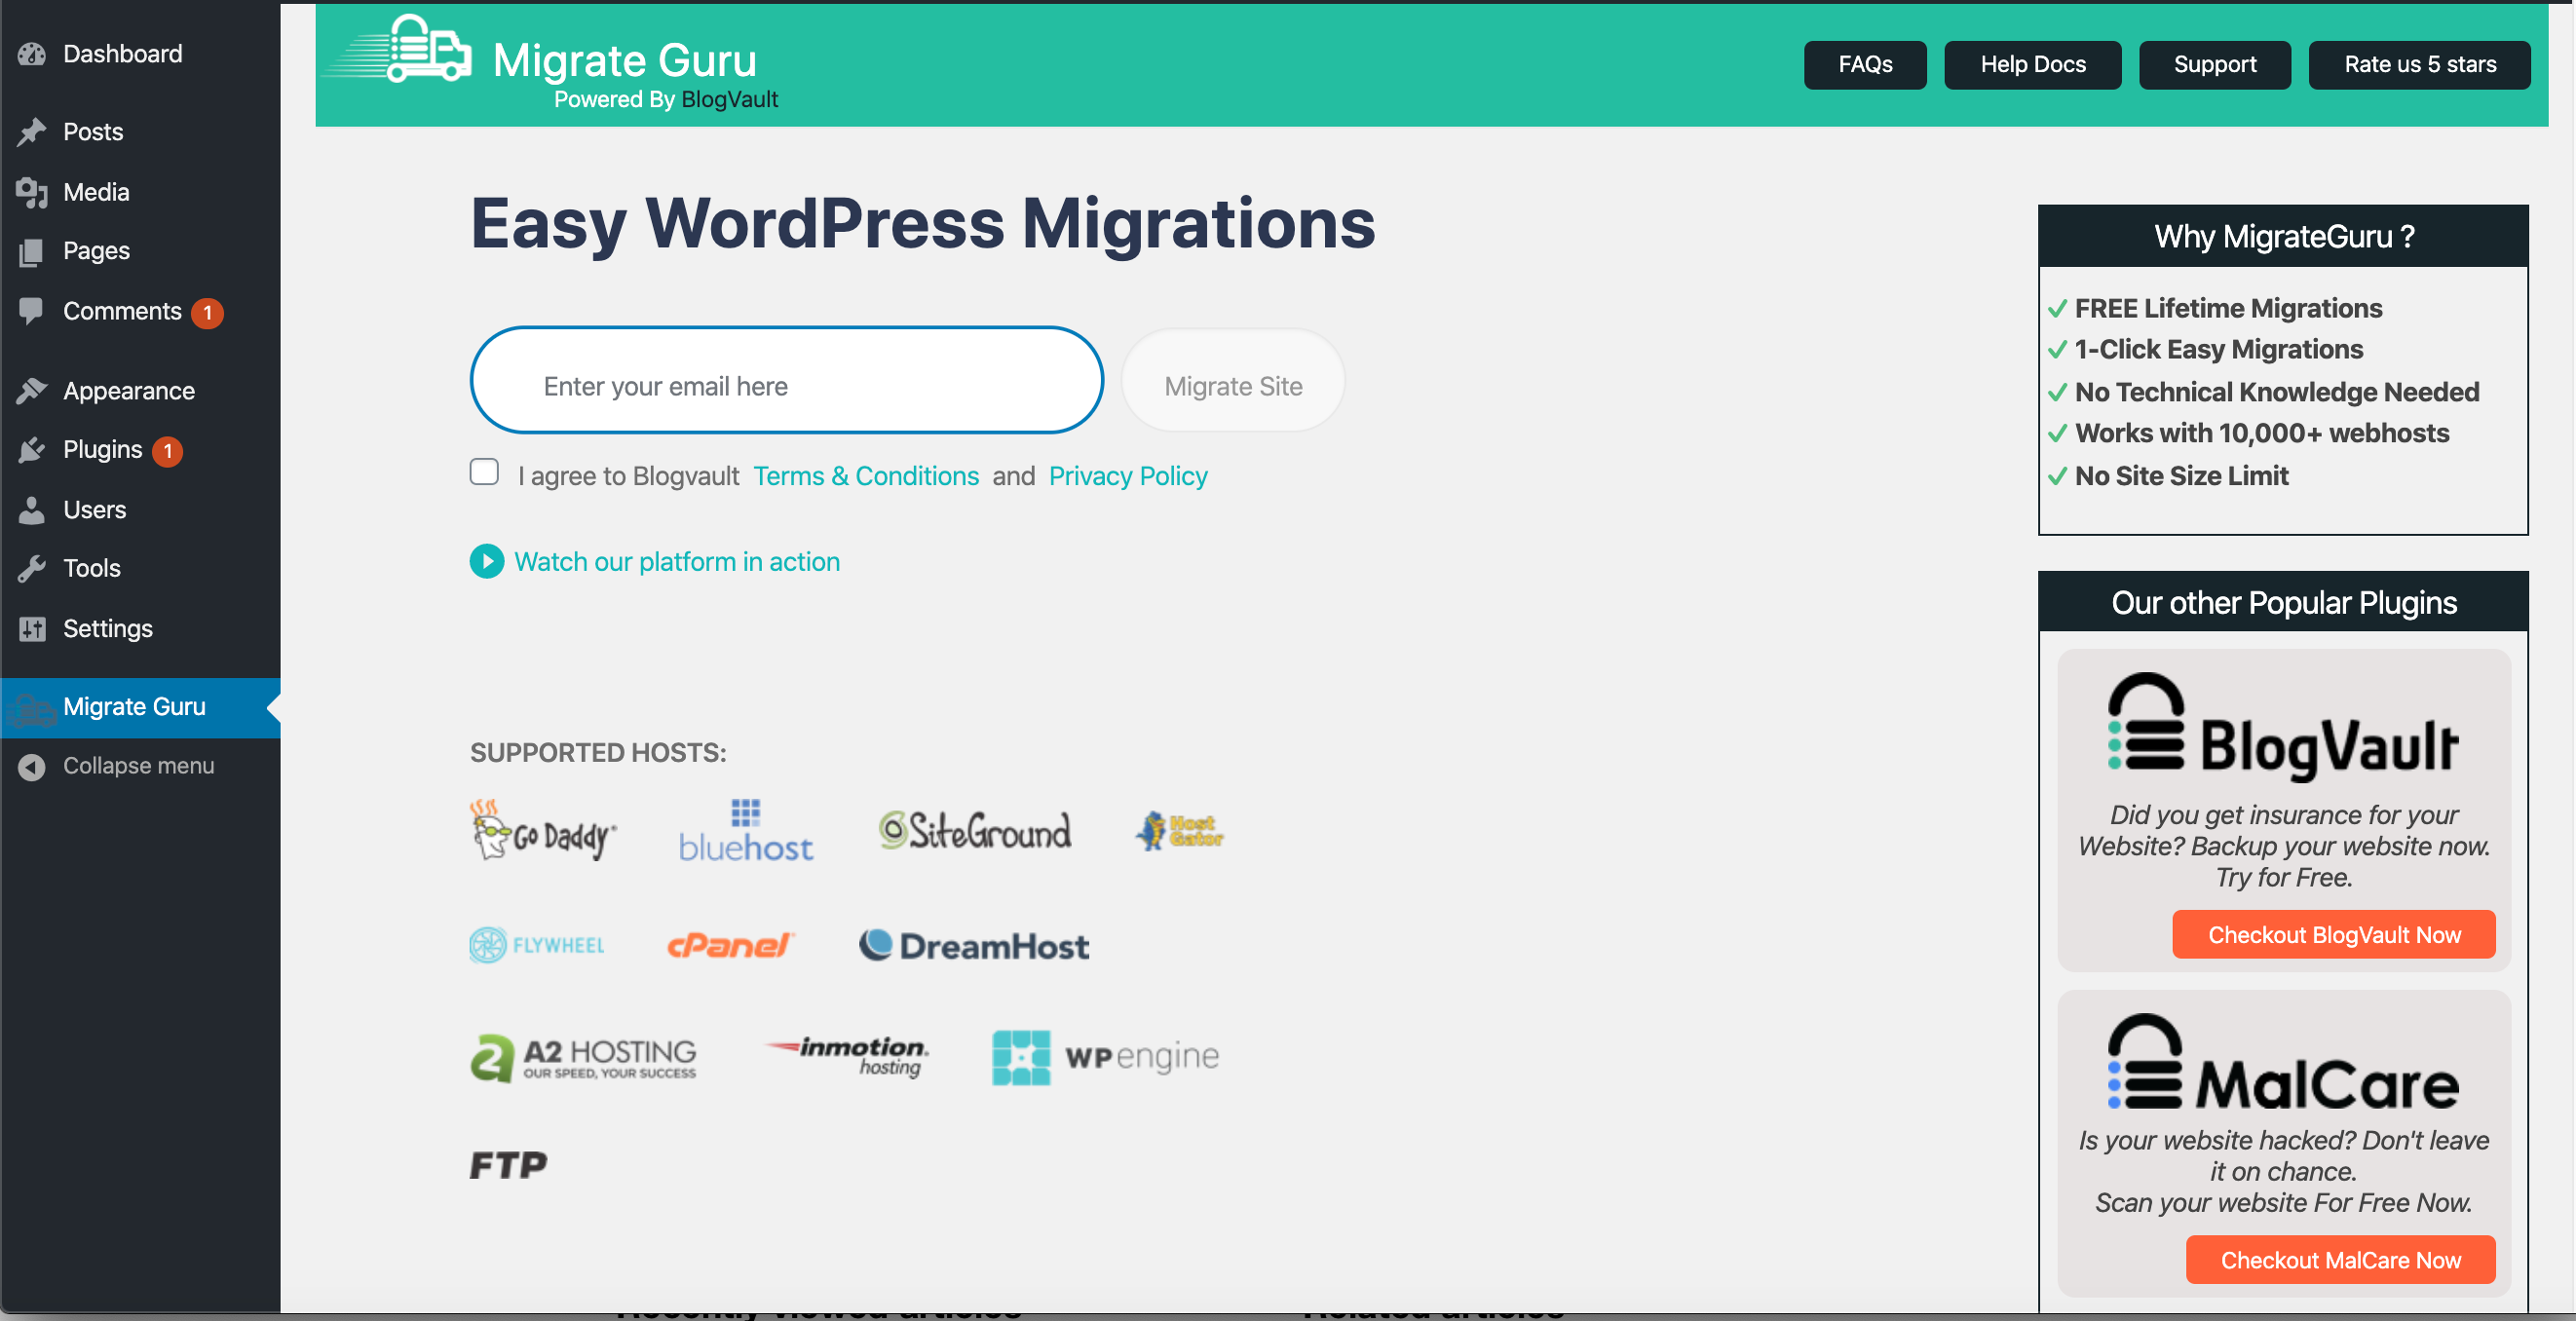
Go to Migrate guru and add your email then proceed.
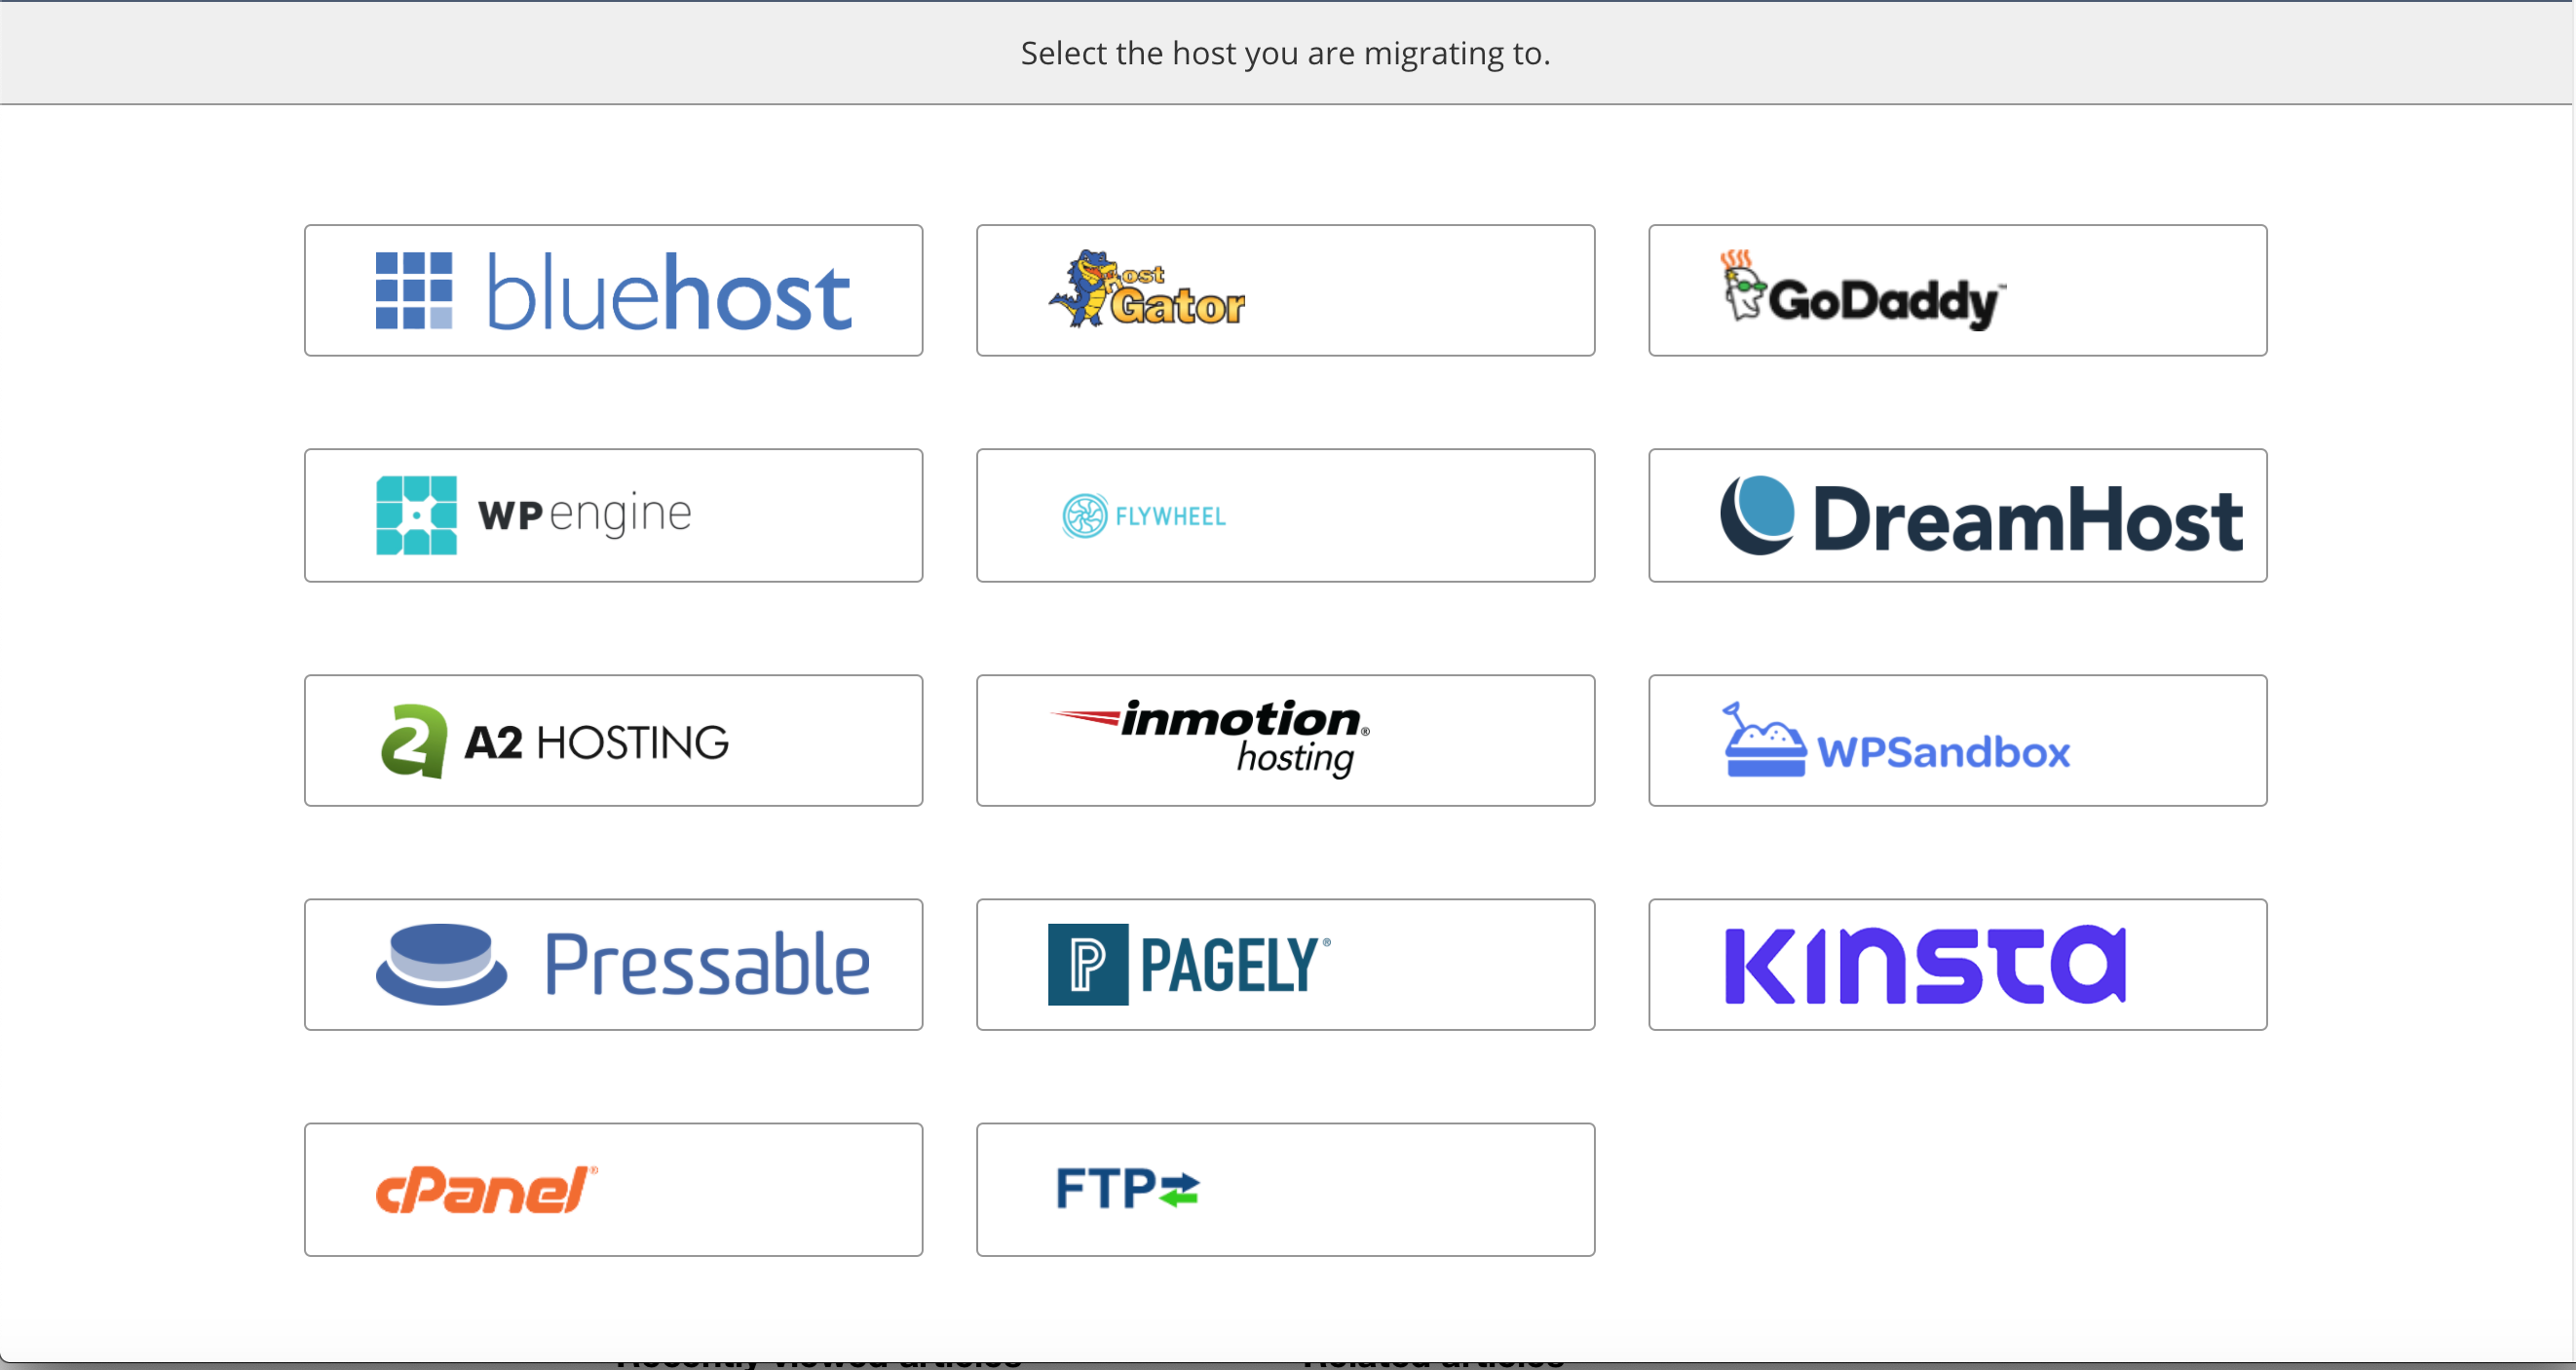
On the next page. Select FTP.
You need to carefully add the details that you created on your destination site. Here is an example below
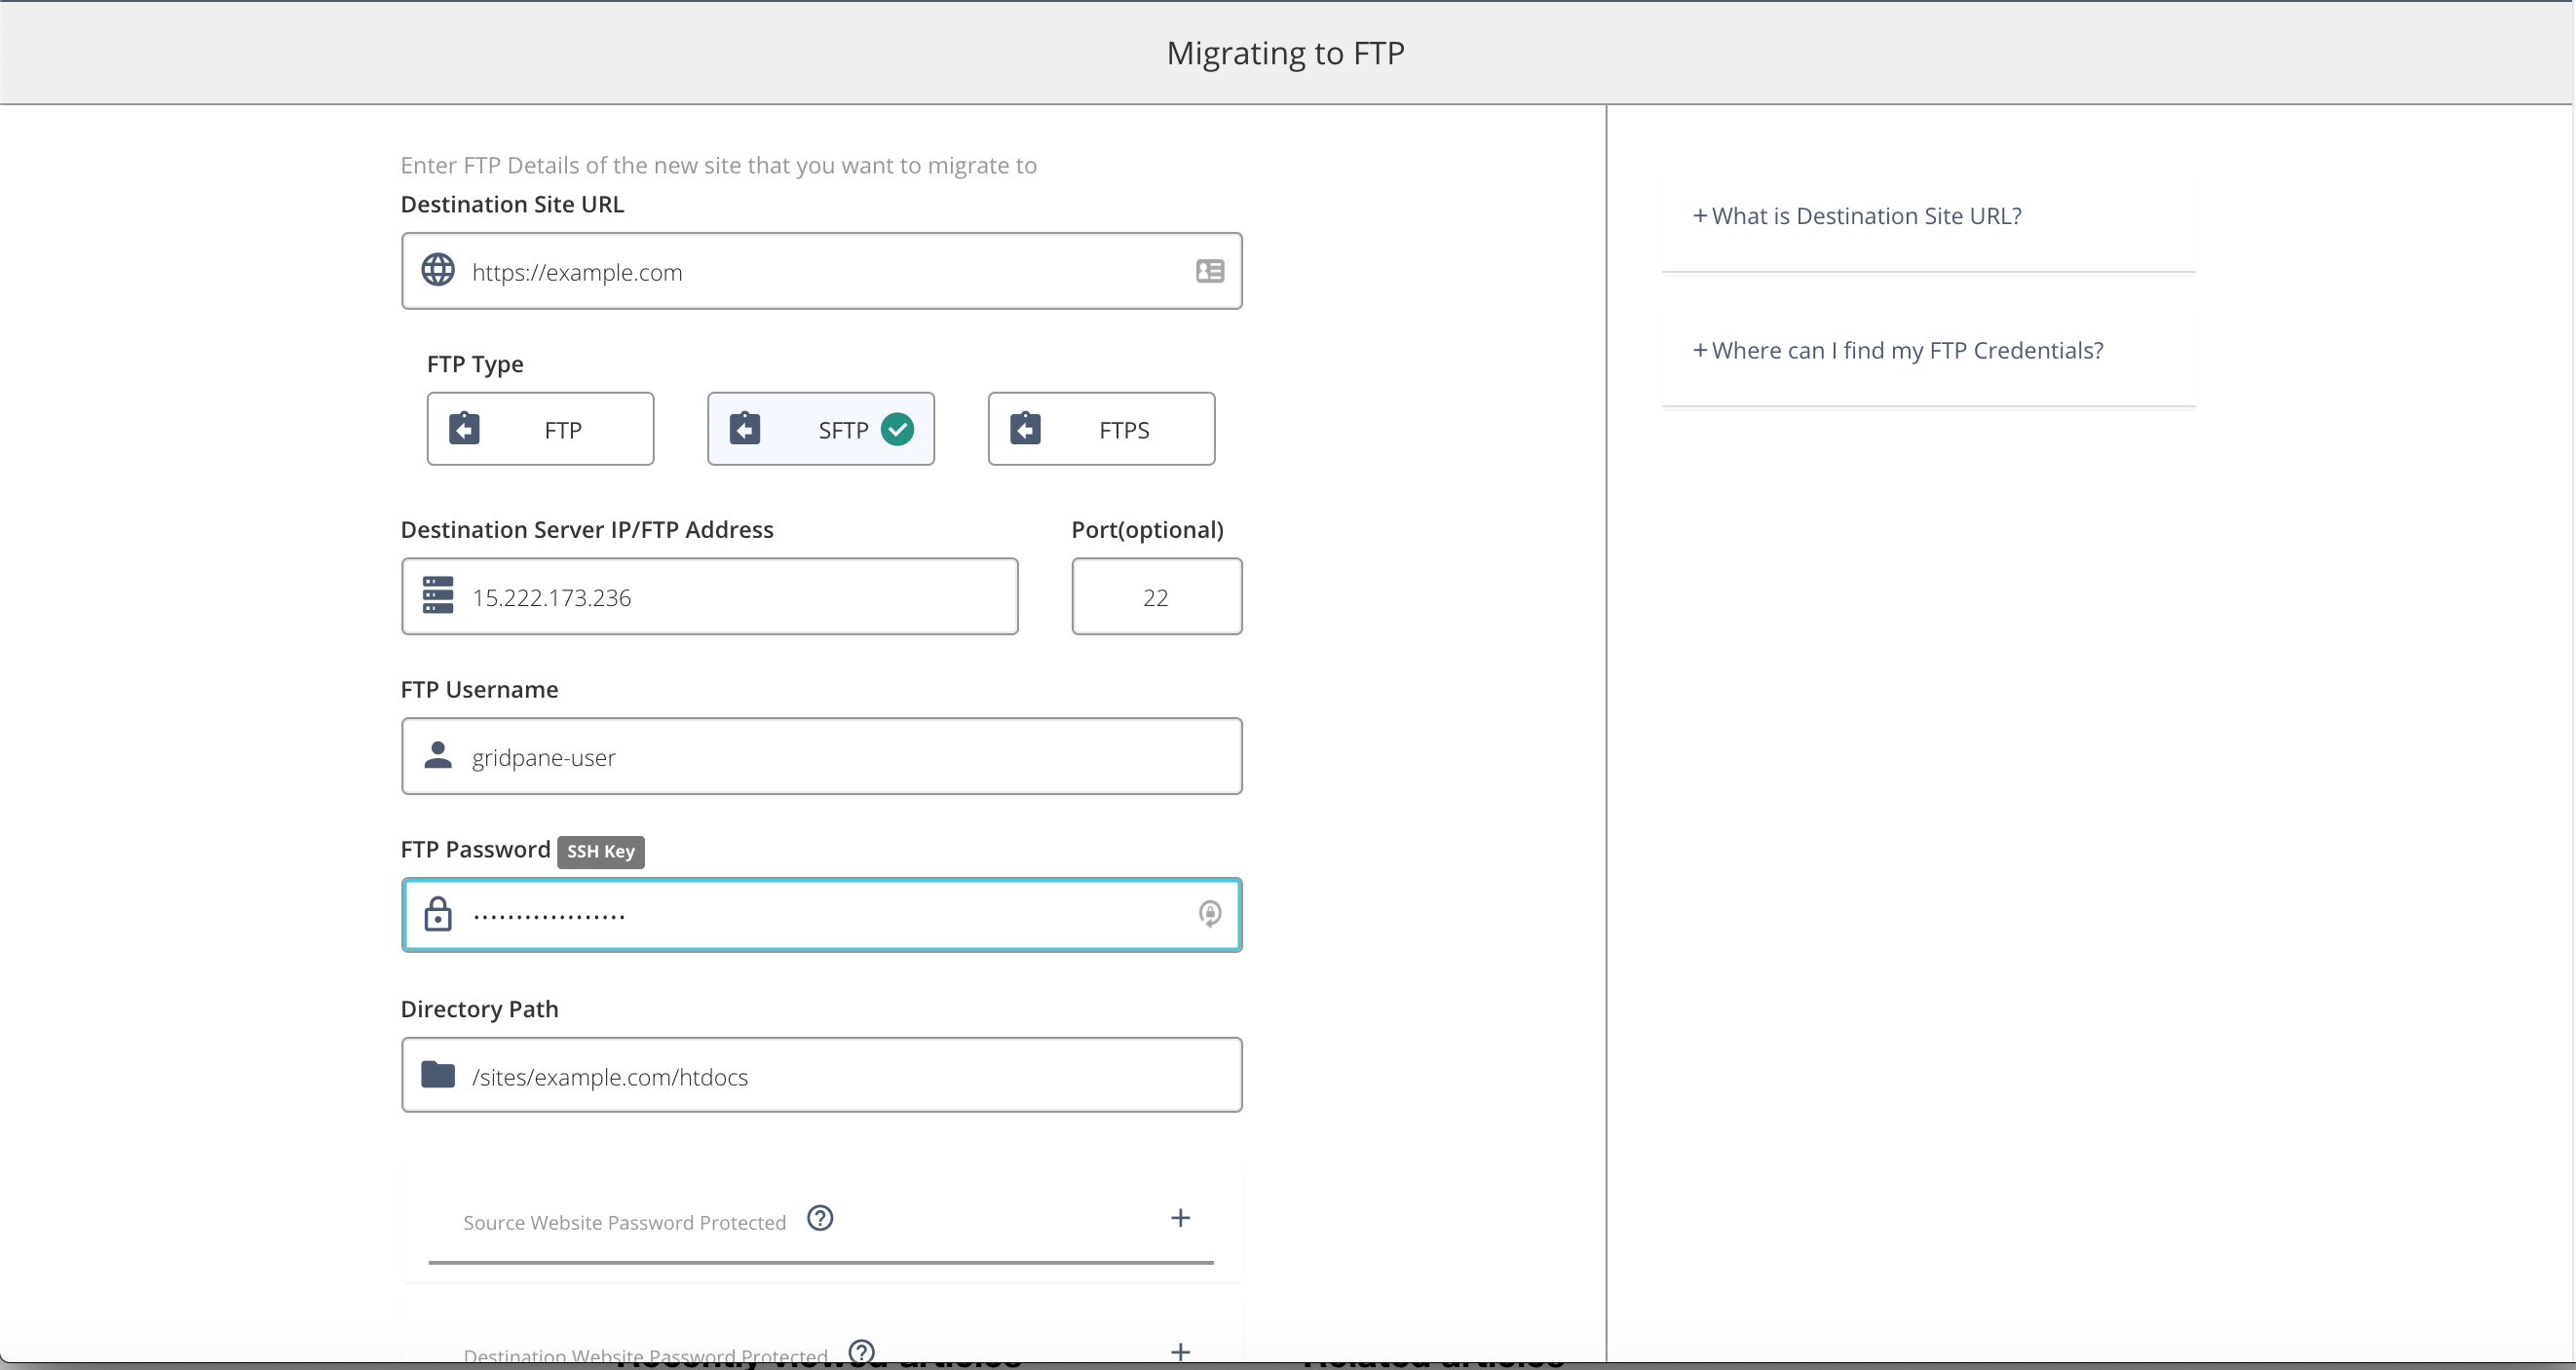
DESTINATION SITE URL
On the Destination URL, if the site has SSL then it’s https://
Without SSL it’s http://
FTP TYPE
Select SFTP.
DESTINATION SERVER IP AND PORT
Add your destination server on vCanopy. You can ignore the port.
FTP USERNAME
Add the System User you created for the destination site.
FTP PASSWORD
You can find your password on the System Users page. Find your system user and click on the little eye icon to open up and view your password:
![]()
Alternatively, you can create a new password by clicking on the padlock icon:
![]()
DIRECTORY PATH
The directory path looks as follows: /sites/site.url/htdocs
For example:
/sites/example.com/htdocs
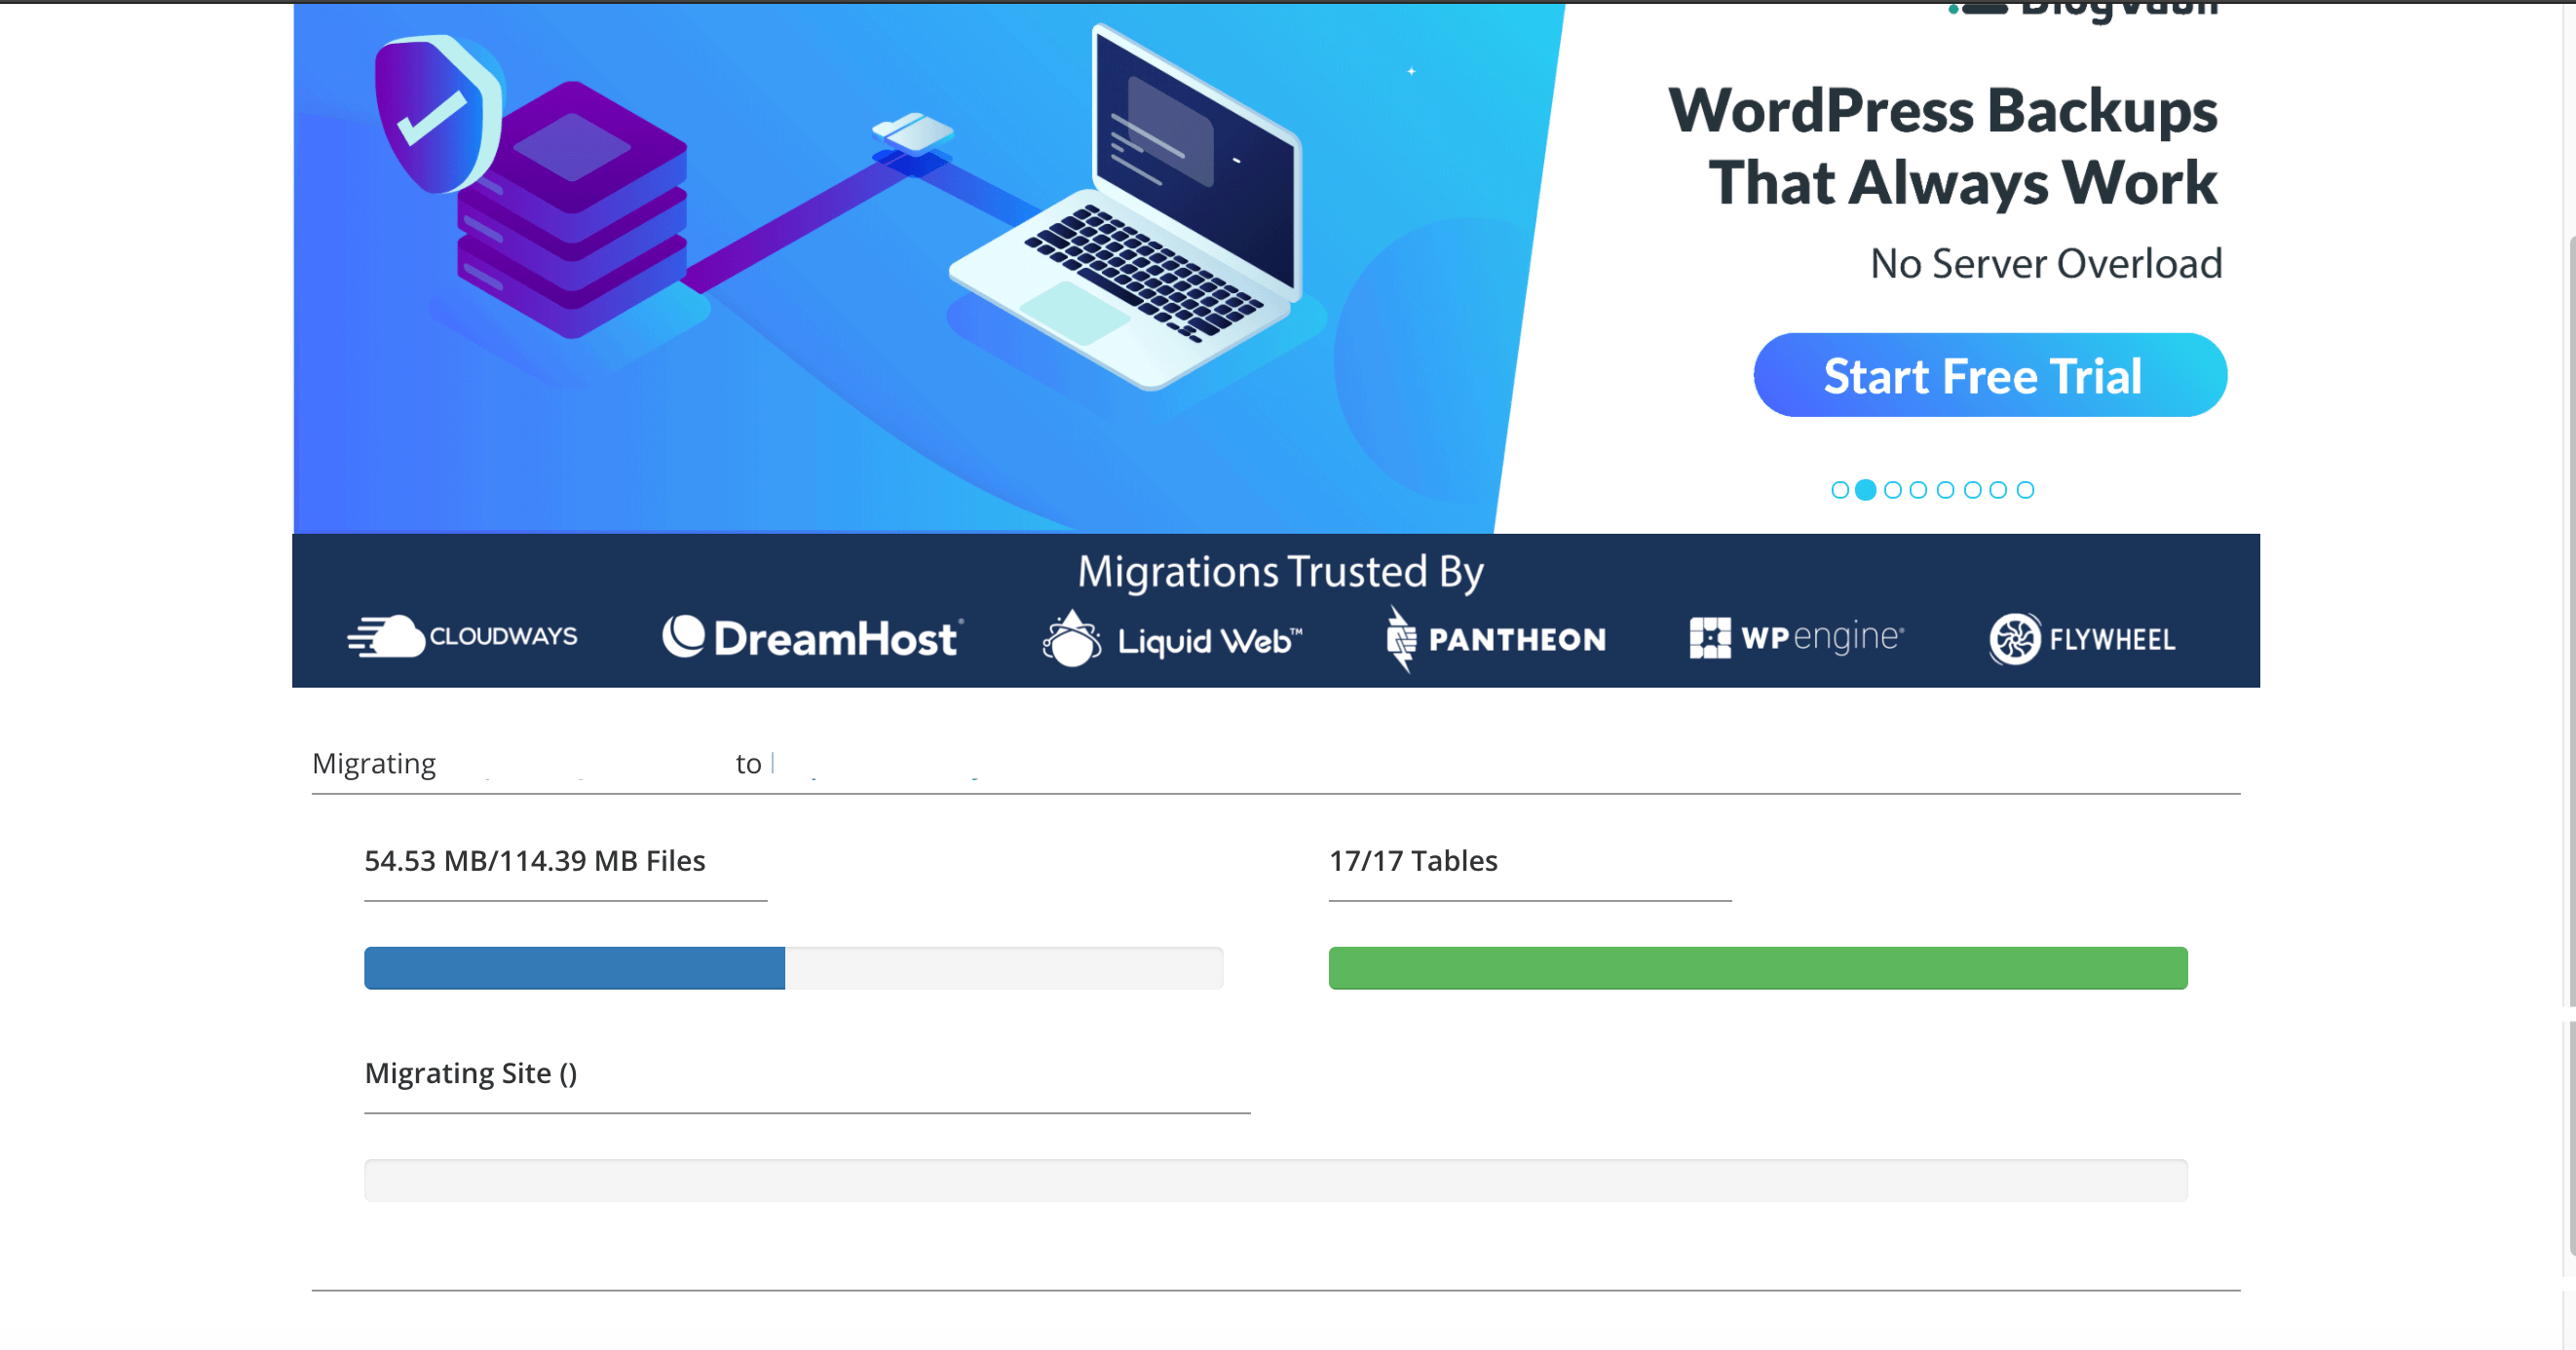
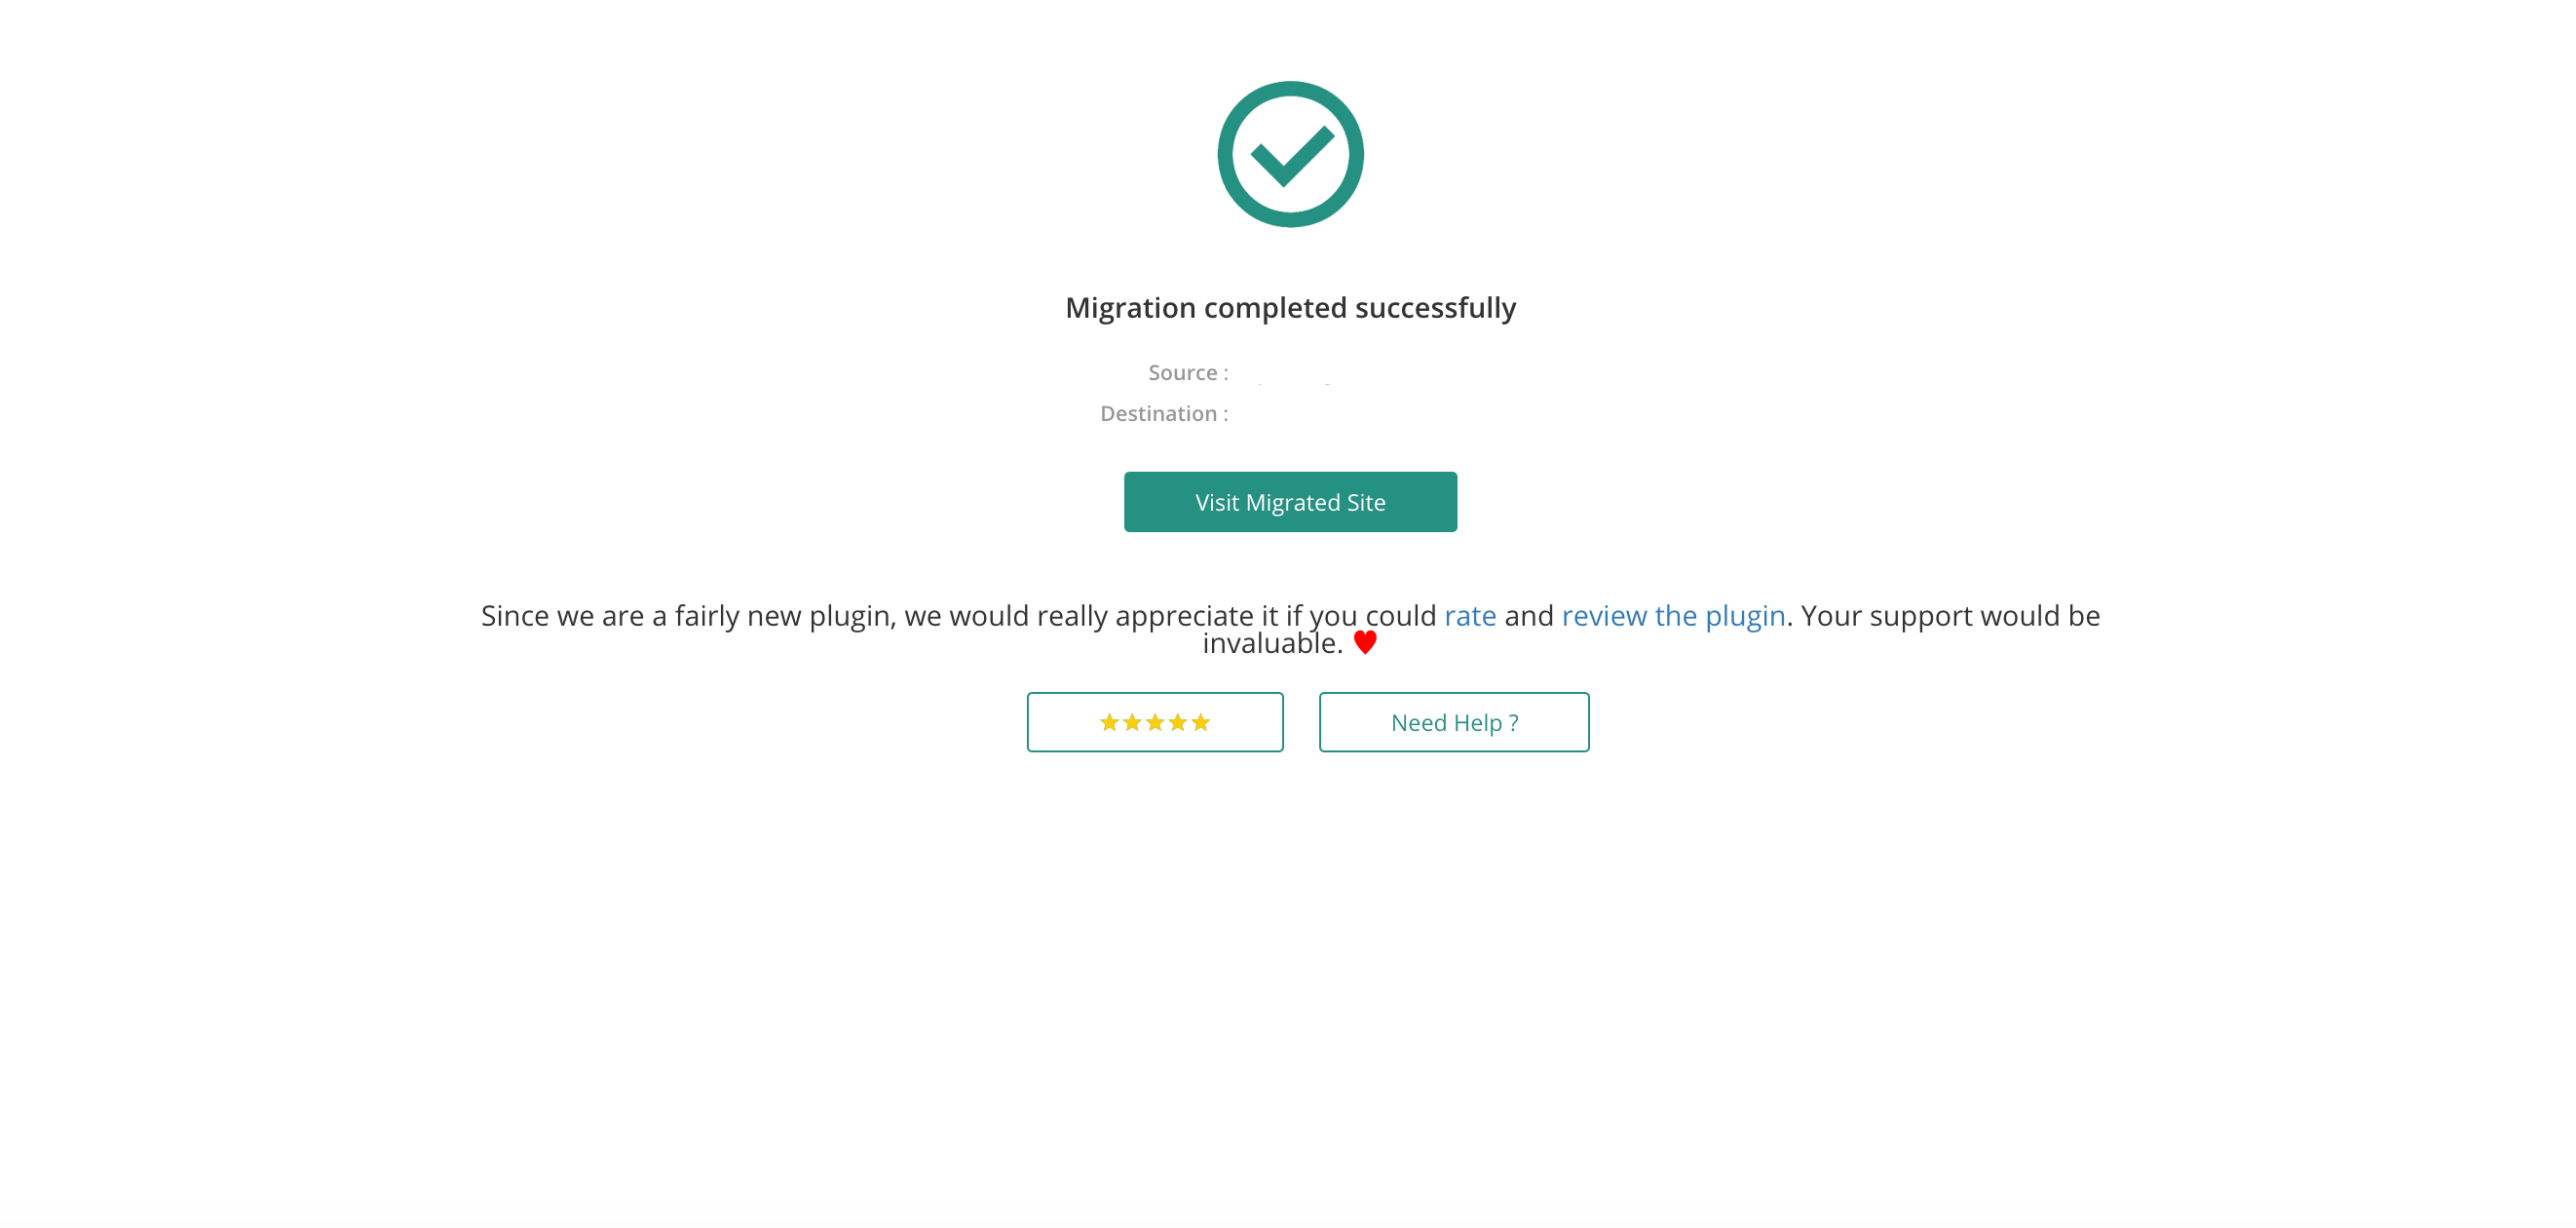
Once all your information has been added, click Migrate. If all the details are correct then you should get this page below.
You should get a confirmation after the migration.
Troubleshooting
Your migration may have gone flawlessly, but there may be an issue or two that may need correcting once complete.
The common one we see is directly below – if you or you’re host have configured a custom database table prefix, then you may need to update this in your wp-config.php file.
INCORRECT DATABASE TABLE PREFIX
The Problem
You’ve imported your site, but all the plugins are deactivated and content is missing.
Diagnosis
We sometimes see this when migrating from managed hosts such as Kinsta and WP Engine. Here you need to check to see if the database table prefix is “wp_”. You can do this by clicking on the database icon next to your website to open up phpMyAdmin:
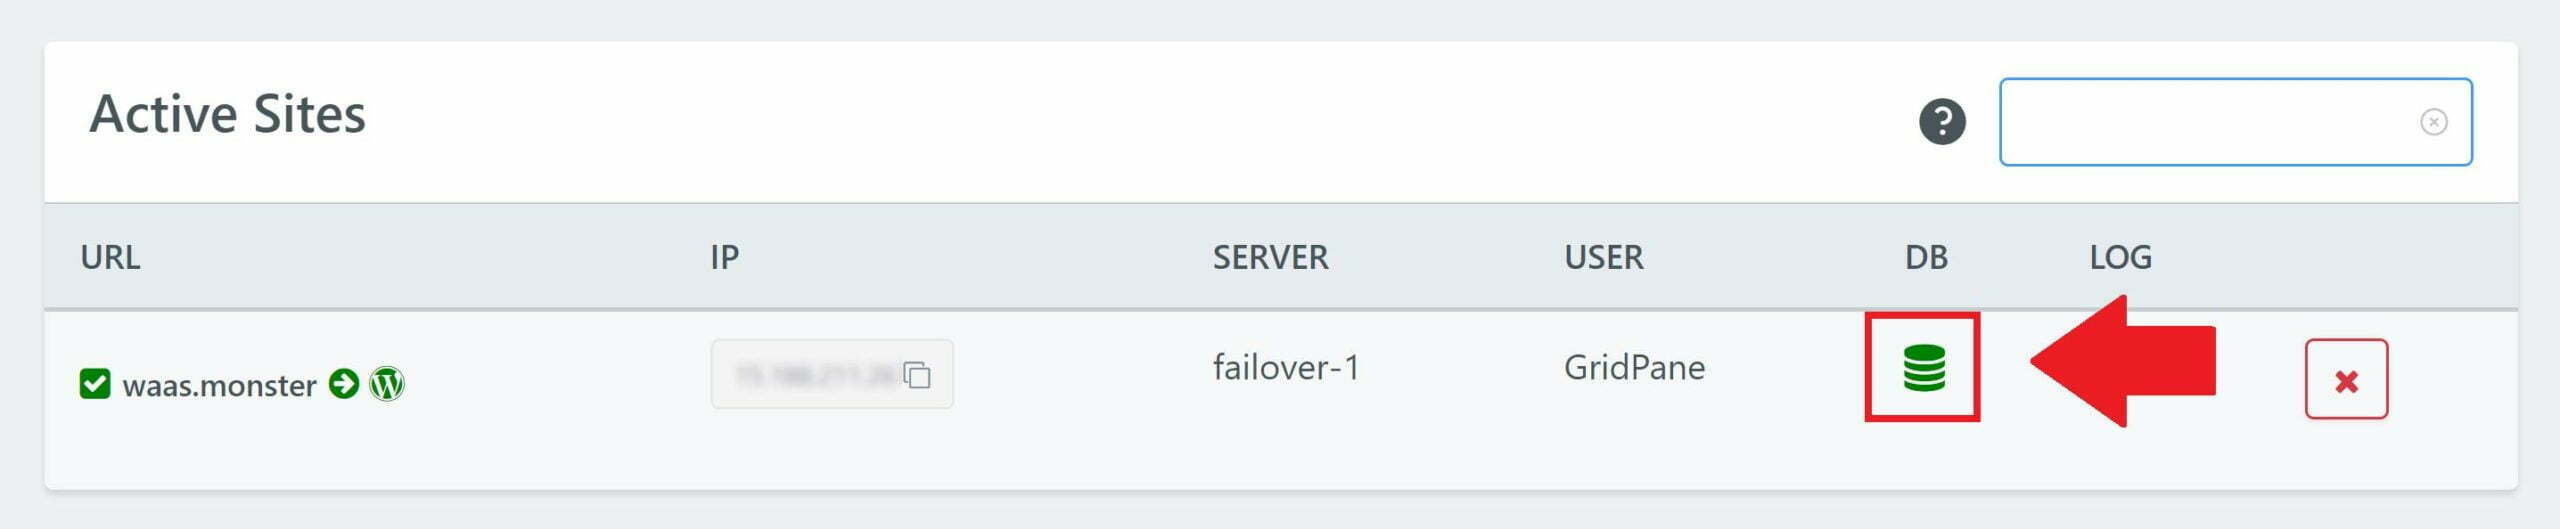
We’re looking to see if these match up (be sure to check thoroughly as the original database tables from the sites creation may still be there):

A custom prefix could potentially be anything, but often looks something like: “wp87f_“
The Solution
If your table prefix doesn’t match up, but all your database tables are using the same prefix, you can edit the table prefix in your wp-config.php via SFTP (download, edit, reupload) or the command line.
To edit via the command line type the following command (switch out “site.url” with your domain name):
nano /var/www/site.url/wp-config.php
Edit your prefix, and then hit Control+O, and then enter to save the file. Exit with Control+X.
CHECKING FOR AND DELETING DUPLICATE WP-CONFIG.PHP FILES
To ensure your migration has been successful, you may also want to double check that you don’t have two wp-config.php files inside your site. If you have one inside /htdocs you should delete or rename it.
/var/www/site.url/htdocs
vCanopy securely stores the wp-config.php file 1 level up outside of /htdocs here:
/var/www/site.url
If you have two wp-config.php files these can interfere with each other and cause problems. Please simply delete the wp-config.php file inside /htdocs if it exists, and leave ours in it’s place.
You can do this by connecting to your server over SFTP:
Connect to a vCanopy Server by SFTP as Root user
Or you can delete them directly on your server – please see the following guides to get started setting up your SSH Keys, and connecting over SSH:
Step 1. Generate your SSH Key
Step 2. Add your SSH Key to vCanopy (also see Add default SSH Keys)
Step 3. Connect to your server by SSH as Root user (we like and use Termius)
Once connected to your server, you can navigate to your websites htdocs folder with the following command (switching out “site.url” for your websites domain name):
cd /var/www/site.url/htdocs
Then display the contents of the file with:
ls -l
And if you see a wp-config.php file, you can delete it with:
rm wp-config.php
Once that’s done you’re all set!