


Adding SSH Keys to Your Account
STEP 1. GO TO YOUR vCanopy SETTINGS
Login to your vCanopy account and click the Your Settings menu item in the dropdown menu accessible by clicking on your username and icon.

STEP 2. ADD YOUR PUBLIC SSH TO THE vCanopy SSH KEYS SETTINGS PANEL
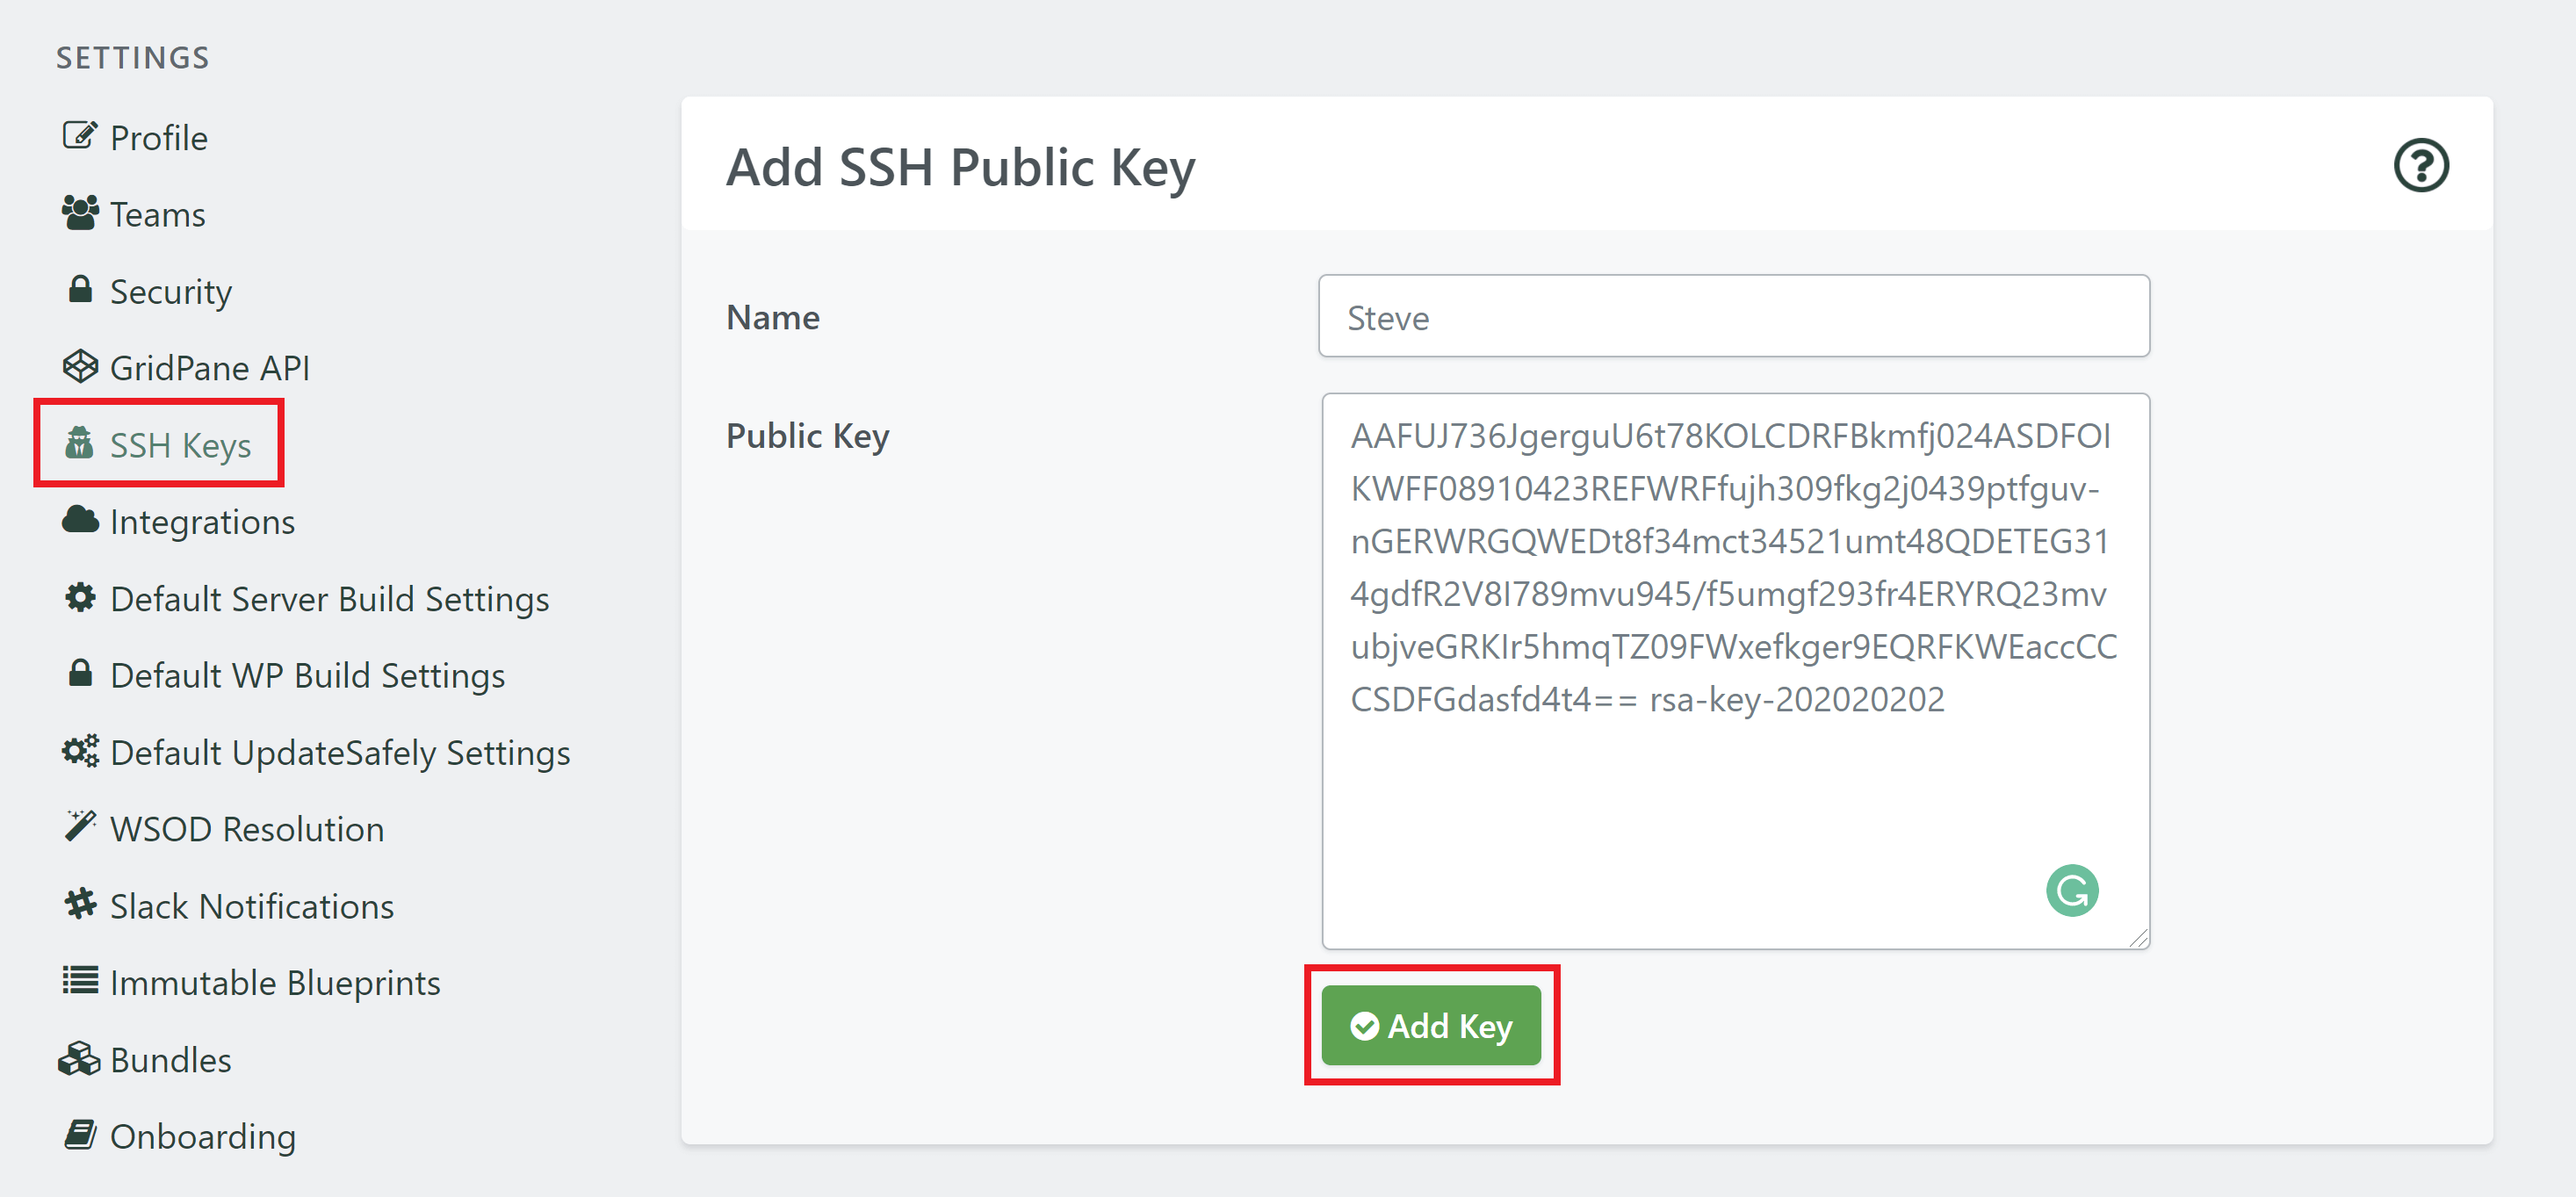
Locate and click the SSH Keys option in the left horizontal menu, and then paste your Public SSH Key in the Add SSH Public Key panel and click Add Key. You should name this key, since the key will be used for root access to your server I would suggest calling it the root key.
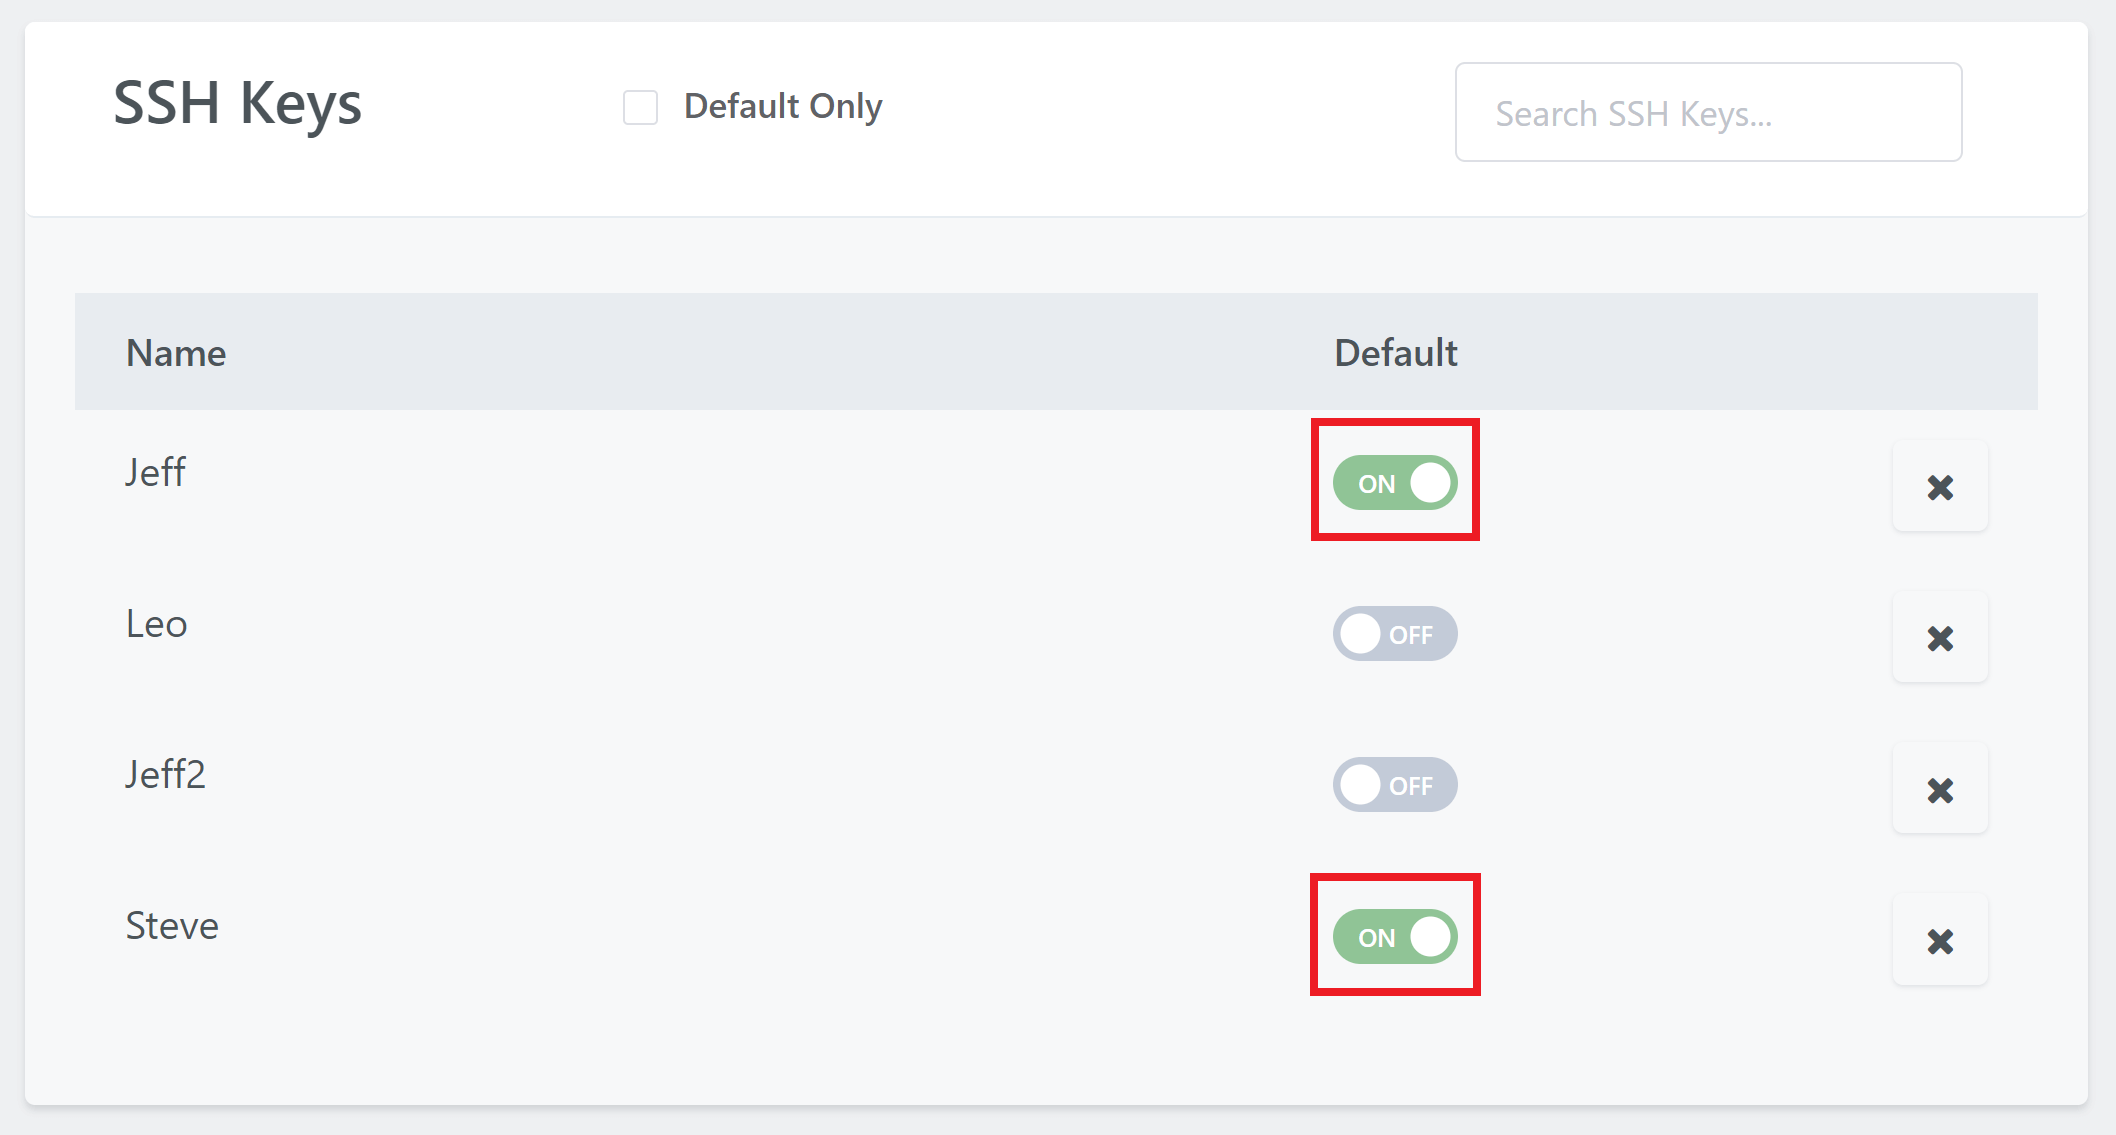
Once you have successfully added your public key it will be listed in the Active SSH Keys panel.
Mark your SSH Keys as Default (optional)
vCanopy has a Default SSH Keys feature which allows you to add your keys to any servers you provision automatically.
We have an easy-to-follow guide to help you enable this feature here.
Deleting SSH Keys from your Account
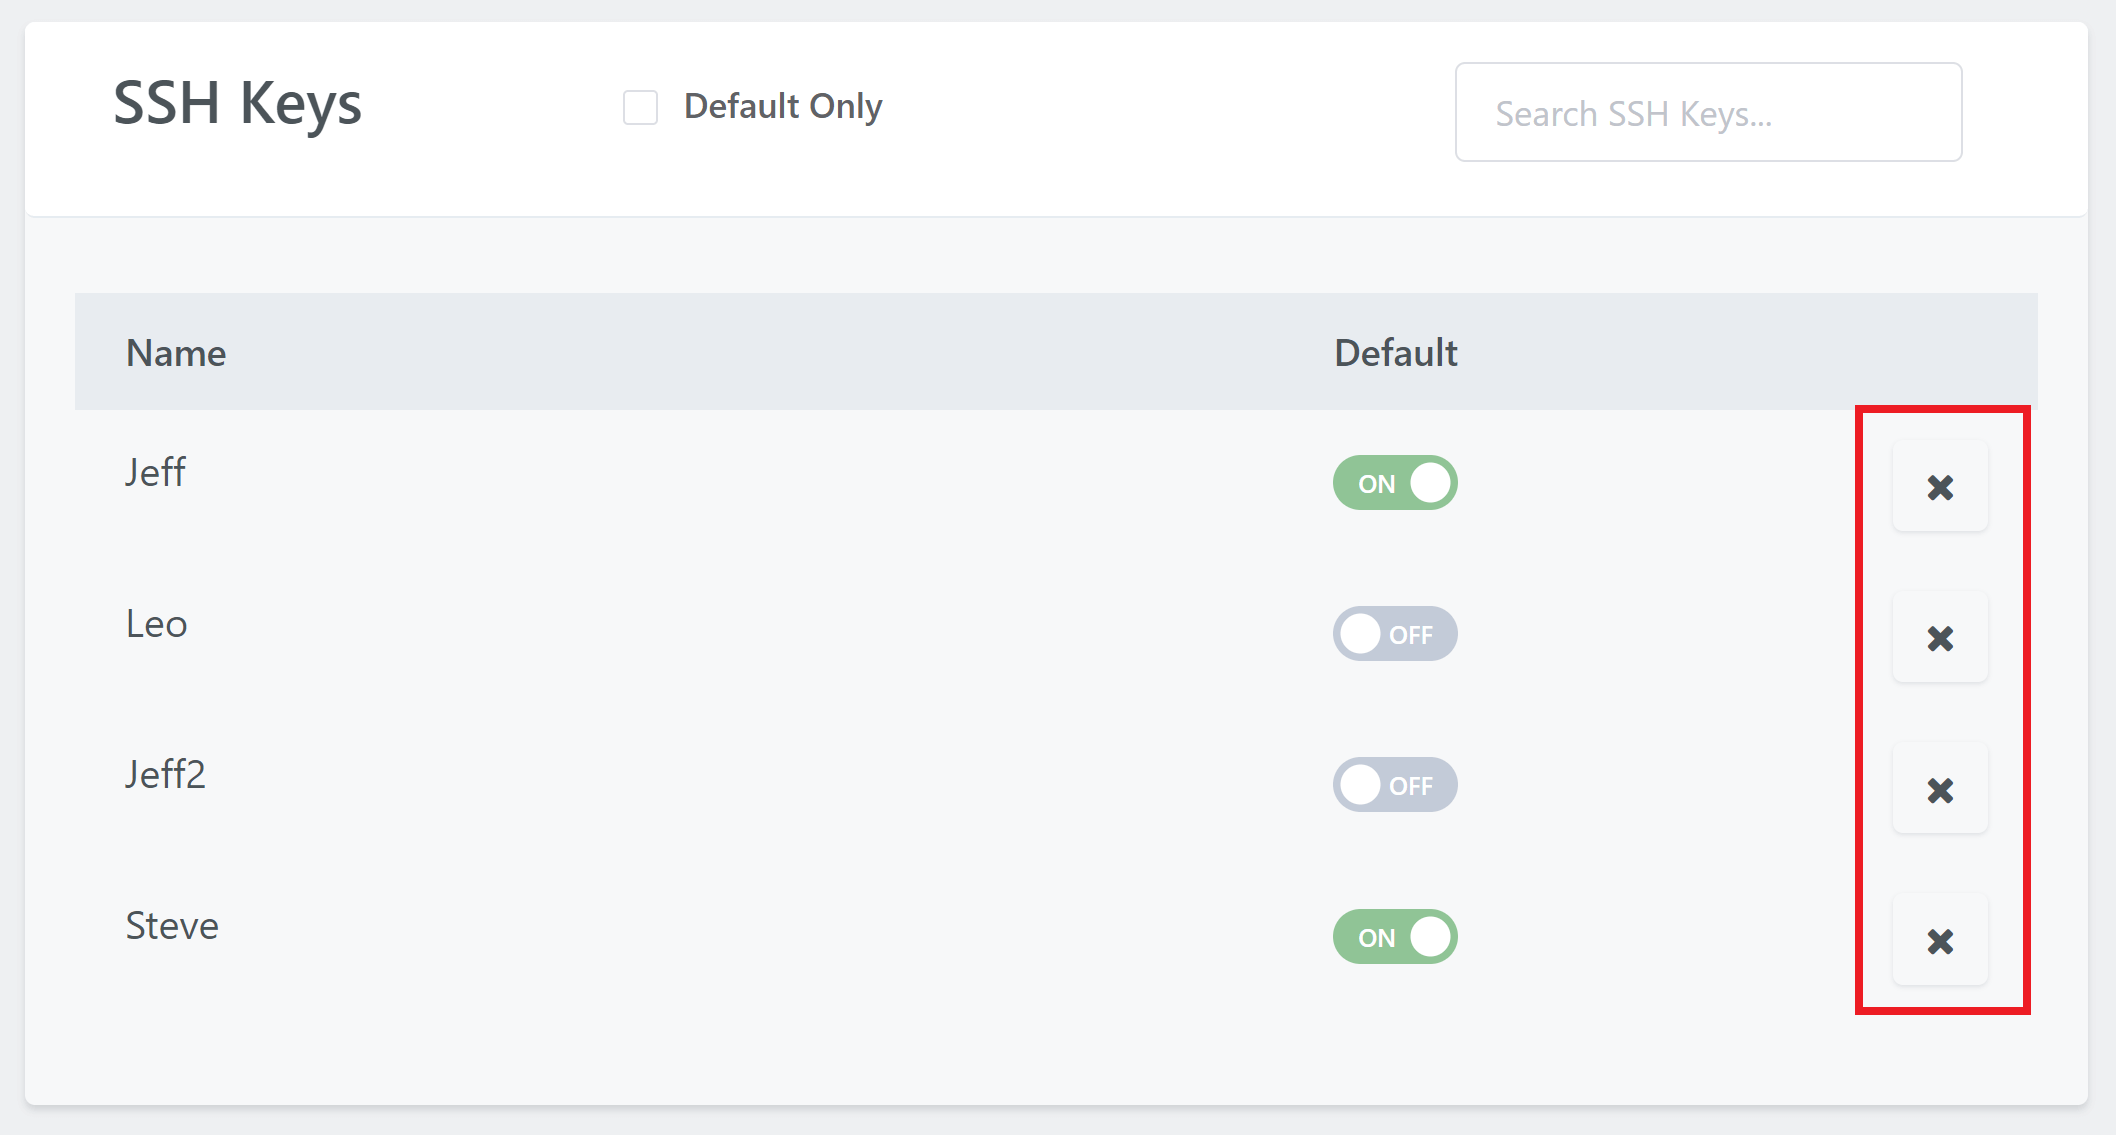
To delete a key, head to your Settings > SSH Keys in your account.
Here you’ll see your keys you can click the delete button beside the key you wish to delete inside the panel:
This will open up a modal for you to confirm you want to delete that specific key. If the key is active on any of your servers, you’ll see the following notice:
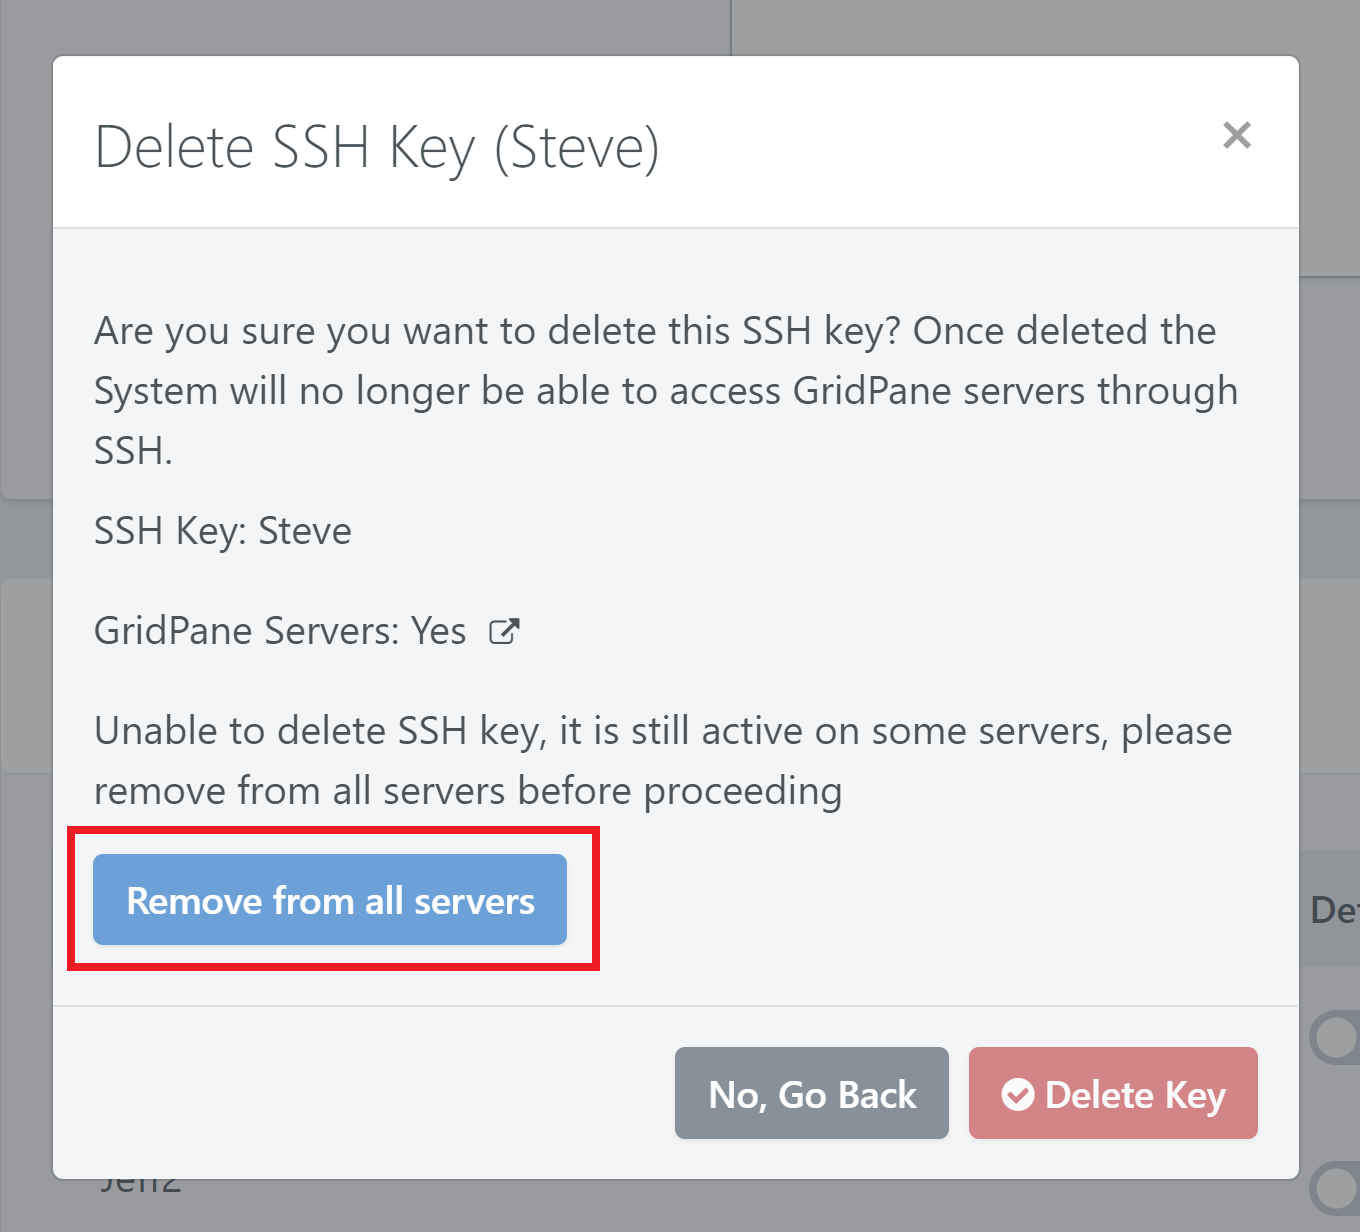
Click the Remove from all servers button to first have the application remove the key from any servers it’s still currently active on. It’s not possible to delete a key while it’s still on one or more of your servers.
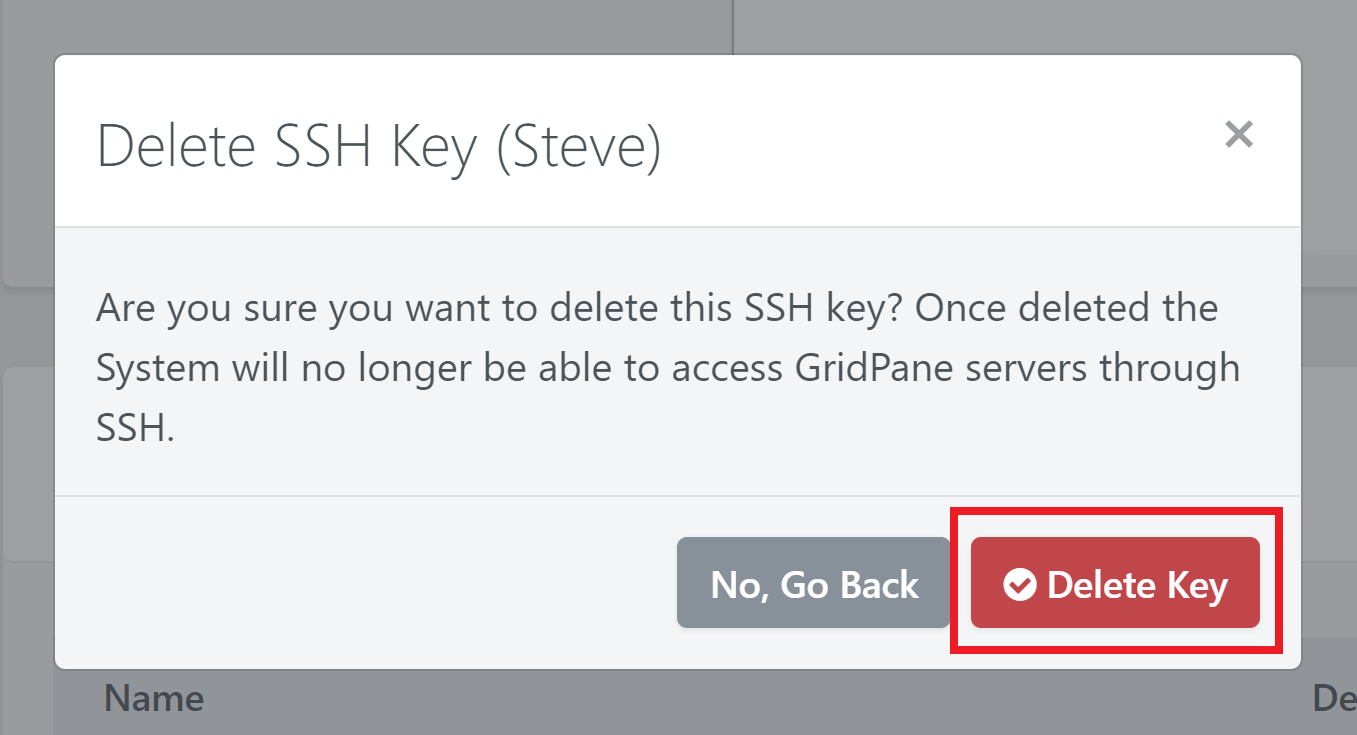
The Delete key button will be available and you can then confirm and delete the key:
Adding/Removing SSH Keys to/from a Server
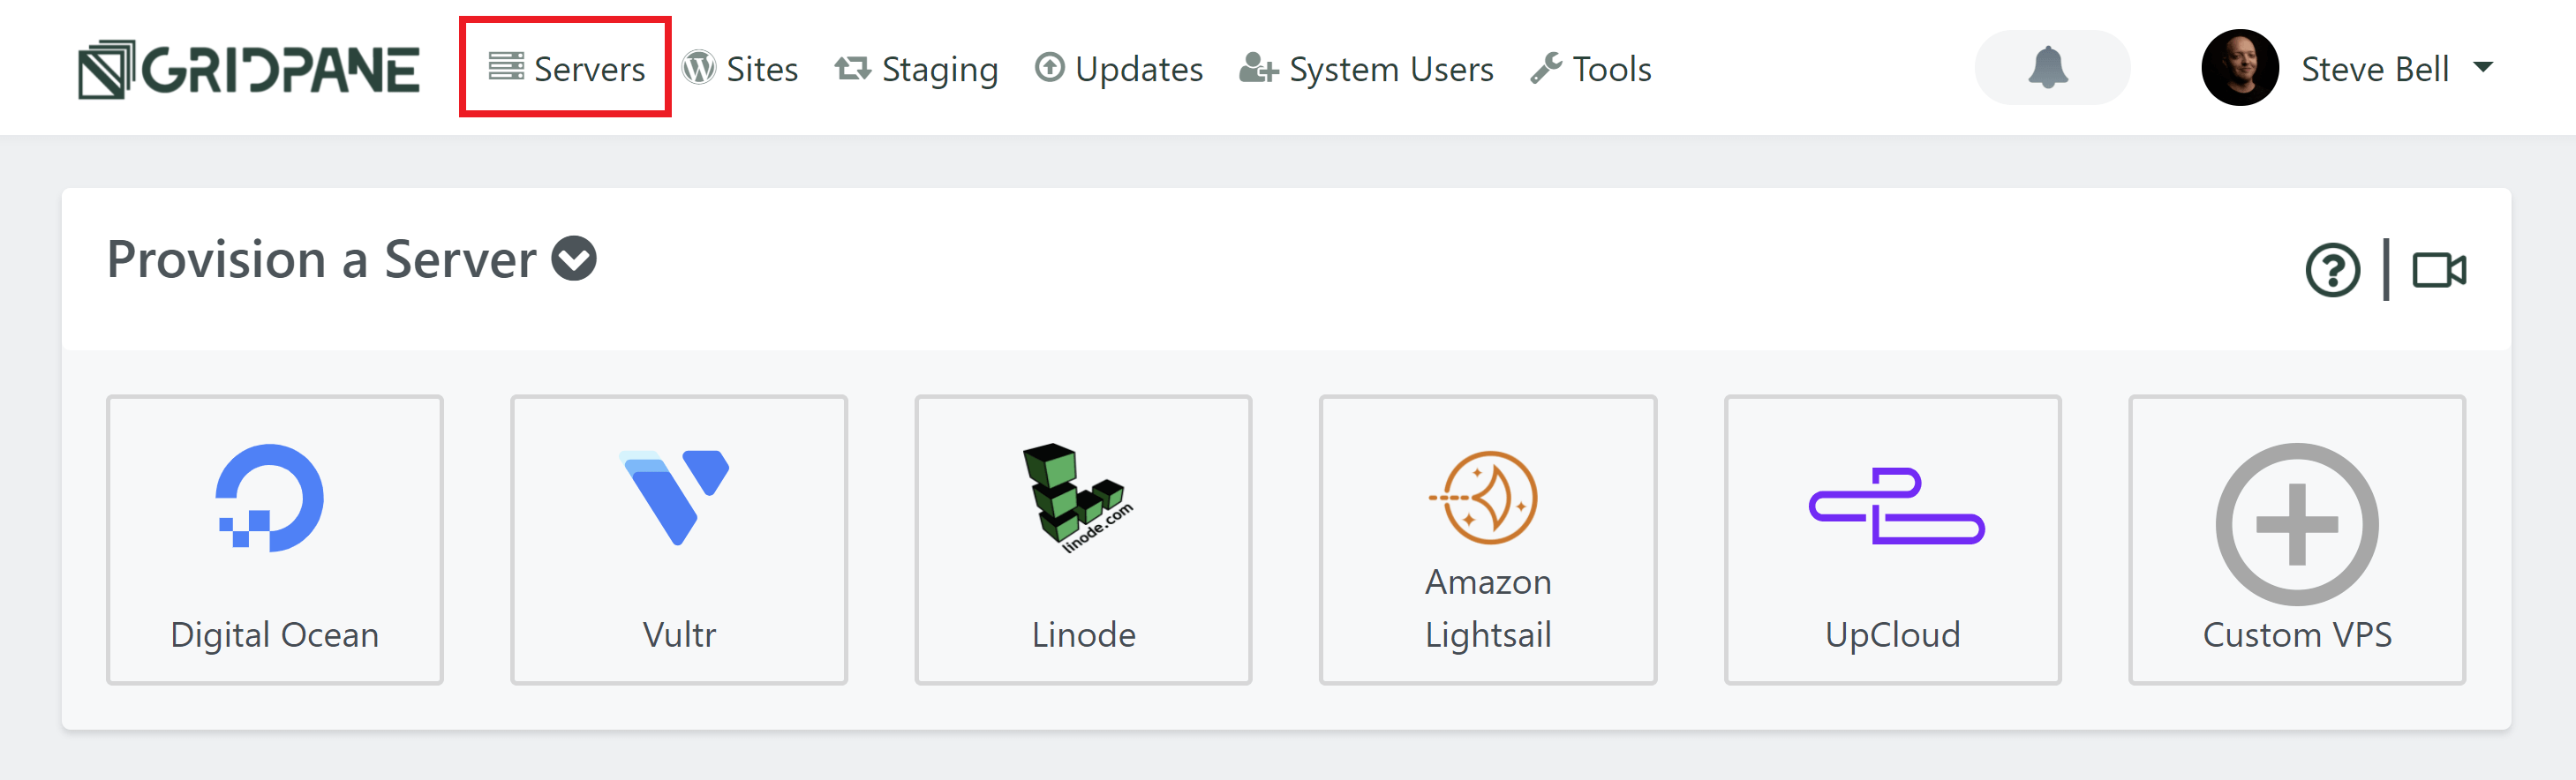
STEP 1. GO TO THE vCanopy HOME PAGE
The list of Active servers is located on the vCanopy home page. Click Servers from the vCanopy main menu to navigate there:
STEP 2. LOCATE AND CLICK THE ADD/REMOVE PUBLIC SSH KEYS BUTTON
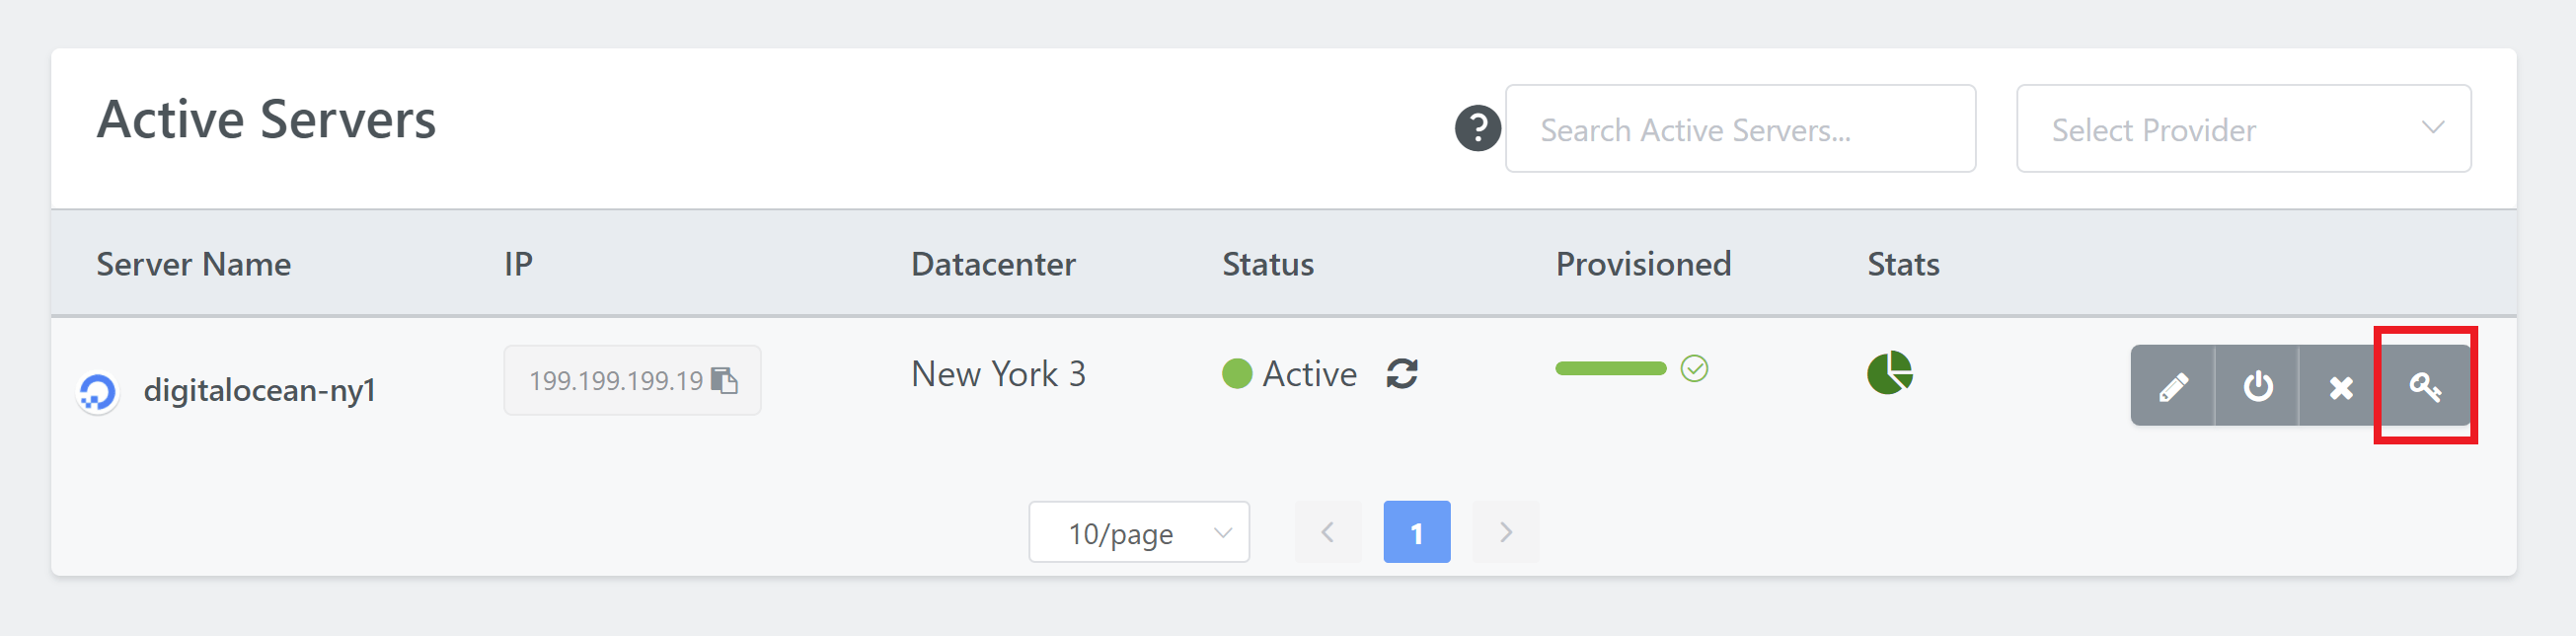
In your Active Servers panel click the Add/Remove Public SSH Keys button located to the right of the server row. The button has a key icon:
STEP 3. ADD AND/OR REMOVE A PUBLIC SSH KEY
A pop-up modal will appear containing checkboxes for all of the Public SSH Keys available from your vCanopy Settings.
To add a key, select the key from Available Keys column on the left, and then use the right arrow to add it to your server.
To remove a key, select it from the Keys on Server on the right, and use the left arrow key to remove it from the server.
