Verdant TCS

Easily Connect to Your Servers with Termius

3 min read

An Intro to Termius

Termius is a fantastic, free SSH client that you can use to easily manage all of your servers. You connect straight to a server the typical way (ssh root@ipaddress), or you can add them into Termius to remember and easily connect to each of them again in the future in just one click.

It works across Windows, macOS, Linux, iOS, and Android, and there’s a free version that is plenty adequate for most. The paid version is pretty great too, but not at all necessary to make it worthwhile. 

Termius is a favorite among our team, and below we’ll look at how you can set it up.

https://termius.com/

Step 0. You’ll Need An SSH Key

If you don’t already have an SSH key, you can generate one using Termius. Please refer to this guide for a breakdown on how to generate your key and add it to your vCanopy account: 

Generate an SSH Key with Termius

Step 1. Download and Install Termius

You can download Termius from the following link:

https://www.termius.com/download

It should take you to the correct URL for your device, and from there it’s a straightforward download and install.

Once installed, go ahead and open it up. It looks as follows:

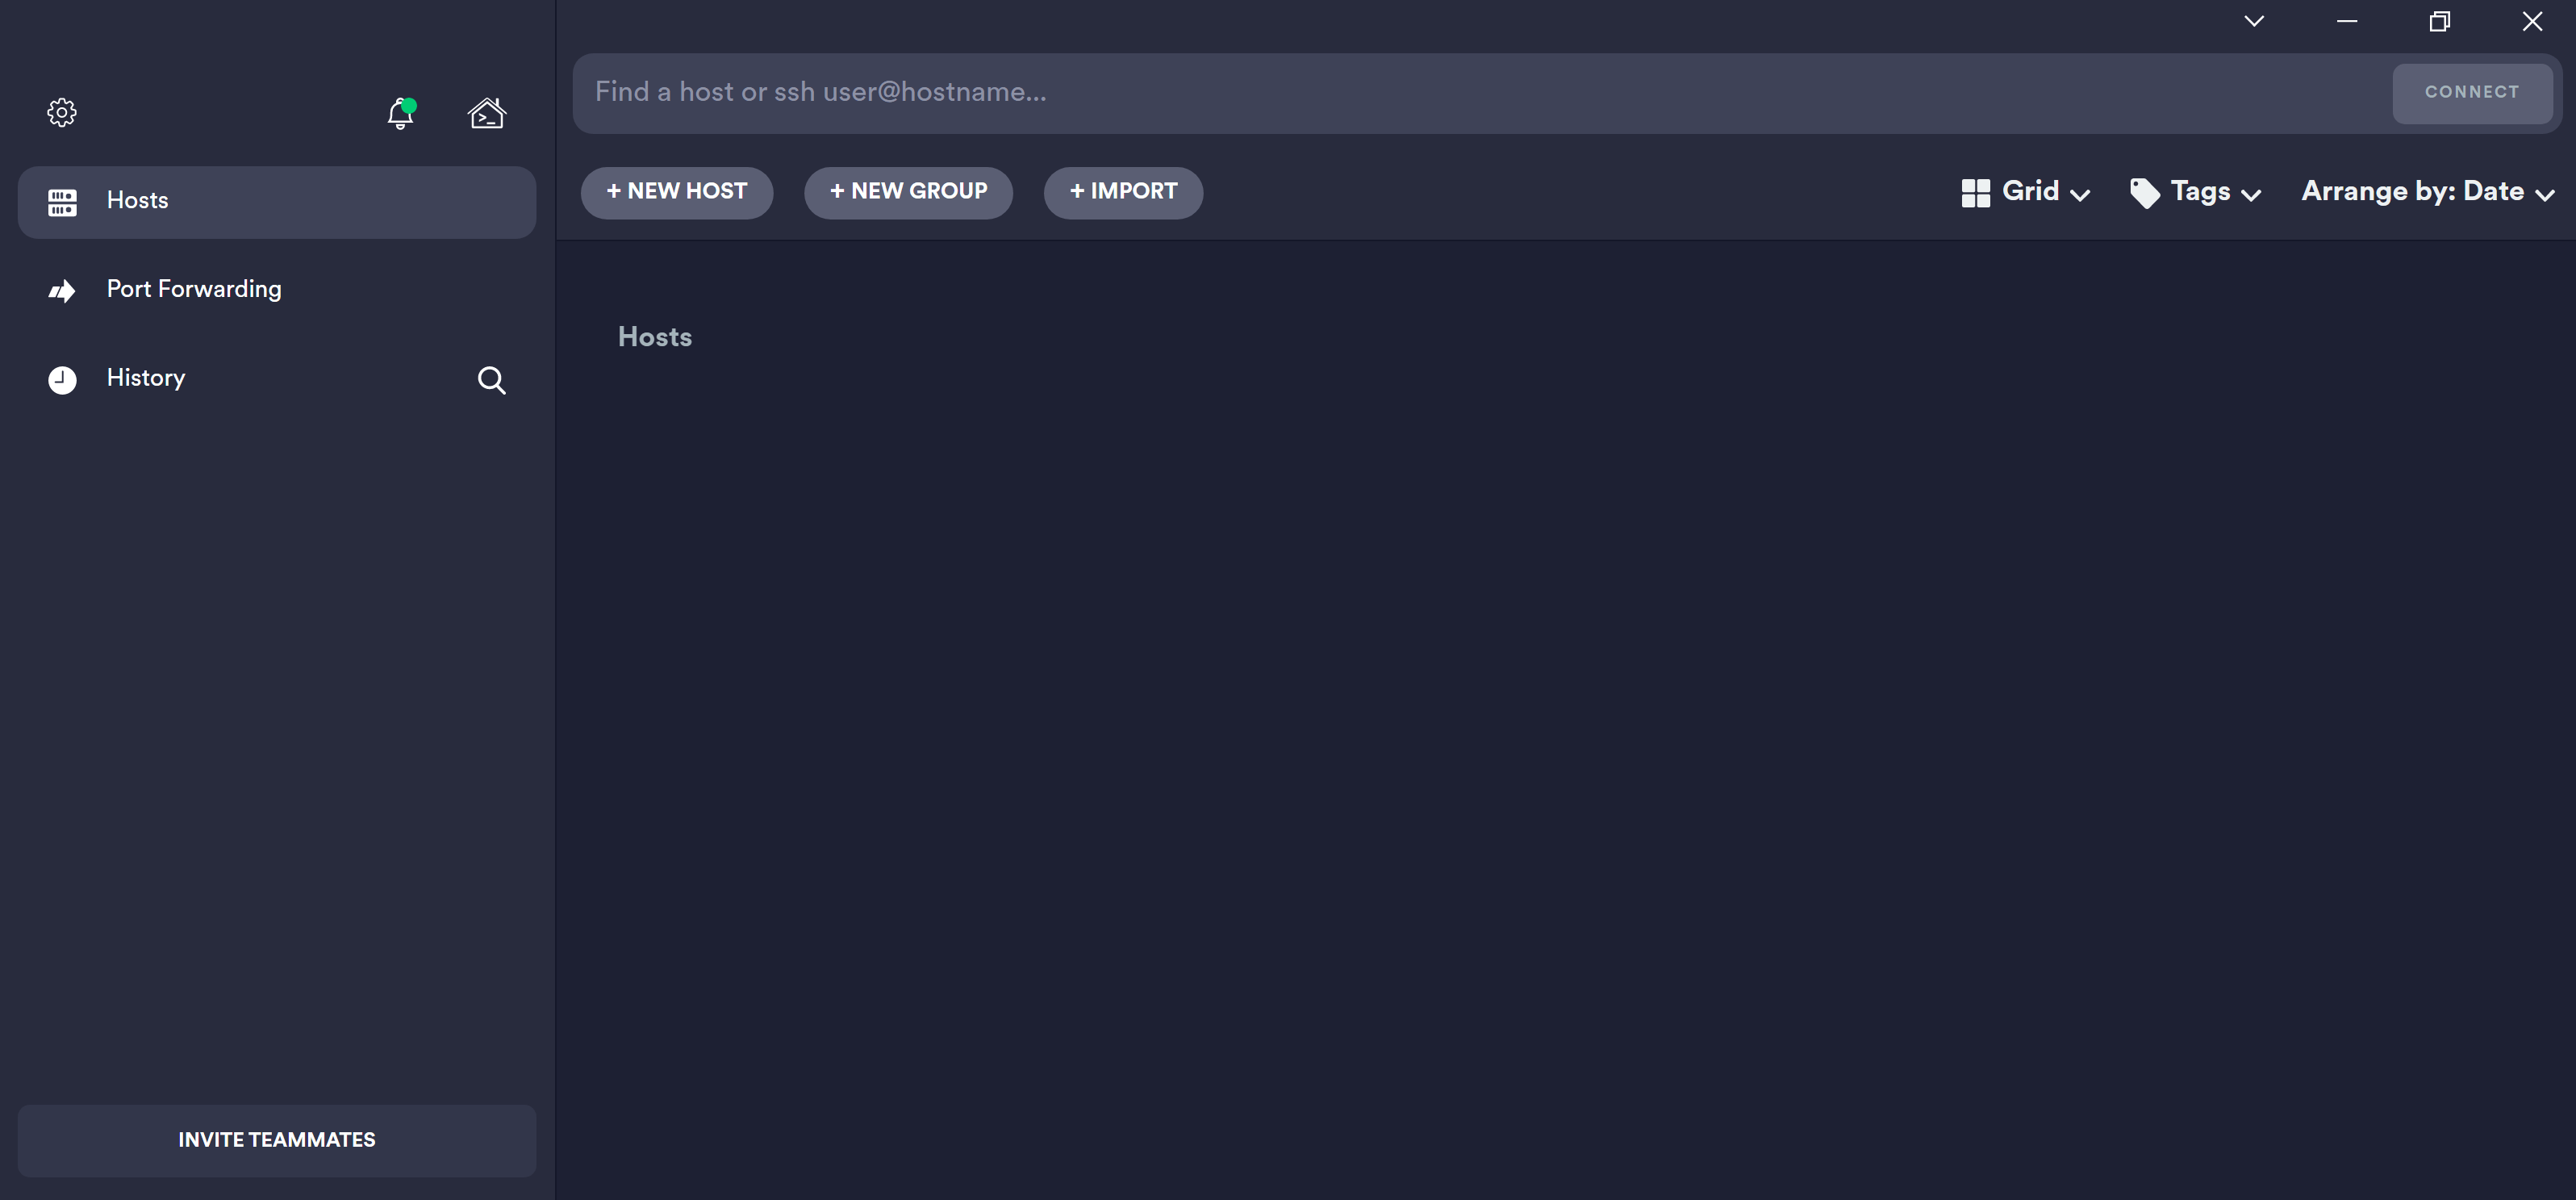
Step 2. Add a Server

Click the +New Host button at the top to add a new server.

This will open up a panel where you can add the details of your server. These are the necessary steps you need to complete:

LABEL

Give your server an easy to identify name – the name of your server inside your vCanopy account is likely the best option.

ADDRESS

Add your server’s IP address.

Scroll down a little for the SSH options below

USERNAME

Add root as your username.

PASSWORD

Leave this blank, but on the right select “Keys”. Here you can select your private SSH key which is stored on your device (the public key counterpart is what’s added to your server).

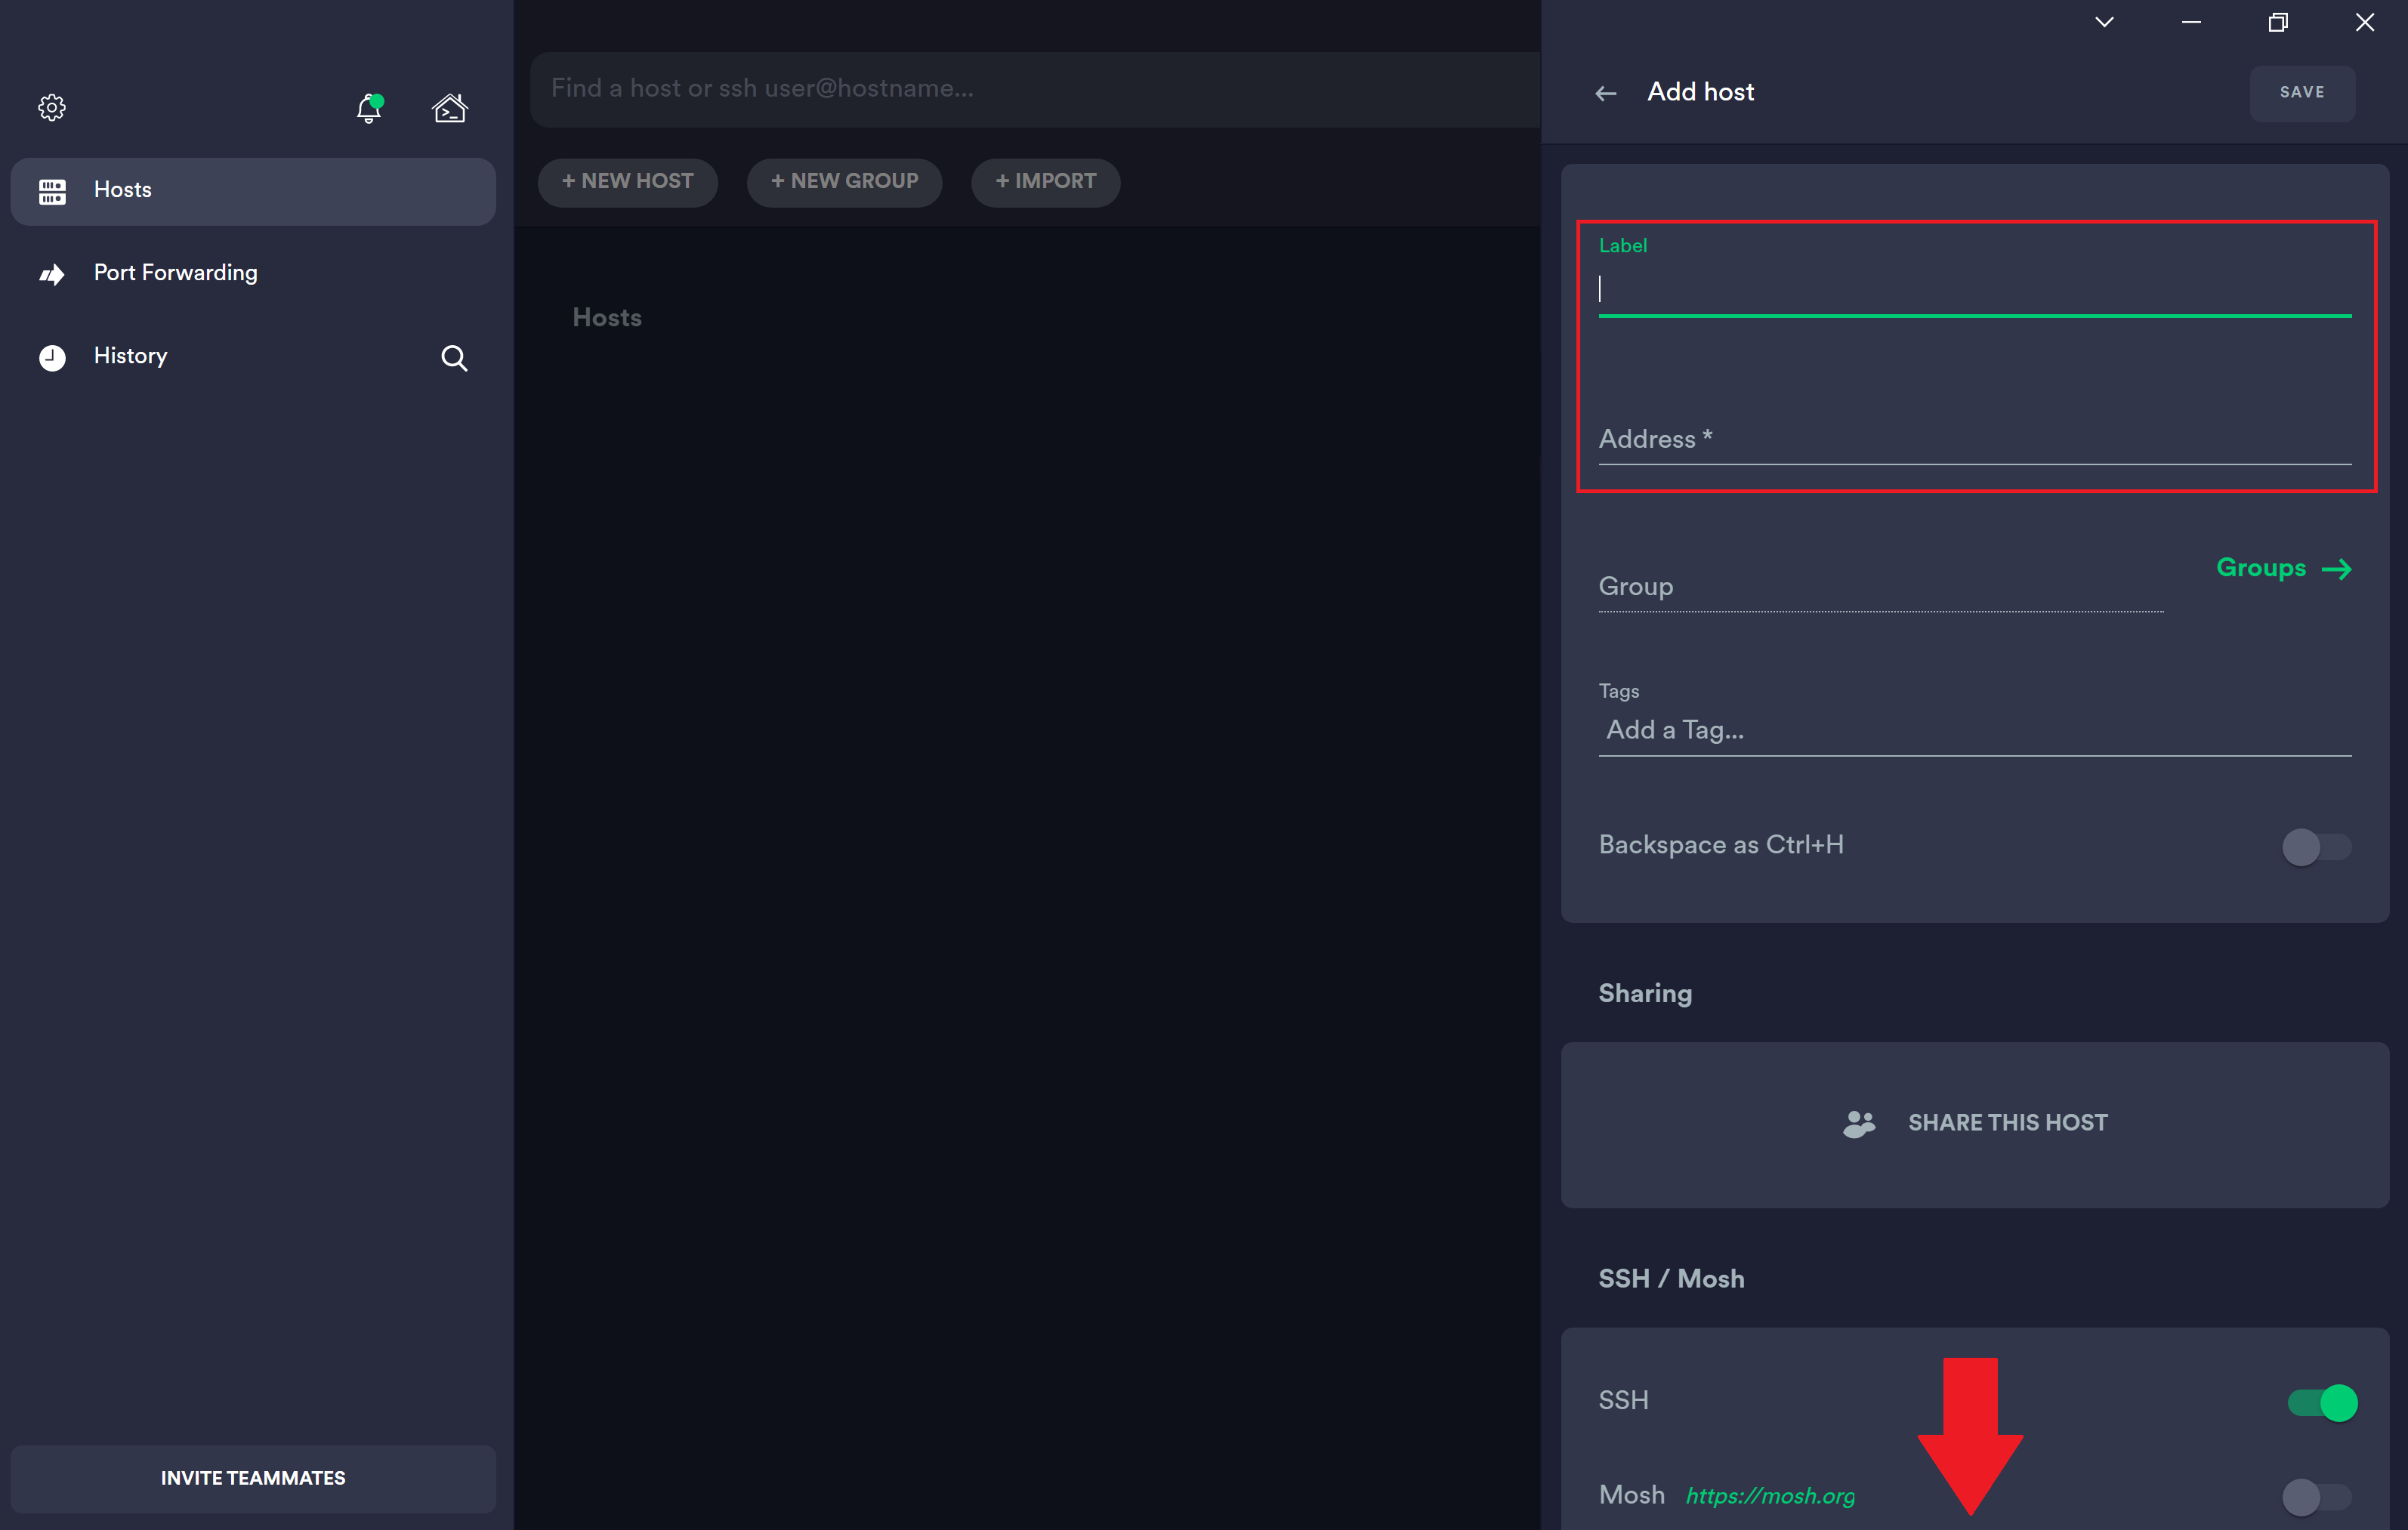
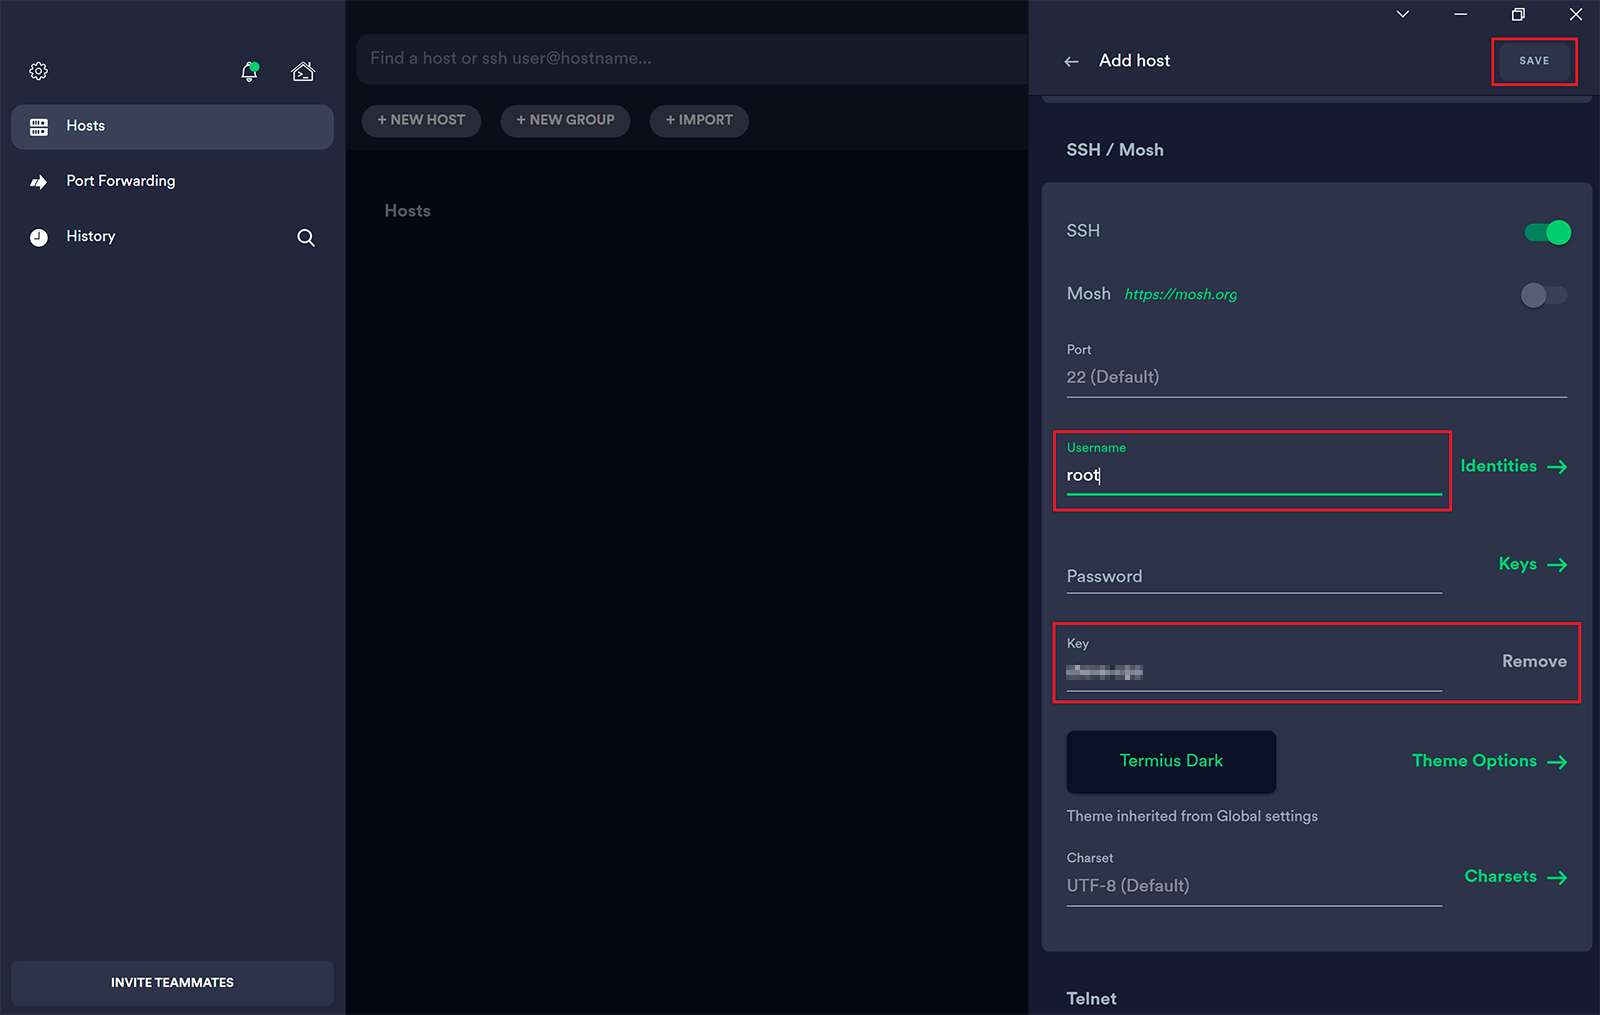
Now that you’ve filled in your server’s details, make sure to click “Save” at the top.

OPTIONAL: THEME OPTIONS

You can also choose a colour scheme for when you’re on the command line.

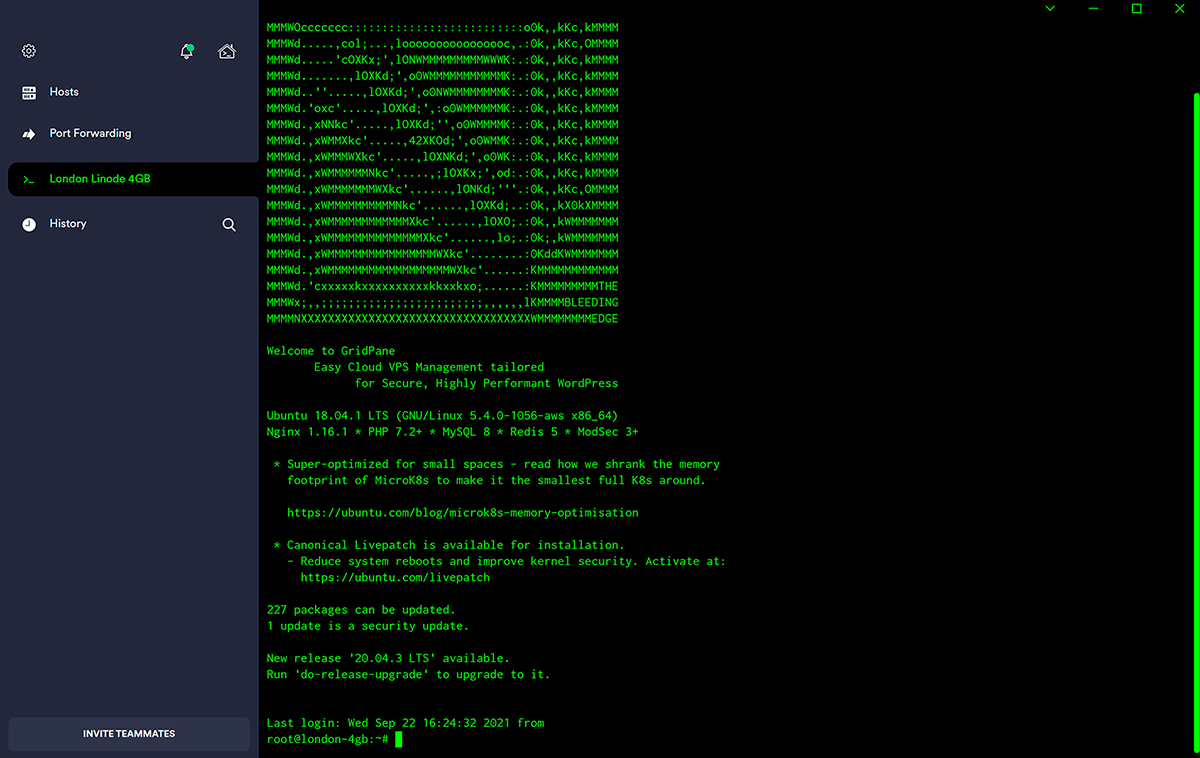
Step 3. Connect to Your Server

Once saved, your server will appear under hosts:

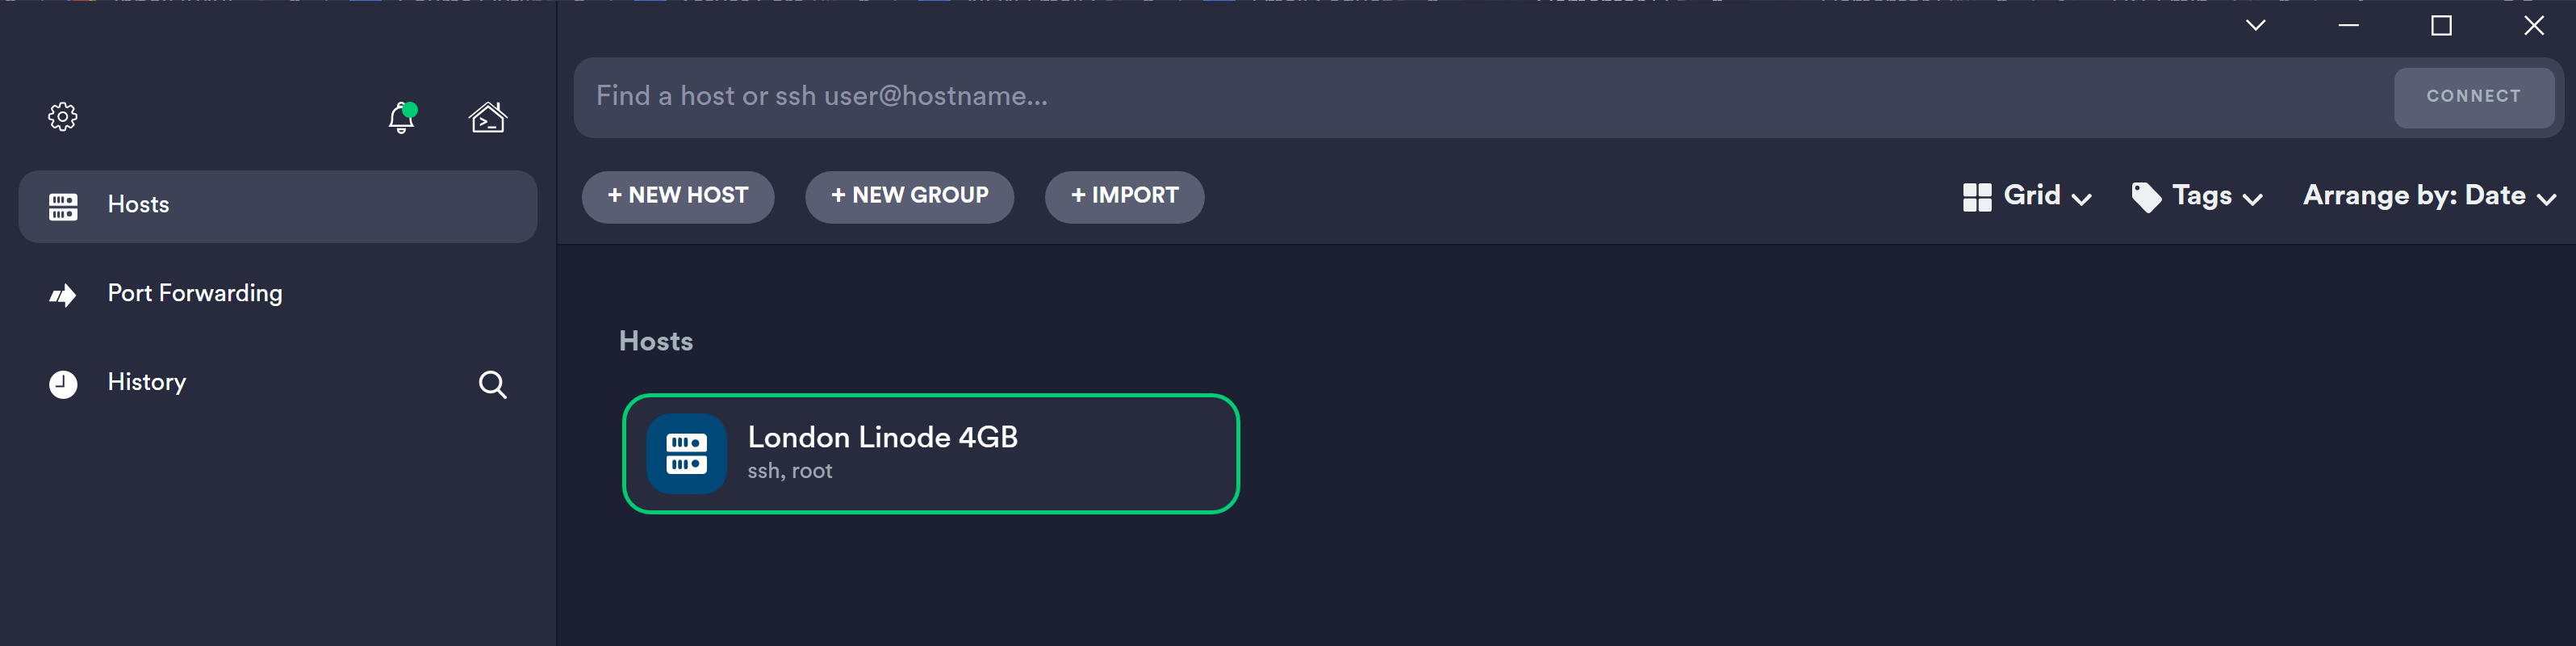
Now all you need to do is double click it, and you SSH right in!


Step 4. Add More Servers 

Repeat step 2 (or you may find it easier to click the 3 vertical dots when hovering an existing server, duplicated and editing it) and add any additional servers that you want easy one-click access to. They’ll all appear alongside the server that you’ve just added.

From here on out, connecting to any of your servers will be quick and simple.

Happy hosting!

Search the Knowledge Base

New to vCanopy?

Get started with our FREE Core plan today! We bring the software, you bring the hardware.