


If you’re looking to beef up your WordPress login page security, then this guide will help you add an extra layer of security with HTTP authentication. This article will walk you through how to either add this to a specific website, or all websites on a server.
vCanopy wp-login-context.conf
On your servers there’s an include for a wp-login-context.conf:include /var/www/site.url/*-wp-login-context.conf;
If you’re looking to add this only to specific websites, then we’ll create a custom config called “restrict-wp-login-context.conf” and add our new security rules to it.
If you’re looking to add it all websites on a server, then we can quickly add our code to: /etc/nginx/extra.d/wp-login-context.conf
Let’s get started. Part 1: Add HTTP auth to /wp-login.php on a specific website
STEP 1: SSH INTO YOUR SERVER
Please see the following articles to get started:
Generate your SSH Key:
Generate SSH Key on Windows with Putty
Generate SSH Key on Windows with Windows Subsystem for Linux
Generate SSH Key on Windows with Windows CMD/PowerShell
Add your SSH Key to vCanopy:
Add/Remove an SSH Key to/from an Active vCanopy Server
Connect to your server:
Connect to a vCanopy server by SSH as Root user.
STEP 2: CREATE THE RESTRICT-WP-LOGIN-CONTEXT.CONF FILE
Create a file named: restrict-wp-login-context.conf with the following command (changing “site.url to your domain name):
nano /var/www/site.url/nginx/restrict-wp-login-context.conf
For example:
nano /var/www/vCanopy.com/nginx/restrict-wp-login-context.conf
Add the following to your new config:
satisfy any;
auth_basic "Restricted Area";
auth_basic_user_file /etc/nginx/.htpasswd;
# Allowed IP Address List
allow 127.0.0.1;
deny all;
The above code add’s the HTTP authentication to your wp-login.php page.
Now we just need to save the file. Writing to and saving a file in nano is a three step process:
- Hit CTRL-O to write to the file
- Hit Enter to confirm
- Hit CTRL-X to exit the file
STEP 3: TEST YOUR NGINX CONFIGURATION
Next you must test the Nginx config and reload if there are no errors. Do NOT proceed to step 4 if any errors are present and reach out to support.
nginx -t
STEP 4: RELOAD NGINX
gp ngx reload
Part 2: Add HTTP auth to /wp-login.php on every website on a server
Note: If you’ve already done this for a specific website on this server, you’ll need to remove the restrict-wp-login-context.conf or you’ll get the following error when running nginx -t:
nginx: [emerg] "satisfy" directive is duplicate in /var/www/site.url/nginx/restrict-wp-login-context.conf:1
nginx: configuration file /etc/nginx/nginx.conf test failed
STEP 1: SSH INTO YOUR SERVER
Please see the articles above to get started.
STEP 2: OPEN THE WP-LOGIN-CONTEXT.CONF WITH NANO
To apply our code across every website on the server we need to edit the following file with the command below:
nano /etc/nginx/extra.d/wp-login-context.conf
Add the following:
satisfy any;
auth_basic "Restricted Area";
auth_basic_user_file /etc/nginx/.htpasswd;
# Allowed IP Address List
allow 127.0.0.1;
deny all;
Now we just need to save the file. Writing to and saving a file in nano is a three step process:
- Hit CTRL-O to write to the file
- Hit Enter to confirm
- Hit CTRL-X to exit the file
We now need to ensure the above persists, so to finish up we need to copy it over into _custom:
cp /etc/nginx/extra.d/wp-login-context.conf /etc/nginx/extra.d/_custom/wp-login-context.conf
STEP 3: TEST YOUR NGINX CONFIGURATION
Next you must test the Nginx config and reload if there are no errors. Do NOT proceed to step 4 if any errors are present and reach out to support.
nginx -t
STEP 4: RELOAD NGINX
gp ngx reload
Part 3: Test /wp-login.php and enter your HTTP auth user and password
Once Nginx has reloaded you’ll see the HTTP auth box on /wp-login.php for your website.
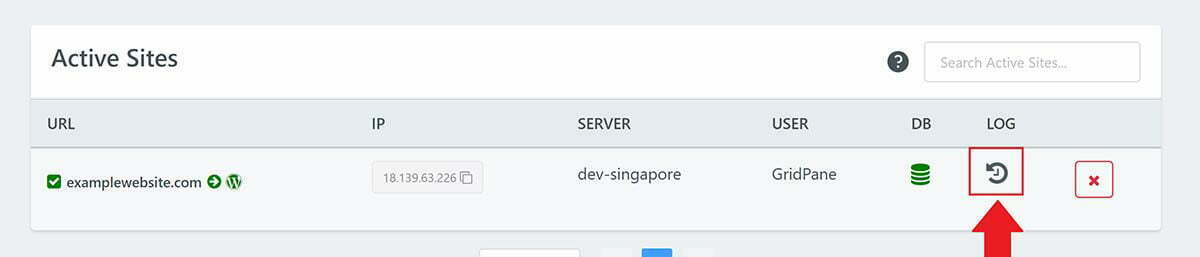
To locate your login details, head over to the sites page inside your vCanopy account, and click the log icon:
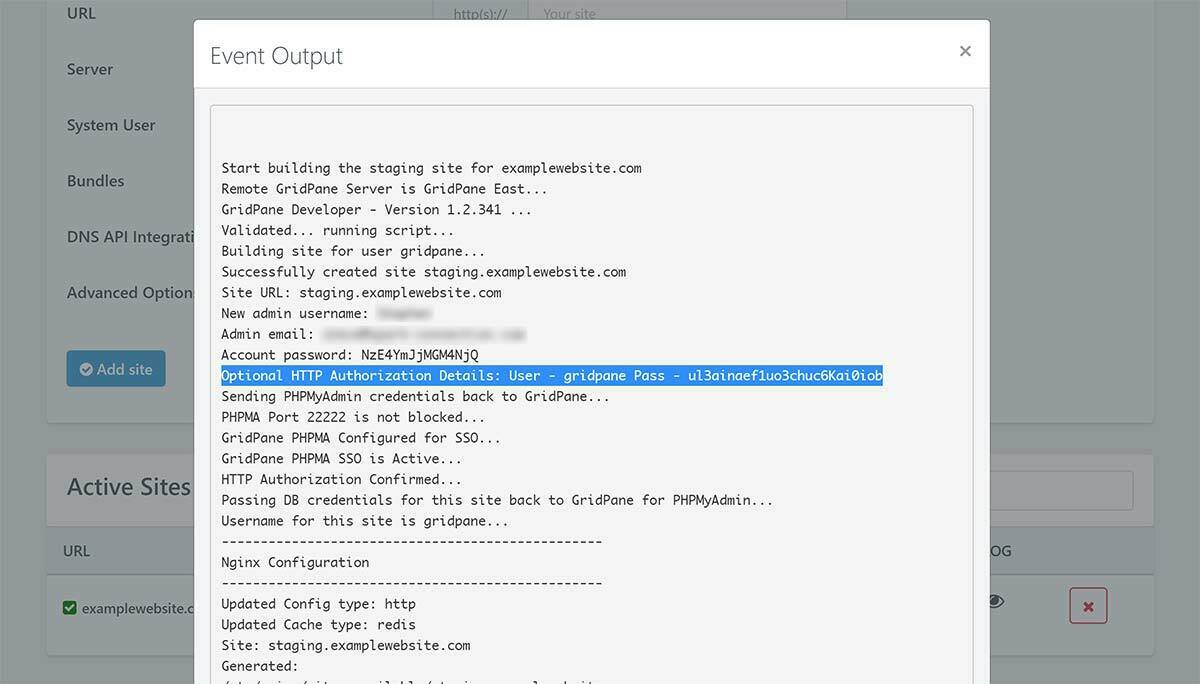
The username is always “vCanopy” and you’ll see a line like below to find your password:
You’re now all set!
Removing HTTP Auth from your wp-login pages
In the future, if you’d like to remove HTTP Auth from the login page, you can simply remove the configuration file that you’ve created.
For singular websites you can remove this from your server with the following command:
rm /var/www/site.url/nginx/restrict-wp-login-context.conf
Or, if you applied it server-wide you can delete it with the following:
rm /etc/nginx/extra.d/wp-login-context.confRELOAD NGINX
Once deleted, you’ll need to check your Nginx syntax and then reload Nginx for the change to take affect.
First check your syntax with:
nginx -t
If all is well, reload with:
gp ngx reload
You’ve now removed HTTP Auth from your wp-login page/s.