


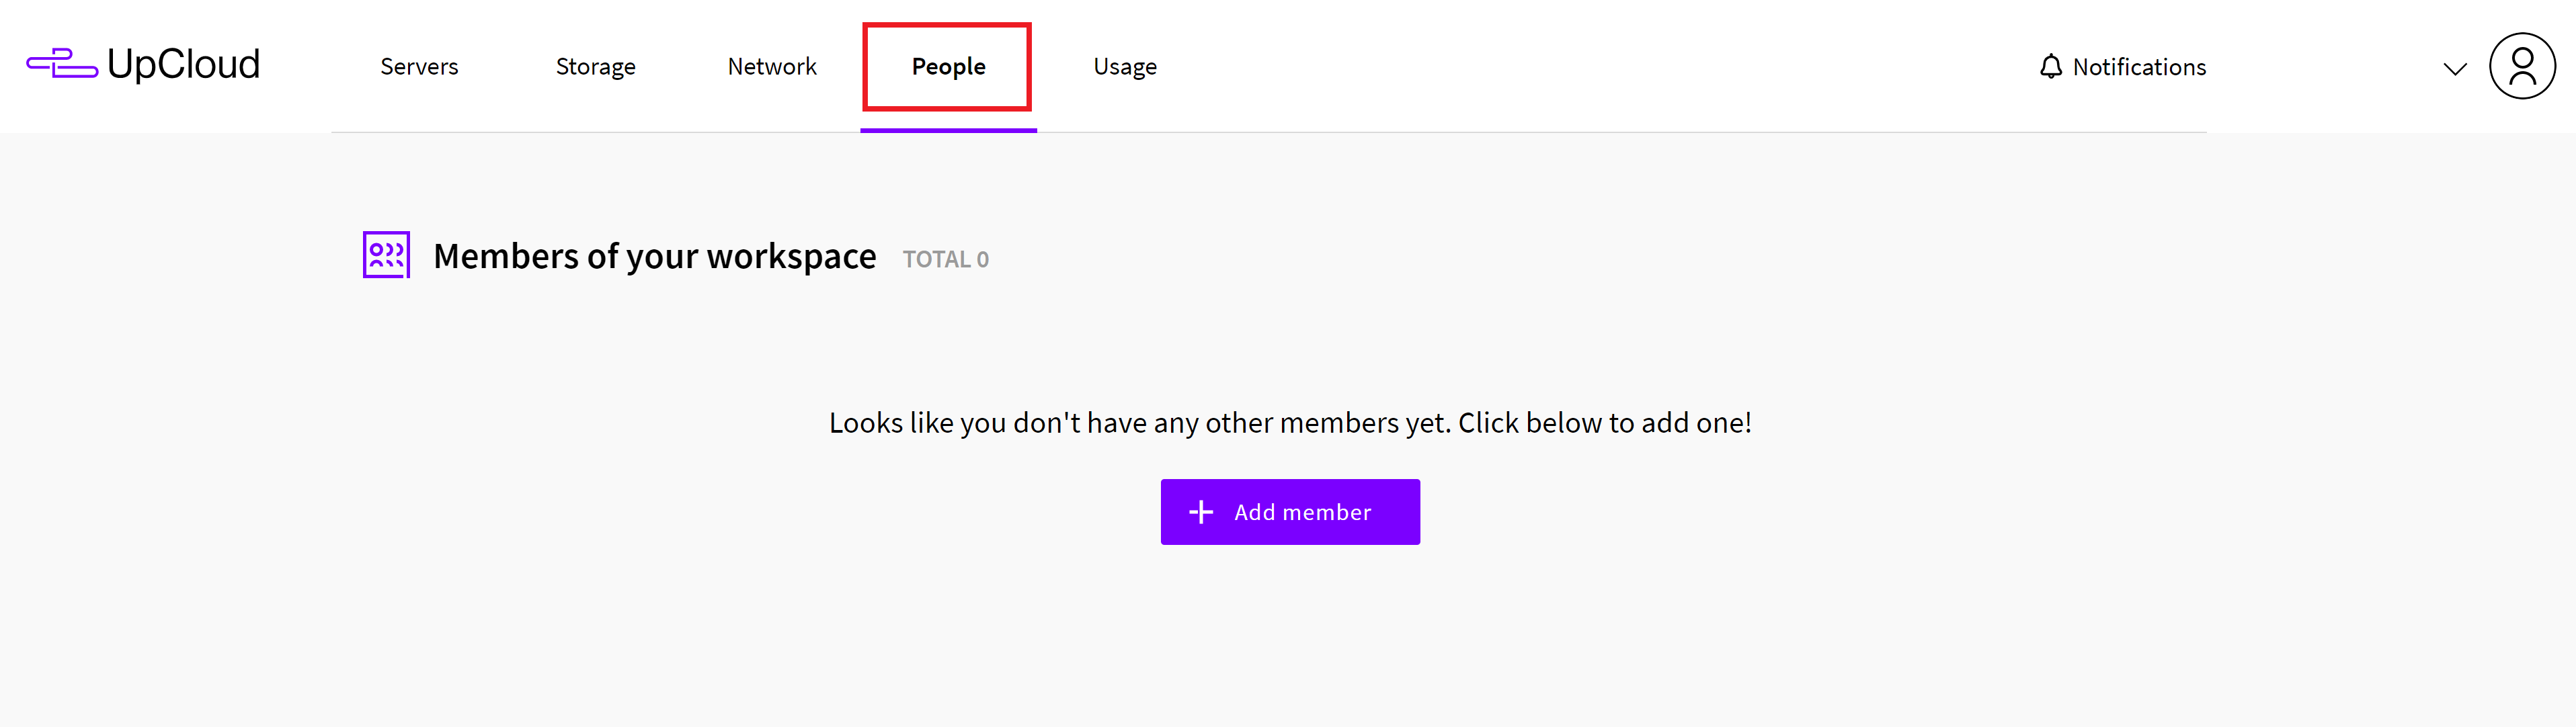
Step 1. Login to your UpCloud account and navigate to the “People” page
Login to your UpCloud account and click on People in the navigation bar.
Step 2. Create a new sub-user for your account
The way UpCloud works is a little different to other API providers. We’ll be creating a new sub-user and giving them API access. We’ll then use this sub-users login details inside your vCanopy account to use the API.
This user needs to be unique, which means that it can’t already exist on UpCloud as a whole, not just in your account.
Fill in the subaccount details and check the API checkbox as outlined in the image below:
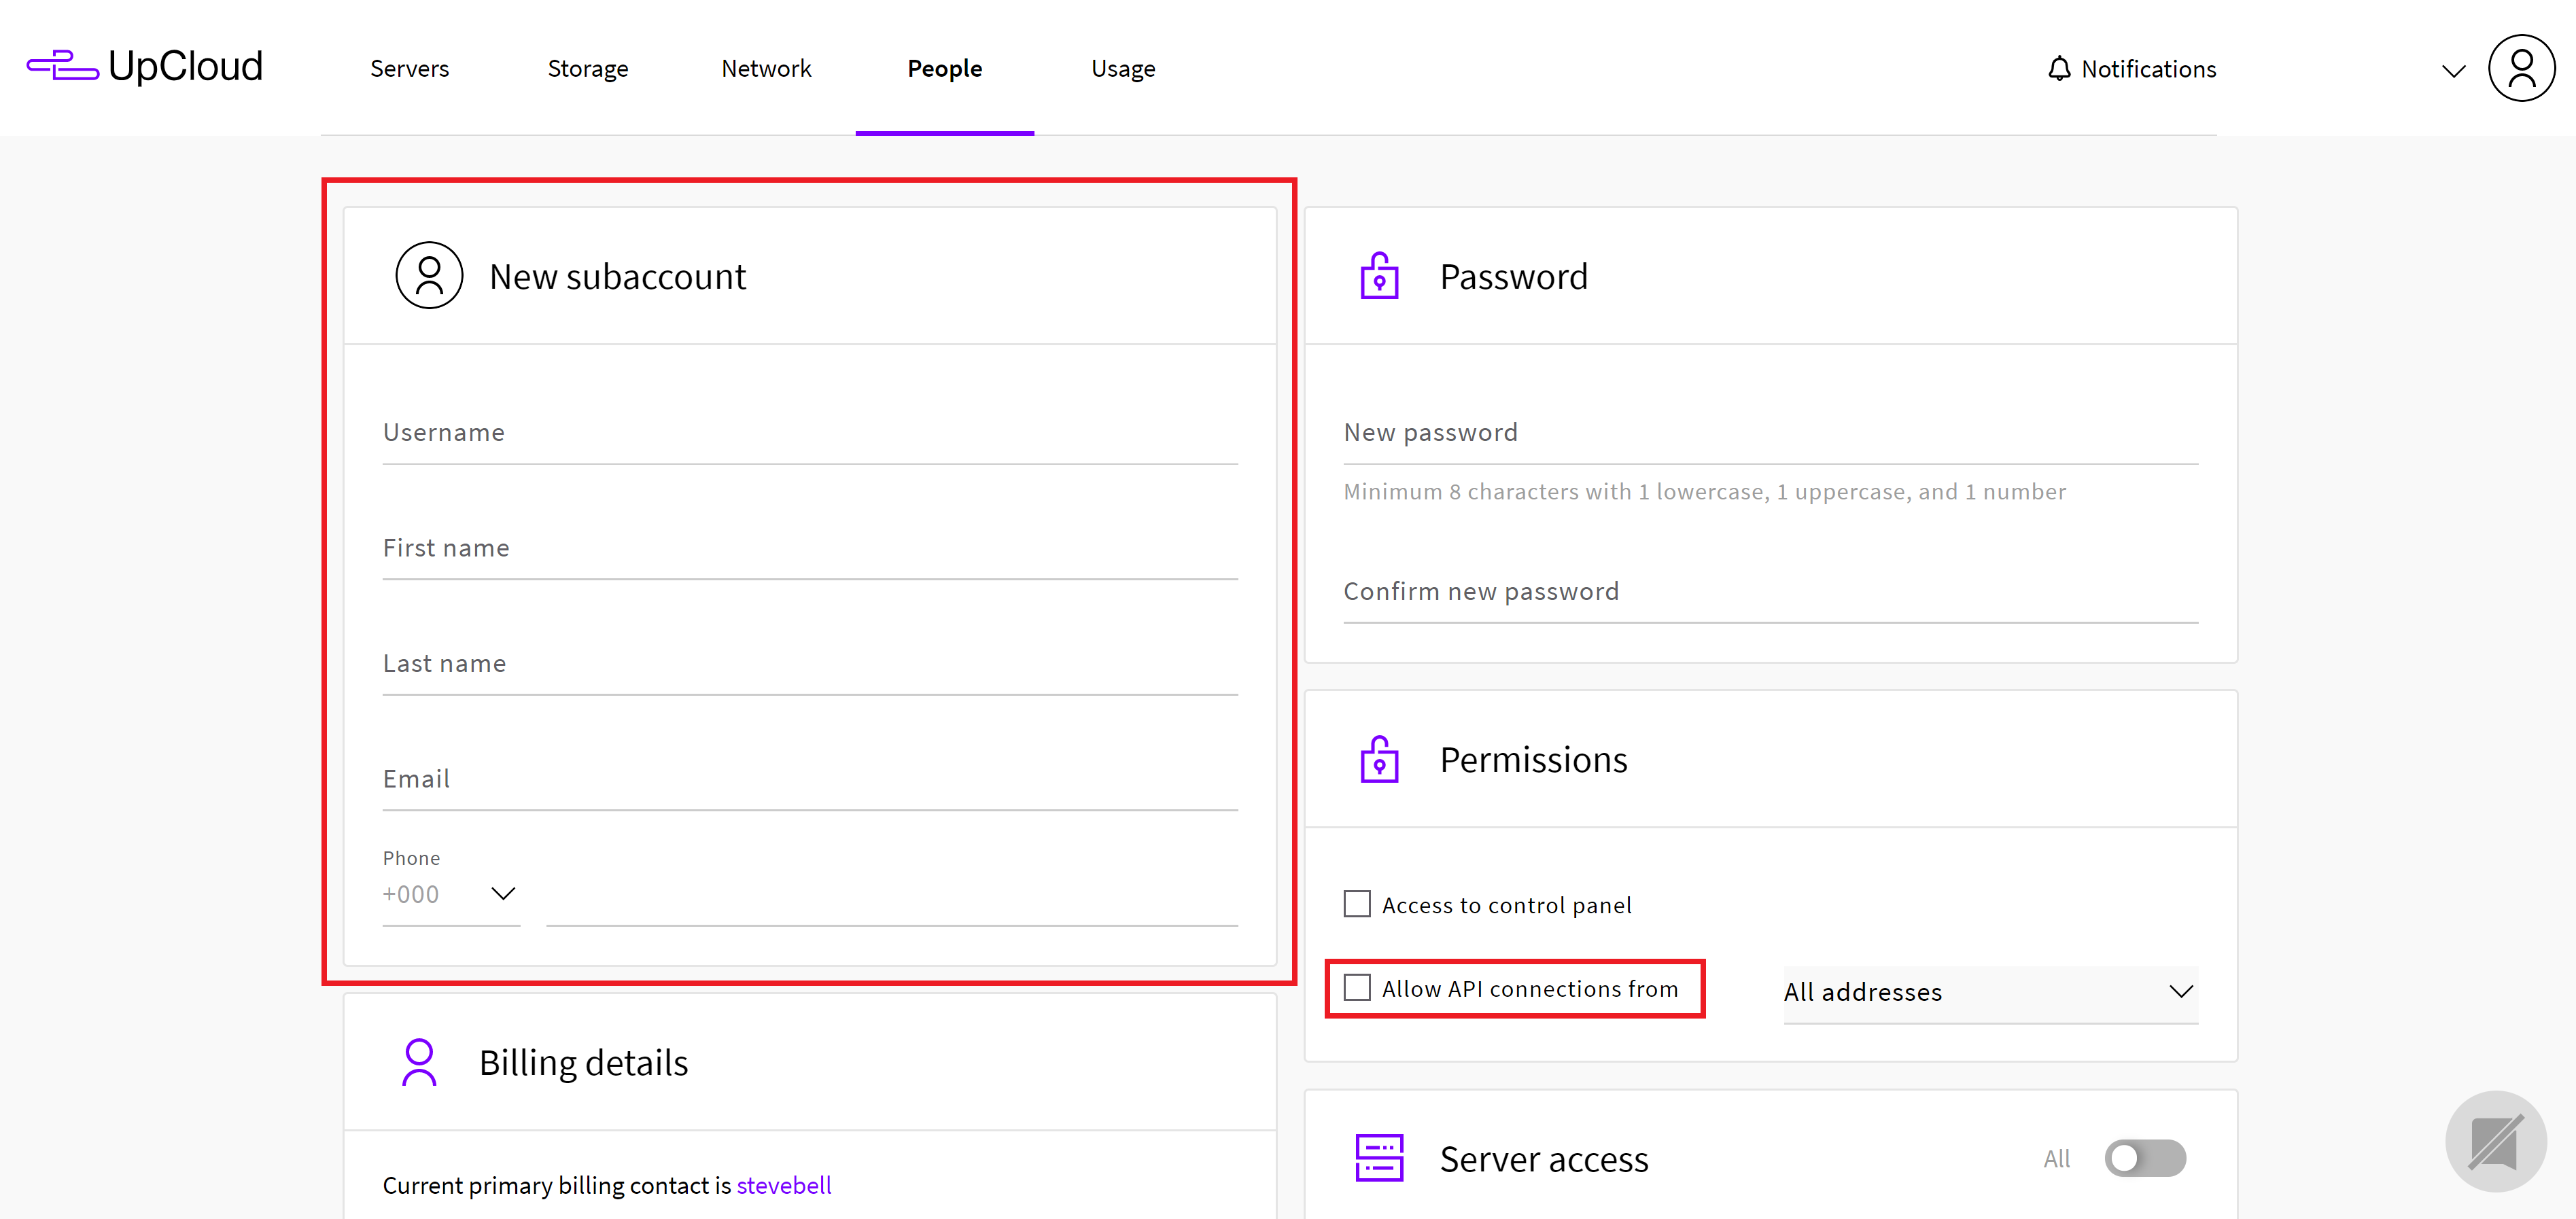
Tip: If you’re using Gmail or GSuite, you can use the same email address by using a handy feature that works as follows:
Email address = [email protected]
Workaround = [email protected]
Use a + followed by whatever you wish, and emails will go to your primary inbox as usual. This is useful for many things (like email newsletter signups and spotting companies who sell your info), but here means you don’t require a new email account.
Always use a strong password.
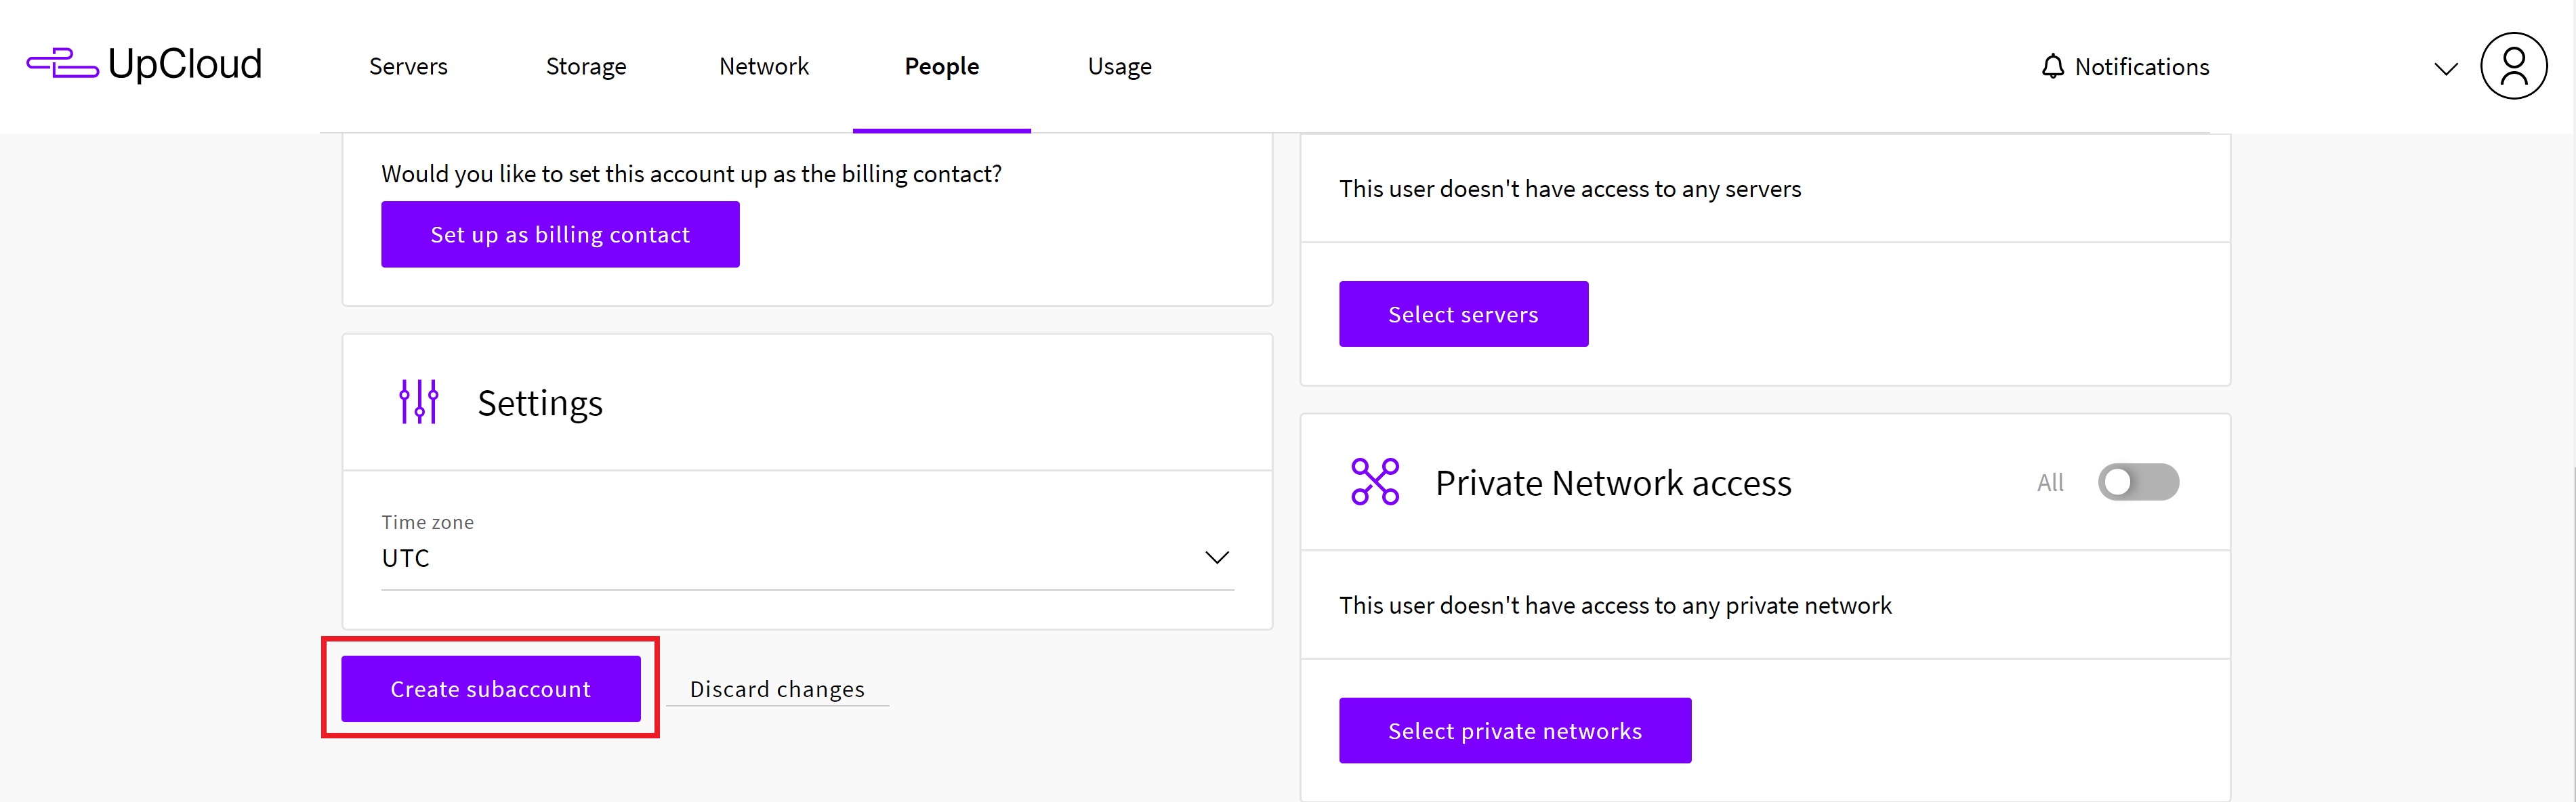
When you’re done click the create user button
IMPORTANT
This can be done in the Server Access section: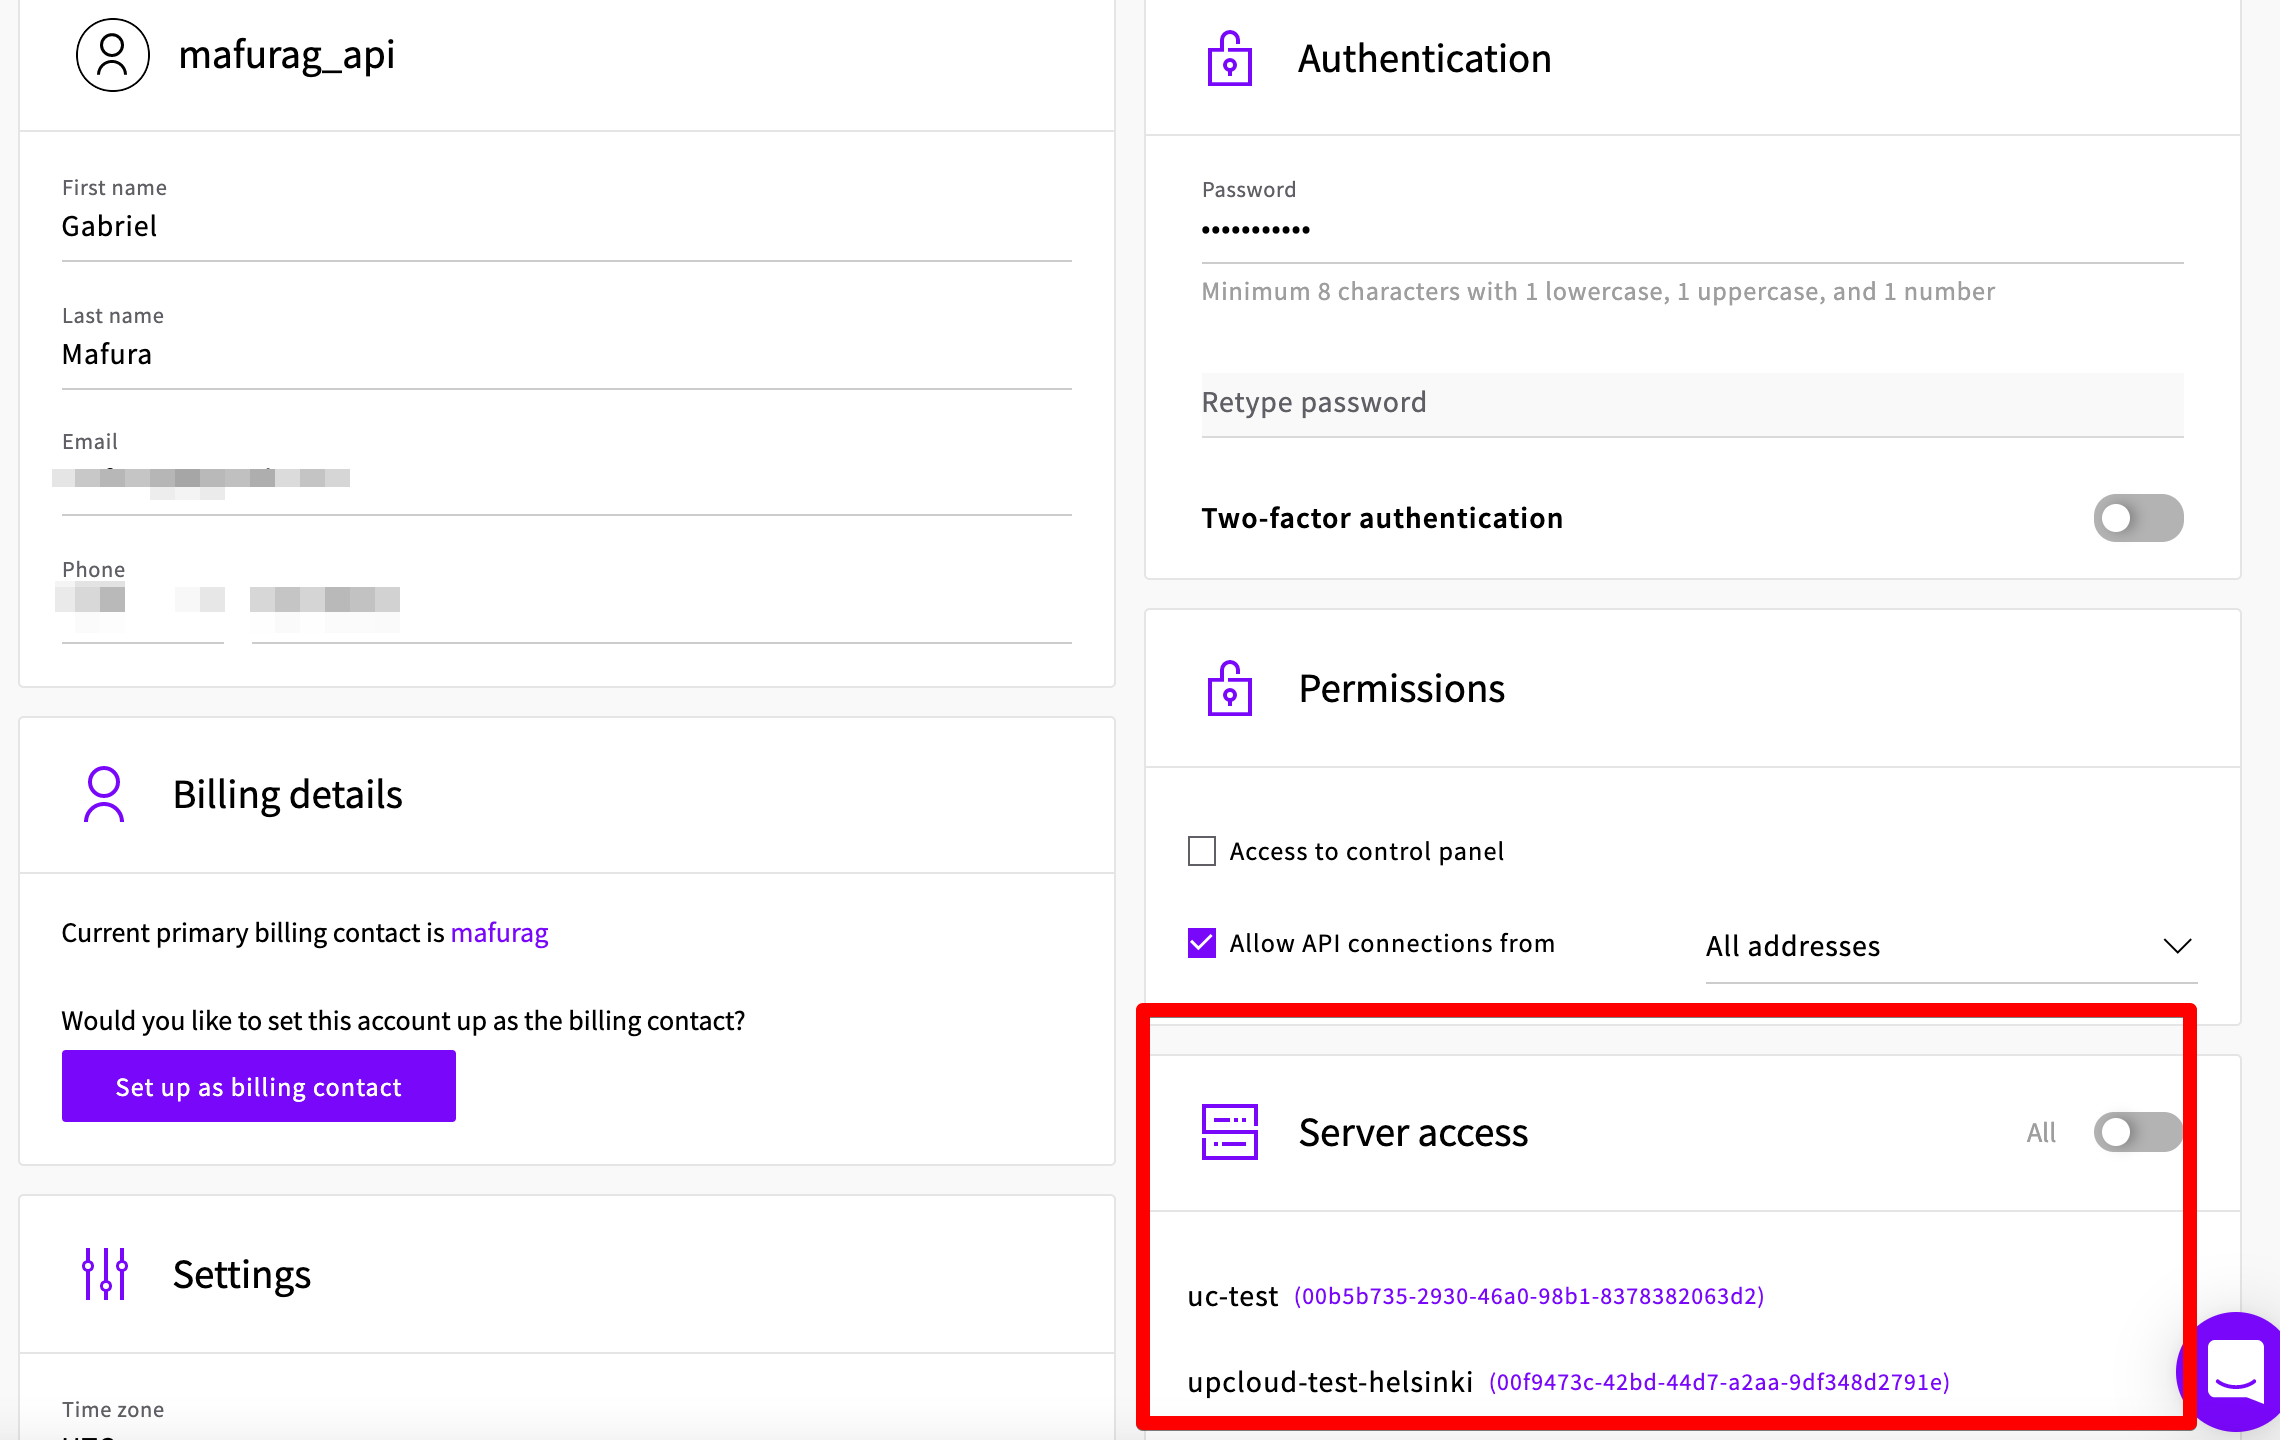
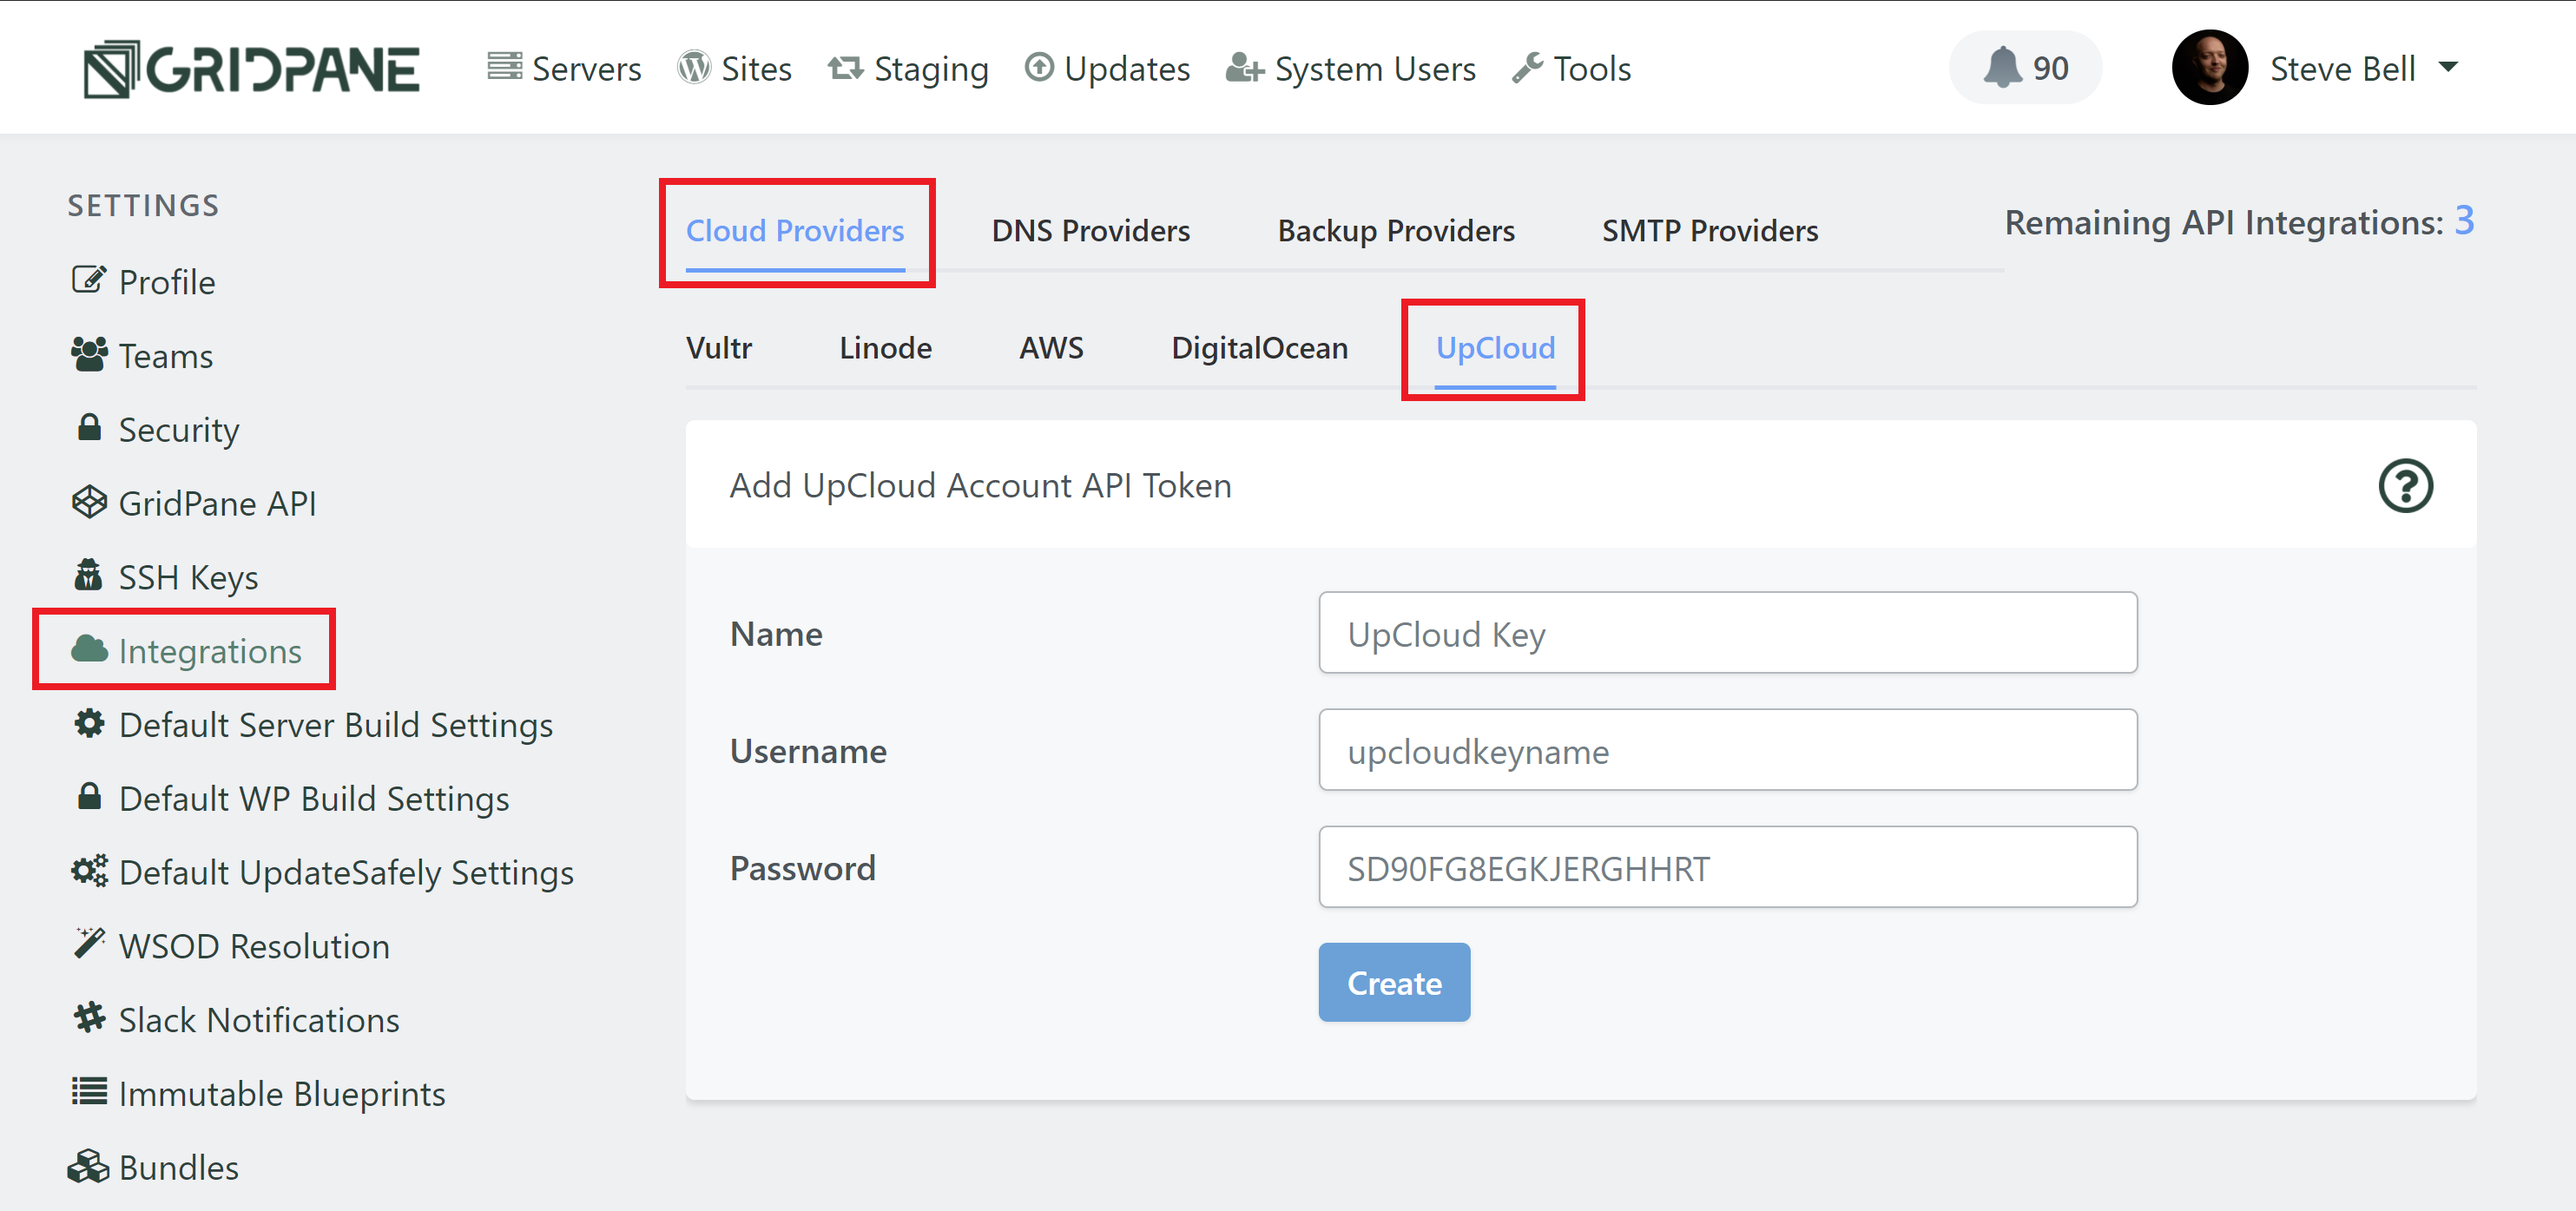
Step 3. Connect your new sub-user inside your vCanopy account
Head over to your vCanopy account and navigate through to the settings page.
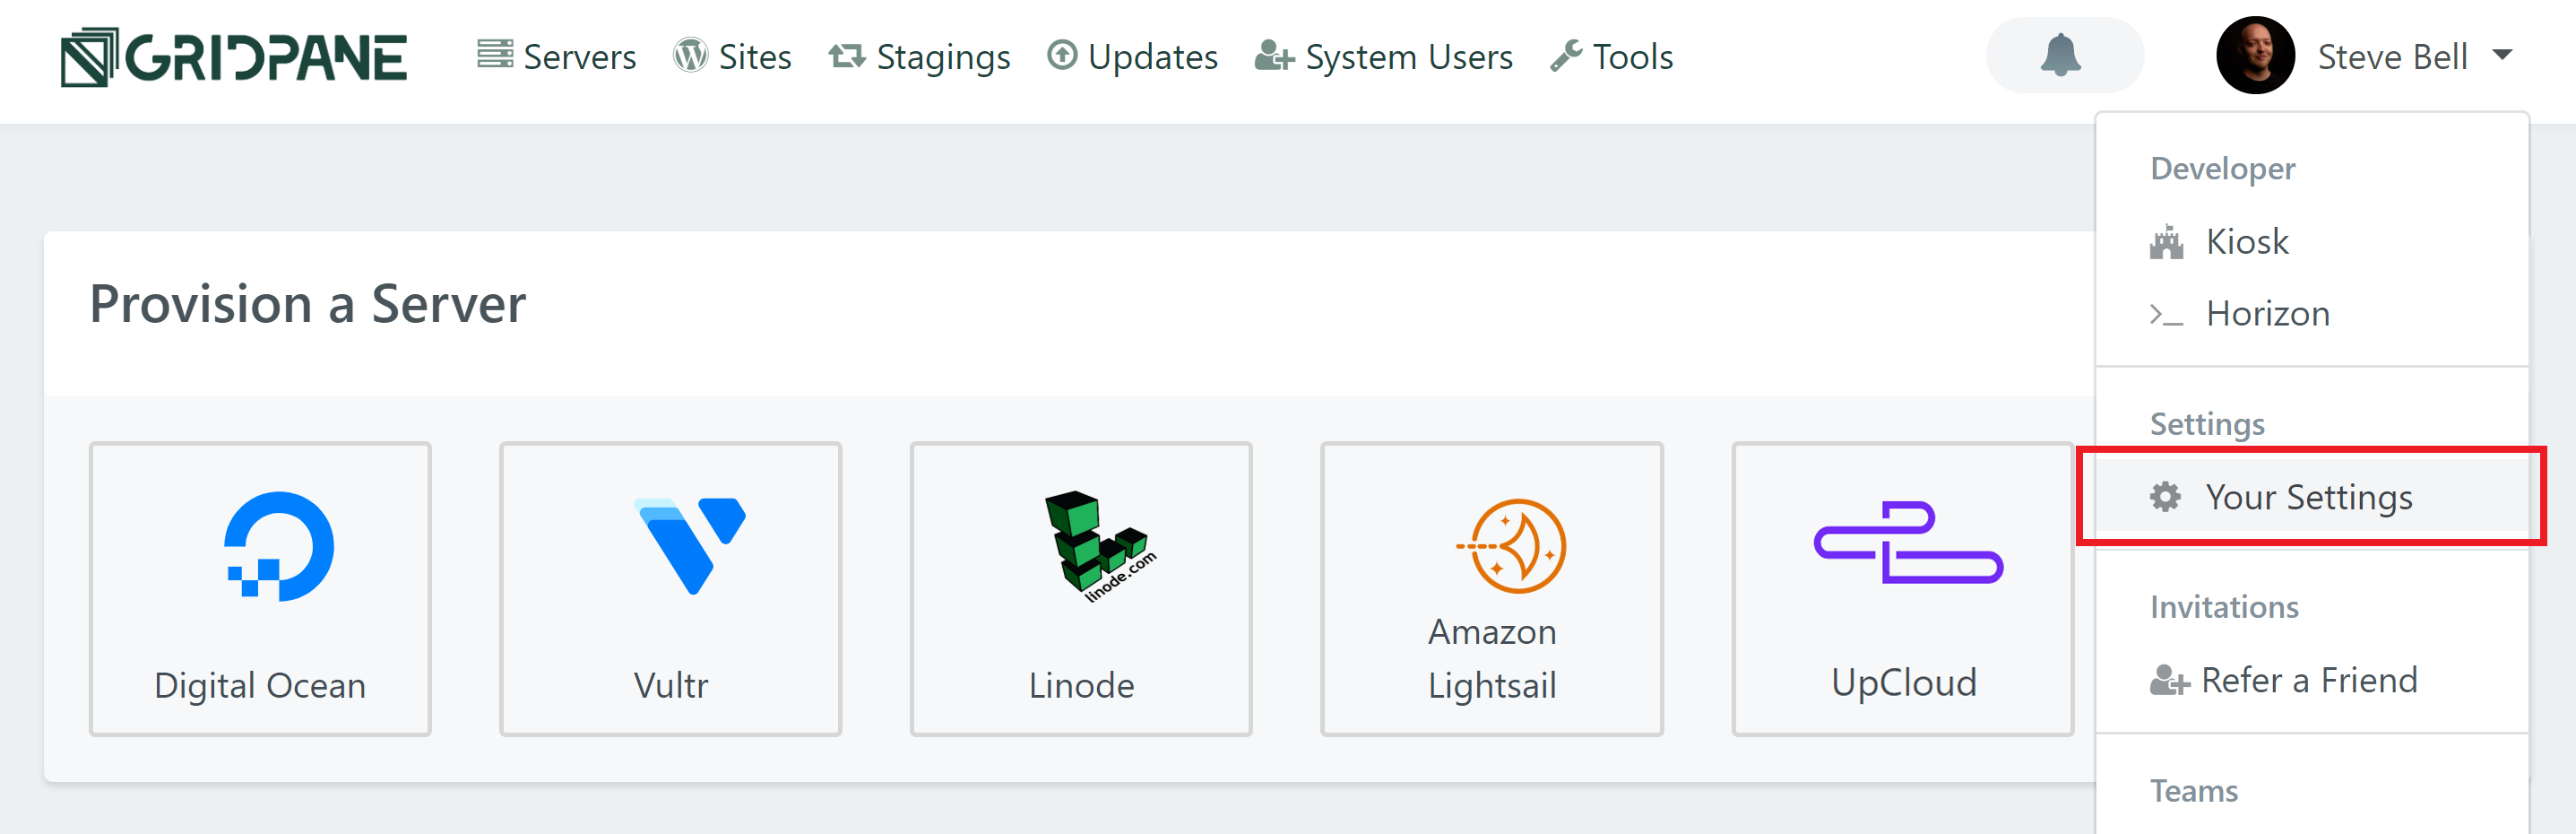
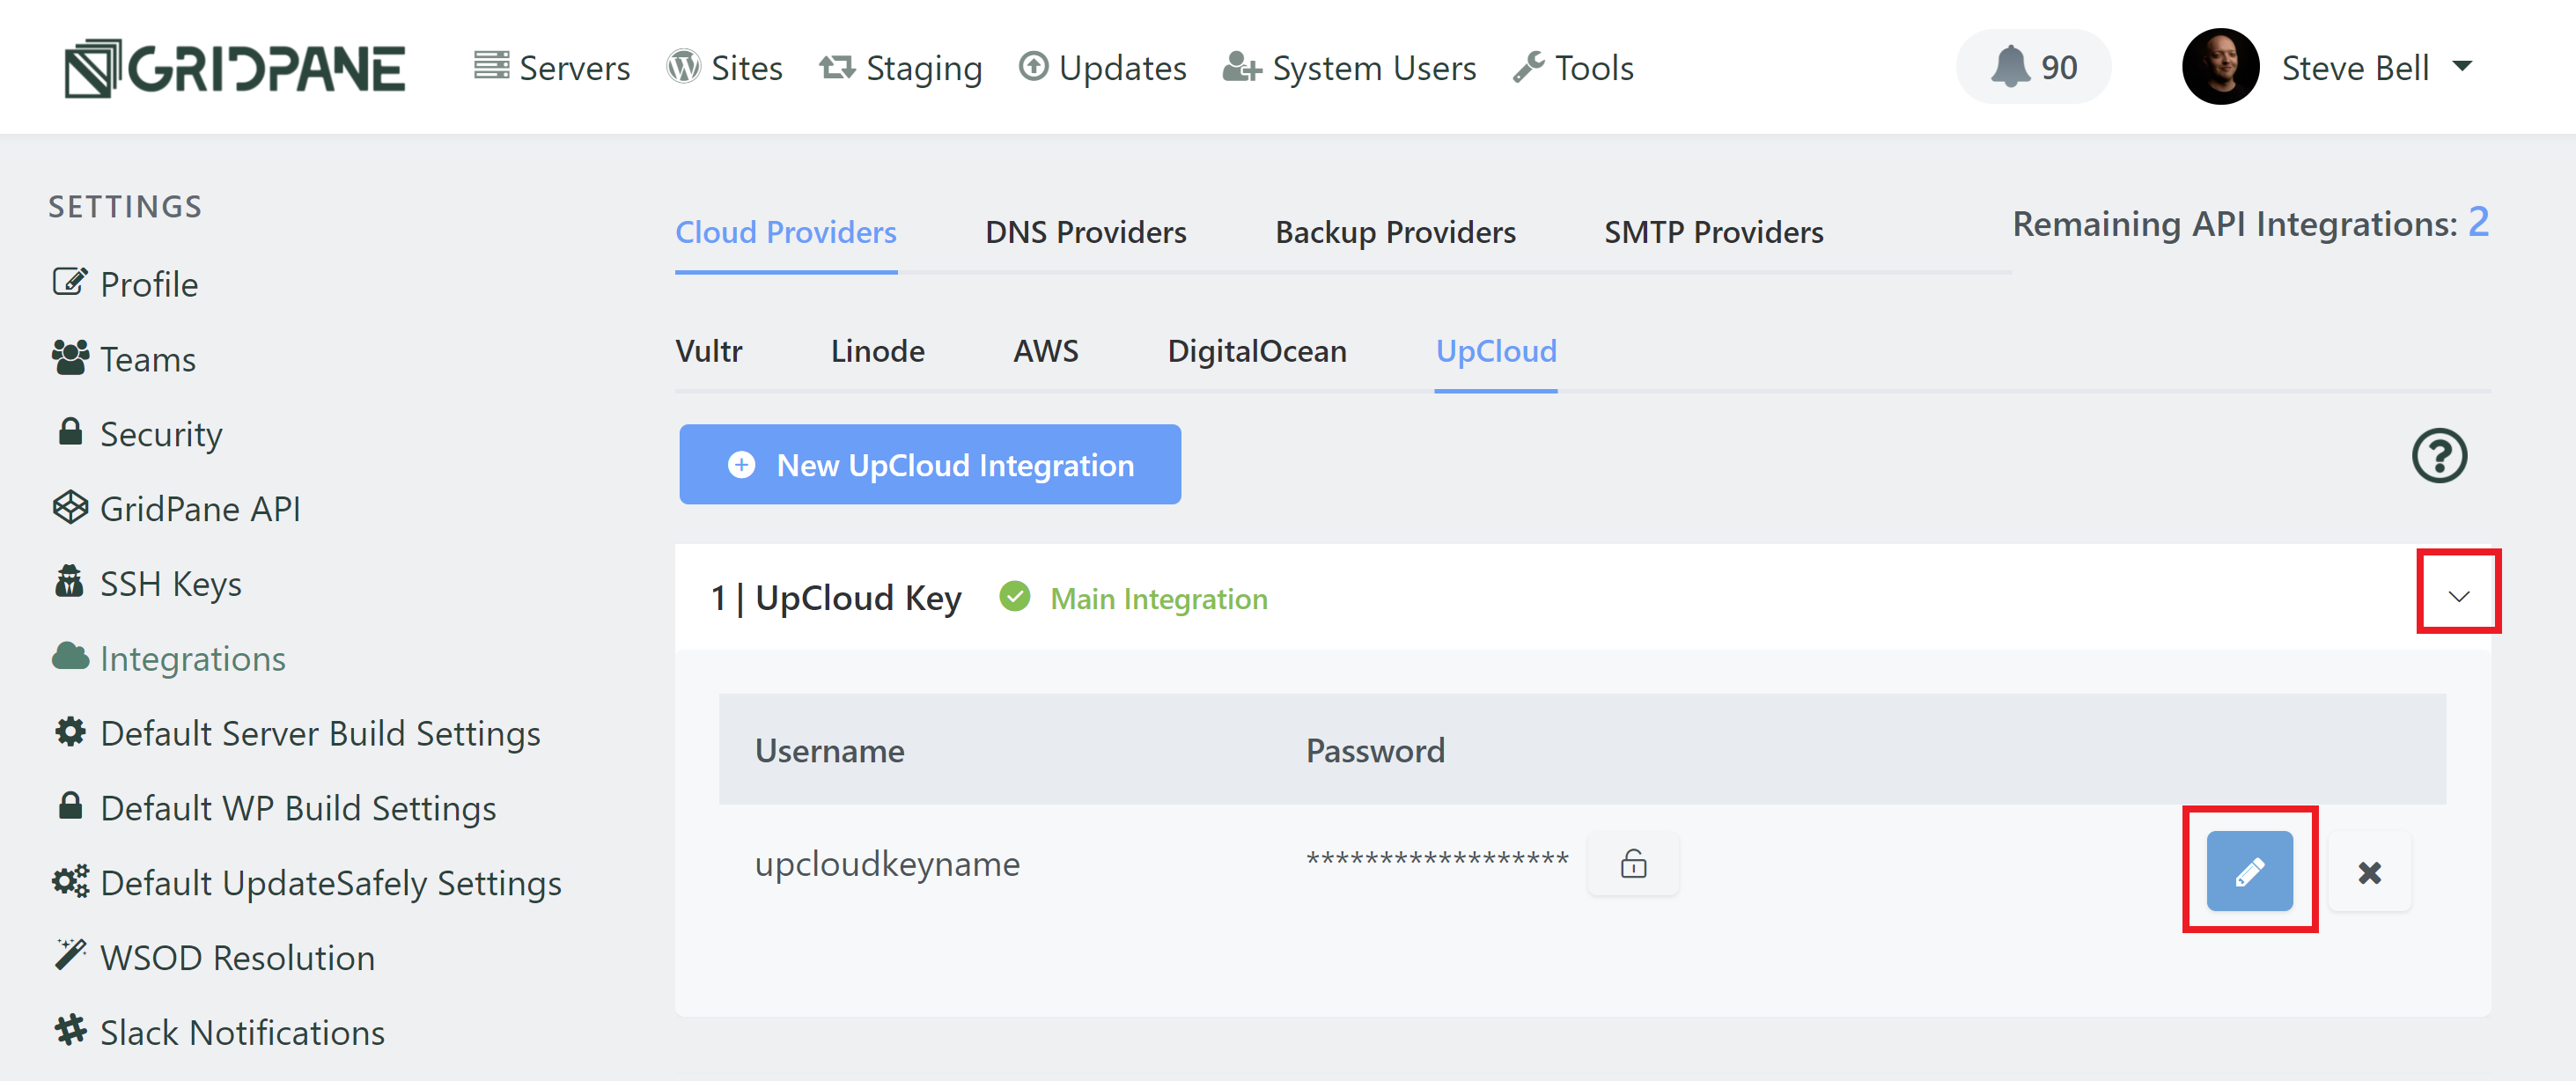
In the left-hand sidebar select Cloud Providers and then click on the UpCloud tab. Here you can enter the username (not the email address) and password of the sub-user you just created in step 2.
Once you’ve saved your details it will look like this:
UPCLOUD: BACKUPS NOTICE
To do this, login to UpCloud and click through to your Servers page, then click on the server you wish to edit. Here you will see a backups tab at the top, and in the tab you will see the various different options that they offer. Choose your preferred backups window and click save.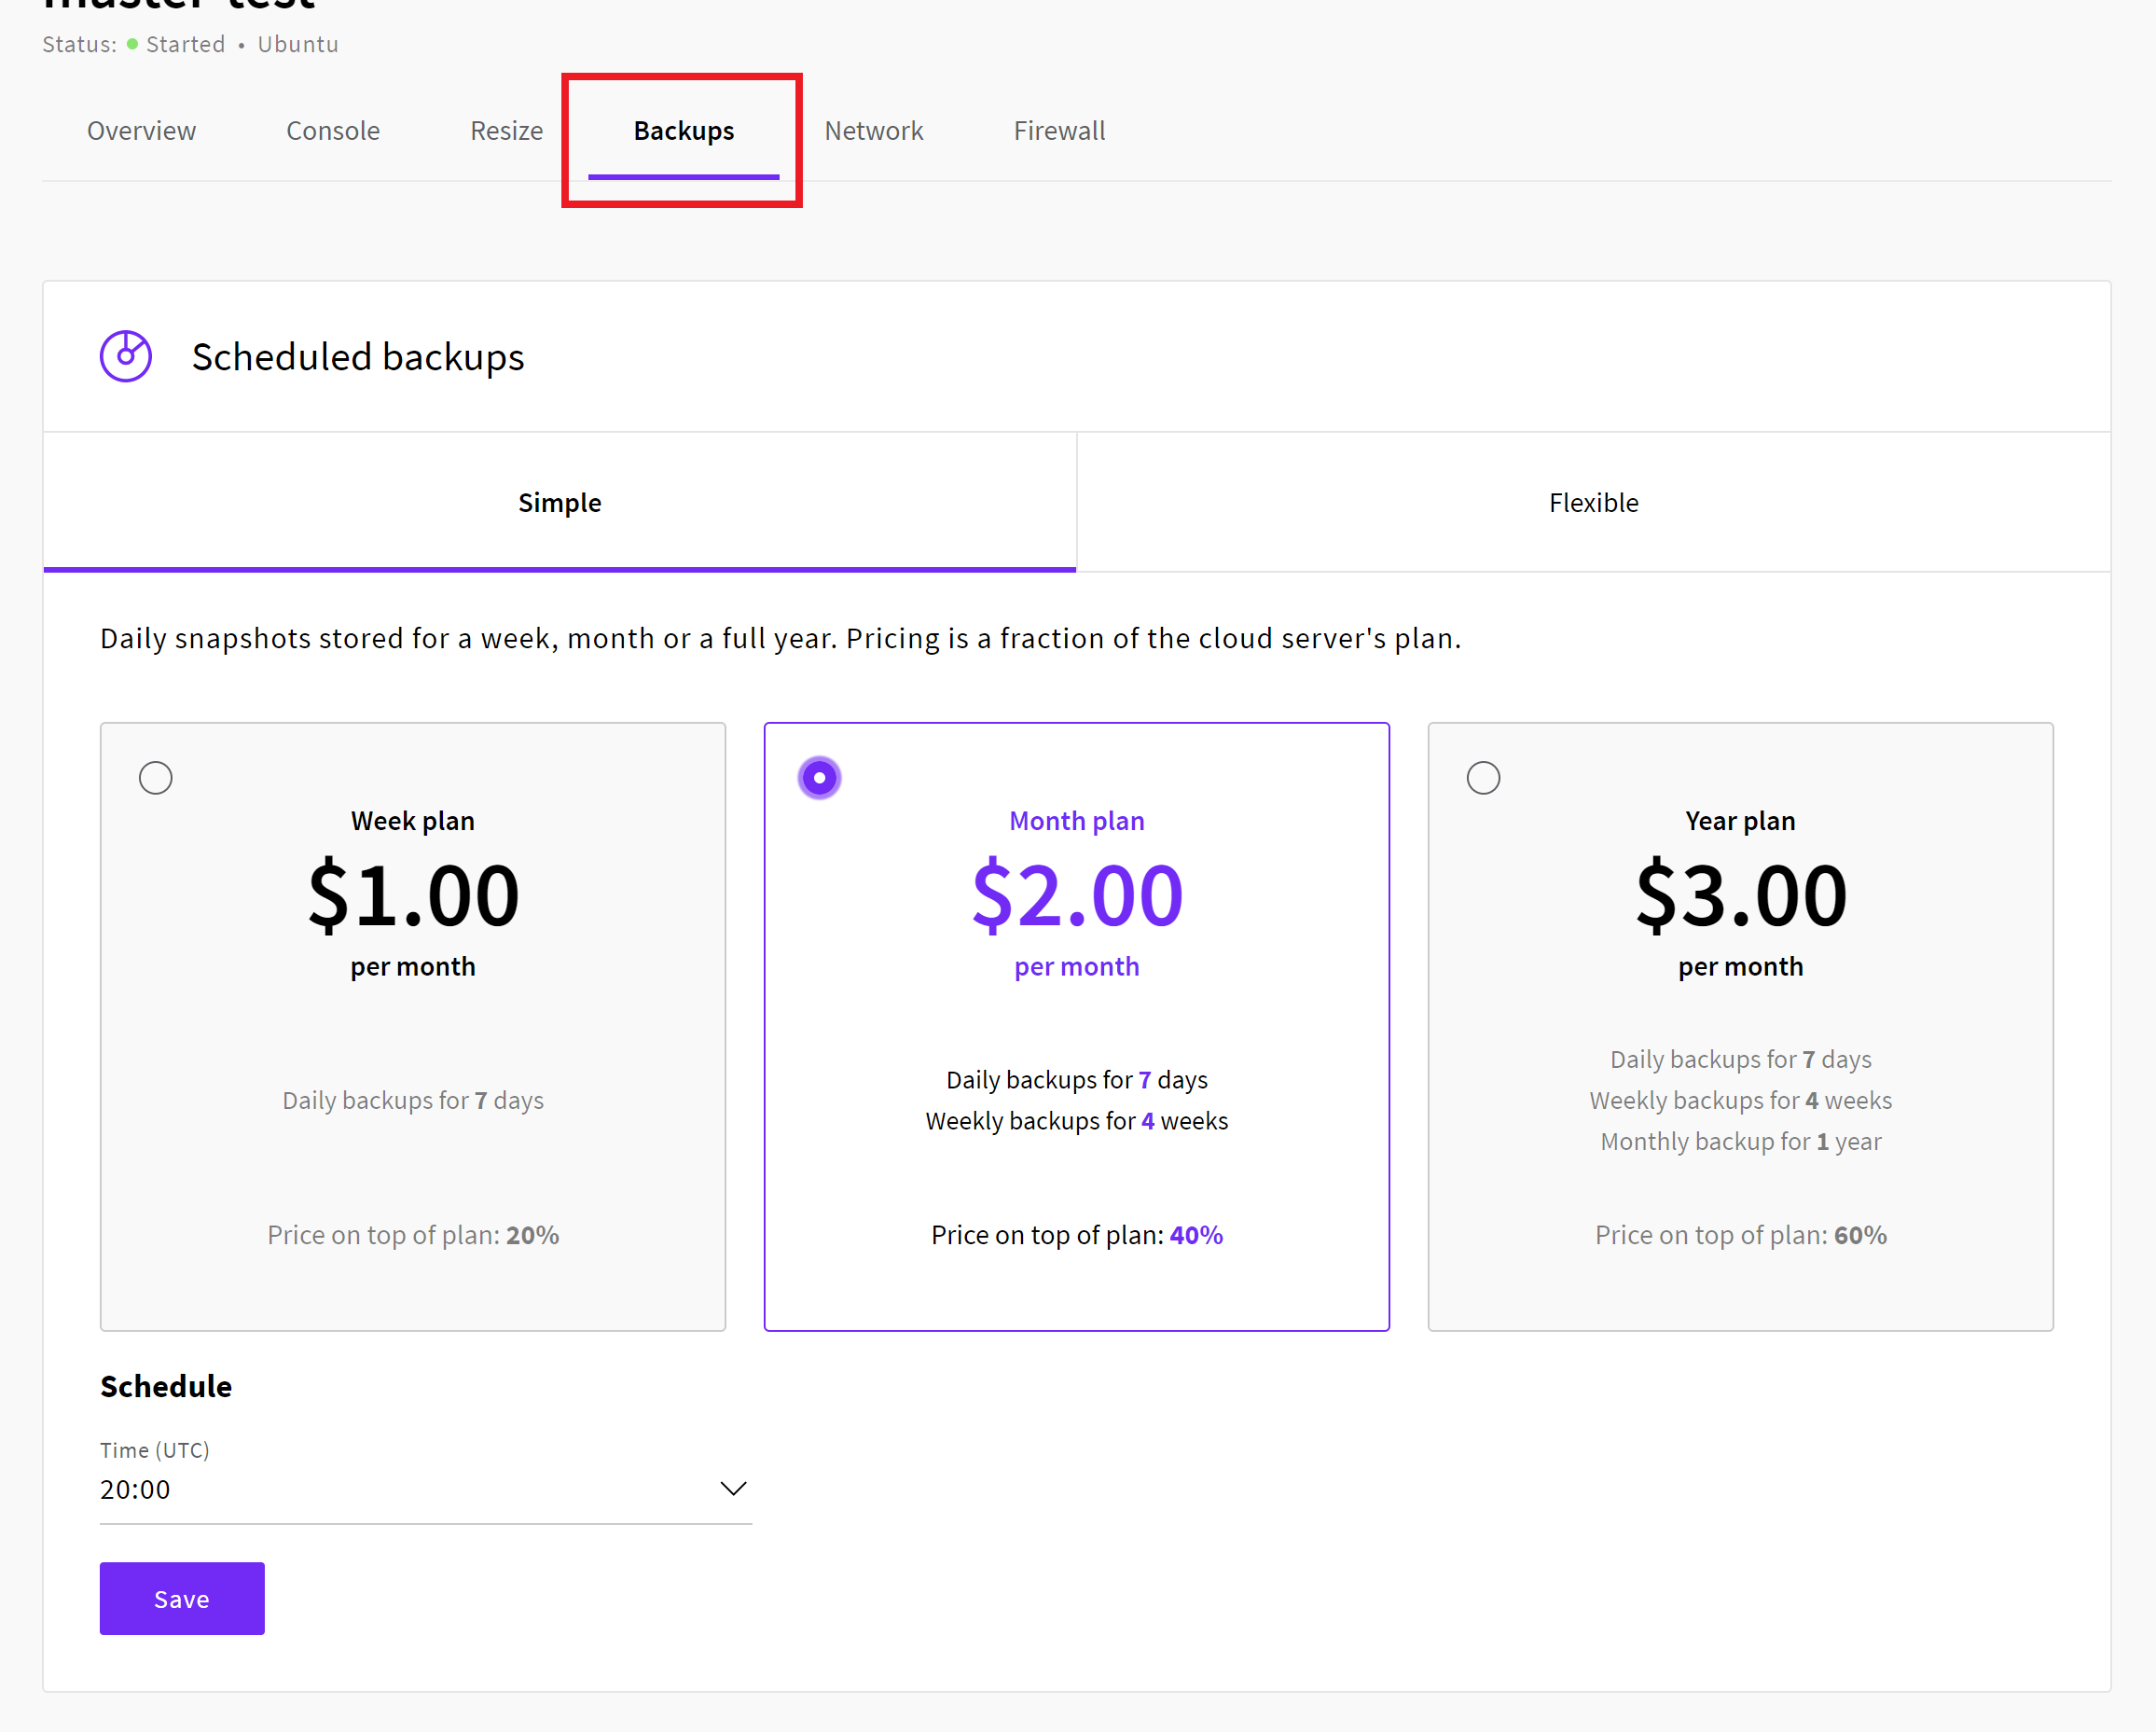
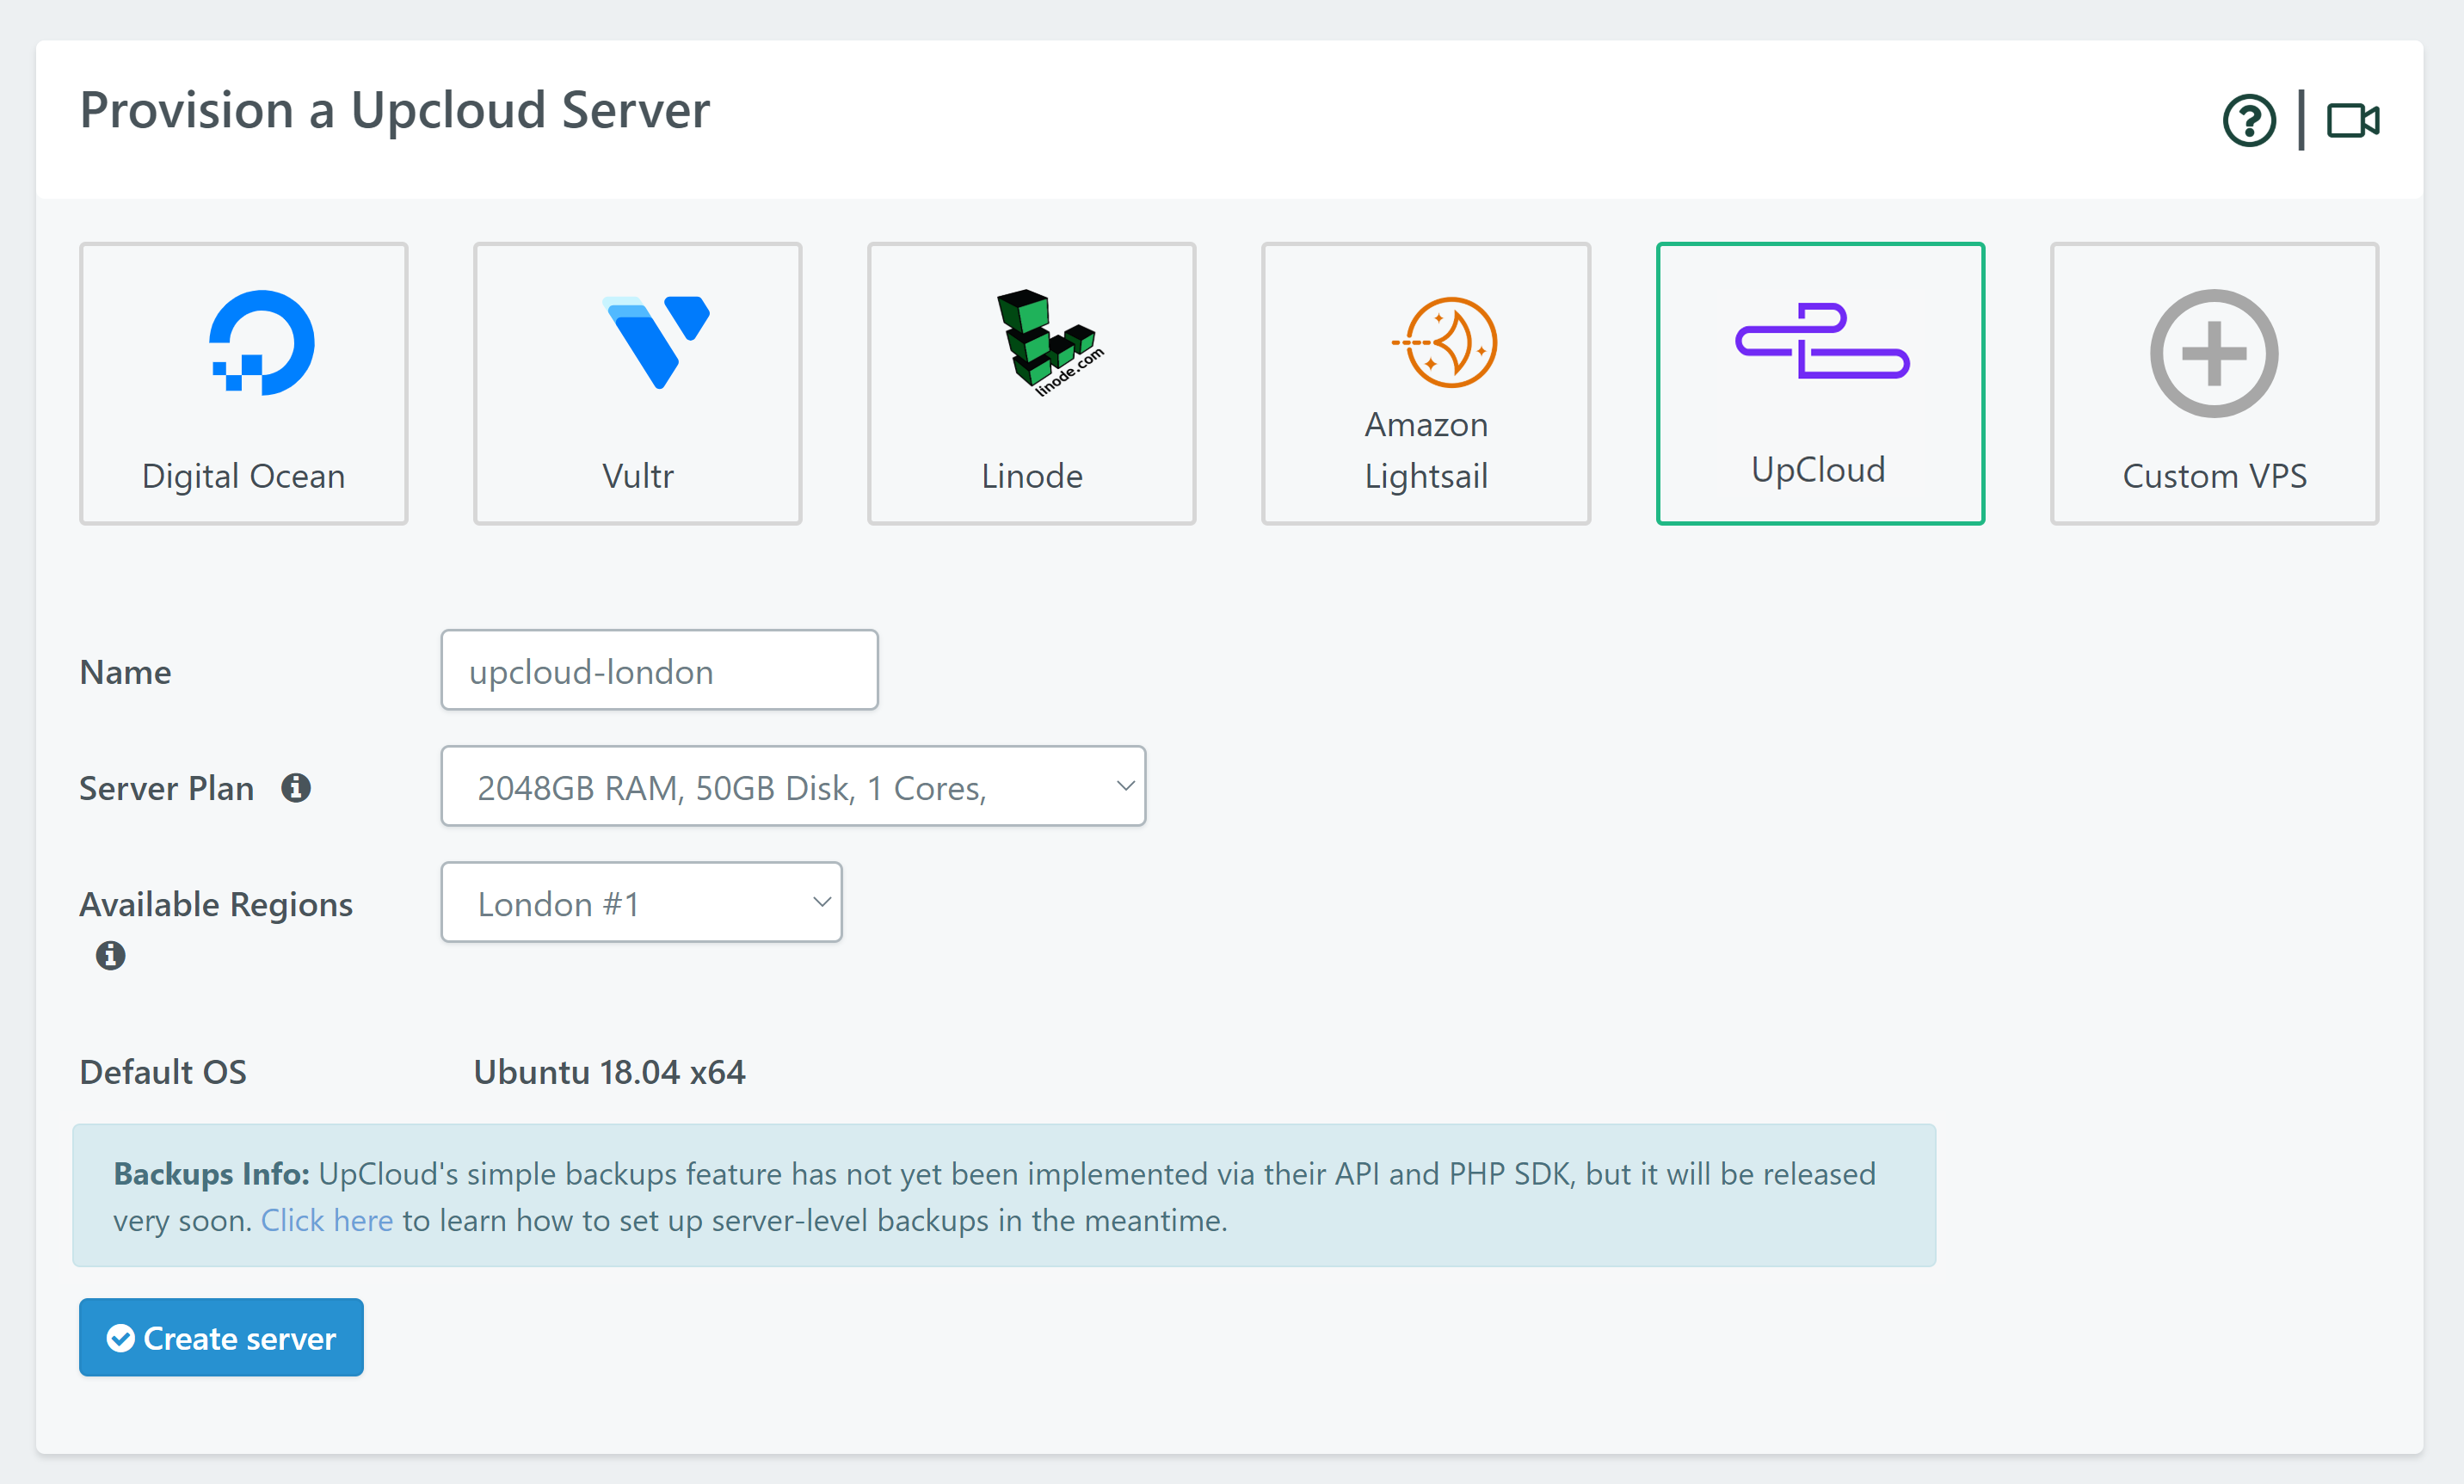
Step 4. Spin up an UpCloud Server
Head to your servers page and click on UpCloud. You’ll be presented with options for your server – choose your server size and whether you wish to enable UpCloud server backups (we highly recommend that you enable provider level backups – but please ensure you read the above backups notice and set backups inside your UpCloud account until further notice – we’ll update this article again ASAP).
UPCLOUD FREE TRIAL LIMITATIONS
If you’re using UpCloud’s free trial, there may be a restriction on your account to 1GB RAM servers and you may need to deposit money in your account to lift this restriction. If that’s the case, you may get a generic “Server Error” when trying to spin up a new server.
CONFIGURE YOUR SERVER
Give your server a name, choose the size, region, and stack options, then hit the Create server button.
Step 5. Wait for 10-15 minutes for your server to provision
UpCloud works a little different to our other API integrations. Servers are built using terraformm which is an infrastructure as code software tool. During the server build there won’t be any callbacks/updates on the process, it will simply display as “Active” along with a green “Provisioned” bar.
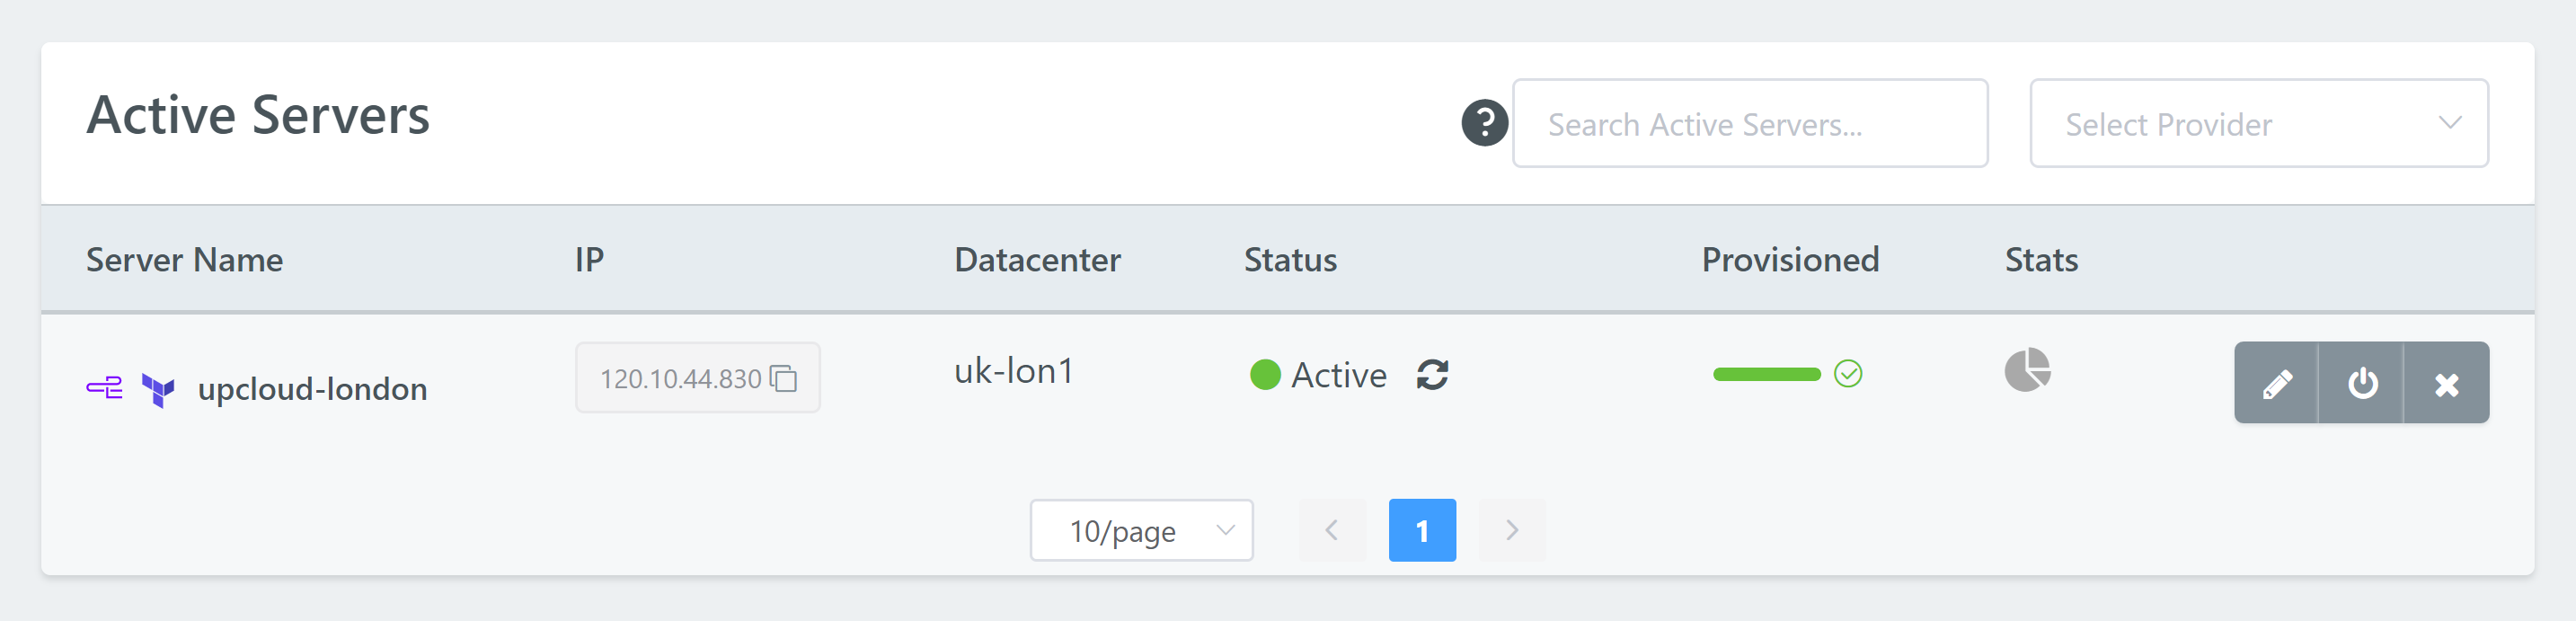
Step 6. Start adding new sites
Your server is now provisioned and ready for you to start adding new websites.
