


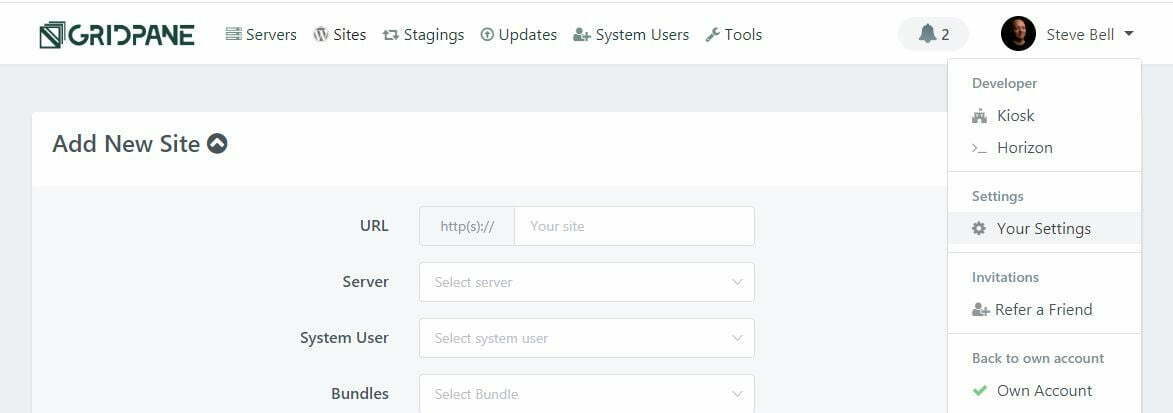
Step 1. Navigate to the settings page
To get started, login to your account and click on your name in the top right-hand corner, and then choose the settings option from the drop-down.
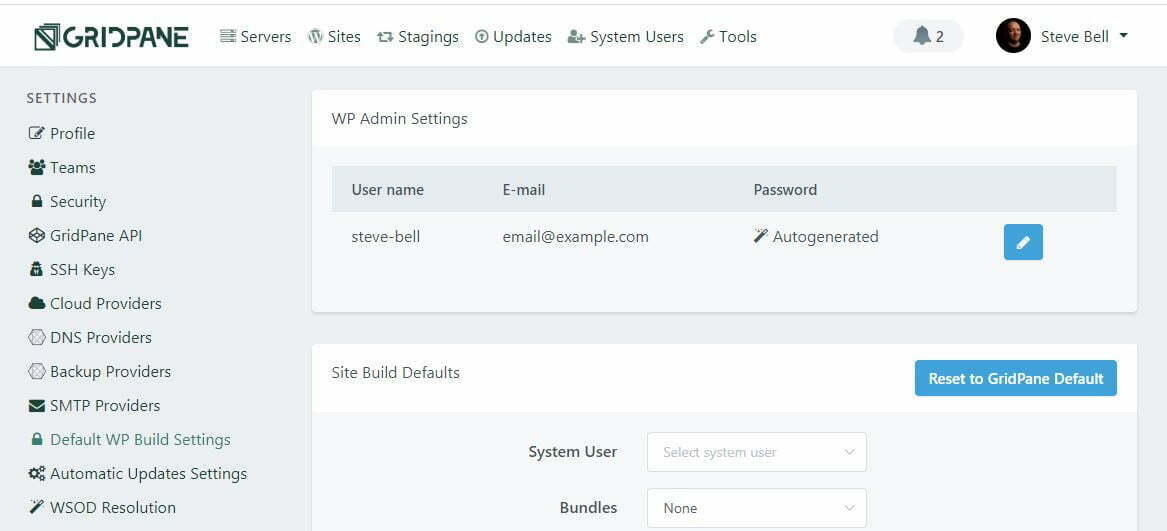
Next click on Default WP Build Settings in the menu on the left hand side.
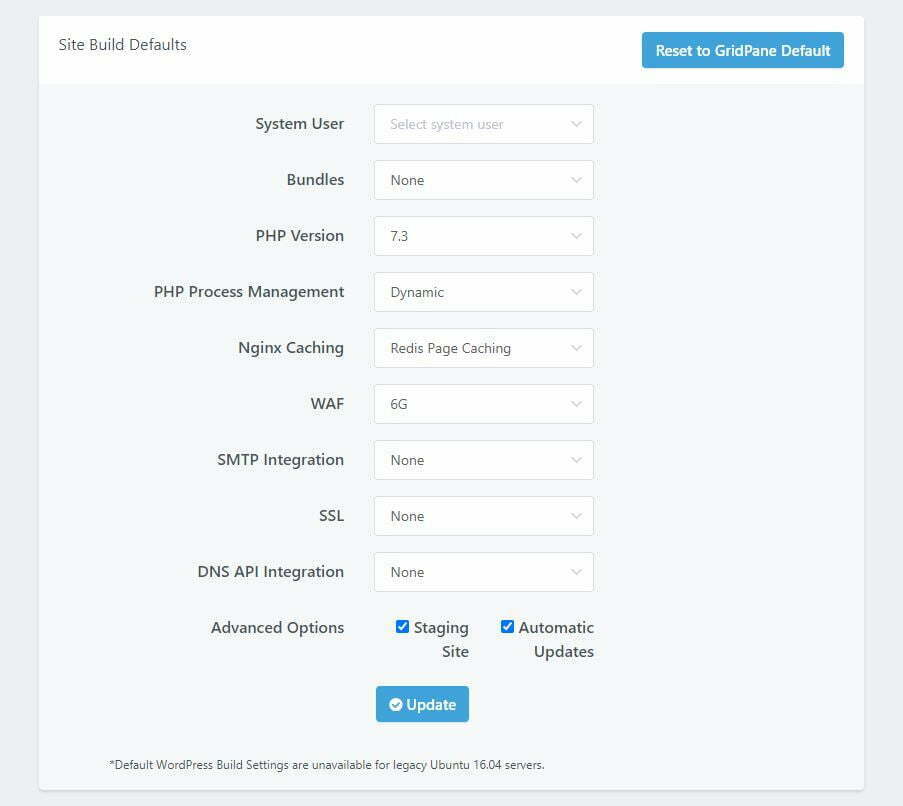
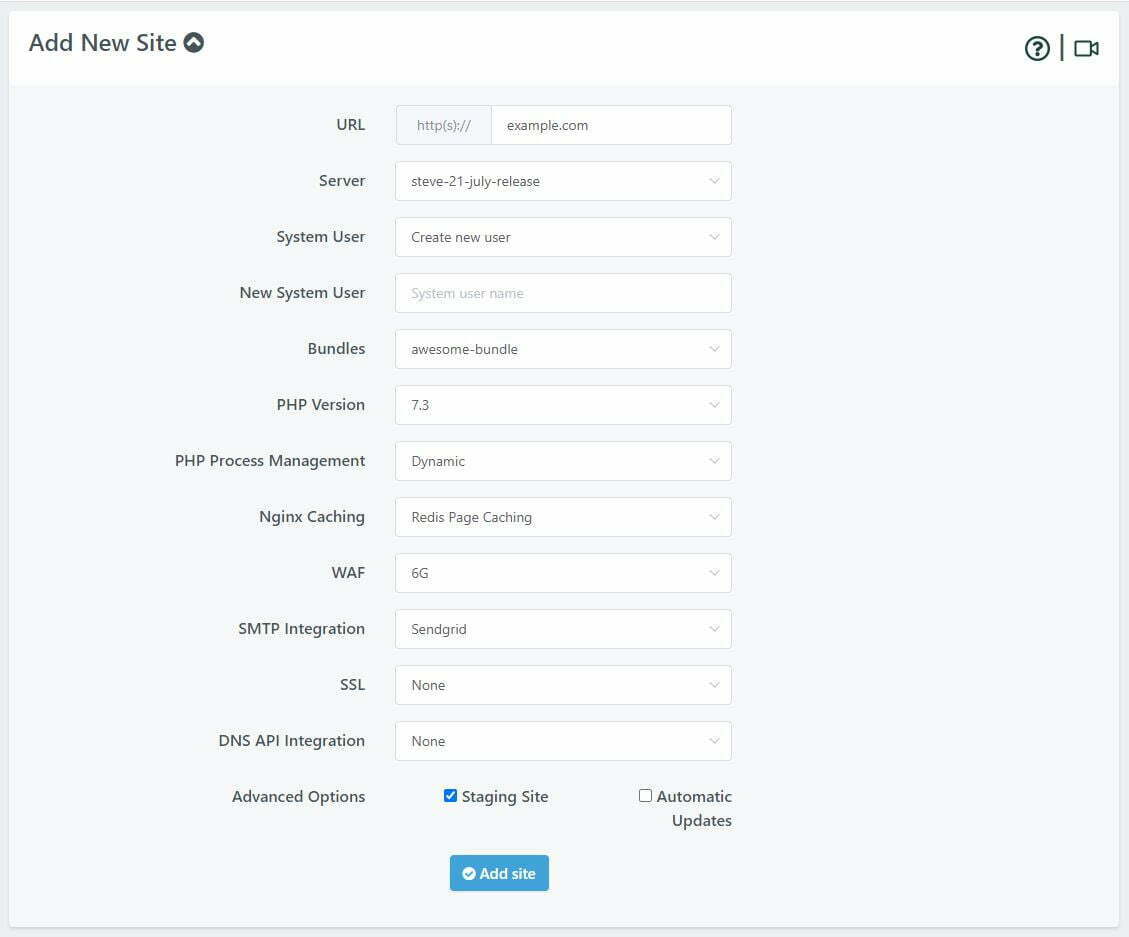
Step 2. Choose your site build settings
Here you’ll see the following list of settings that you can configure as the default when you create new WordPress websites.
SYSTEM USER
You have the option to autocreate a new system user, create a new user (choose the name), or choose to select an existing user. We strongly recommend you use a separate system user for each individual website. This ensures that:
- Your websites are completely isolated from one another on the server, making each more secure.
- You can provide website specific SFTP access to your clients/developers.
- If trying to diagnose performance issues on a server you can easily narrow specific websites down based on their system user in top and htop.

BUNDLES
Do you have a bundle that you use on all or most of the new websites you create? You can now choose to set one of your bundles as the default option.

You can check out how to create new bundles here: Using vCanopy Bundles.
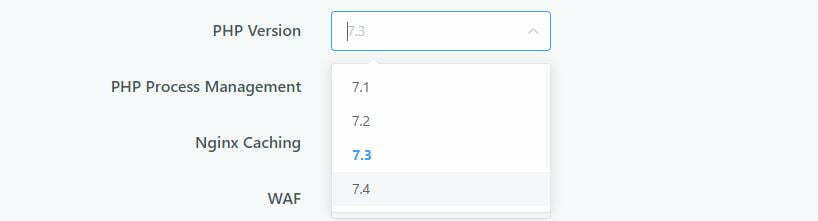
PHP VERSION
Choose your preferred PHP version.
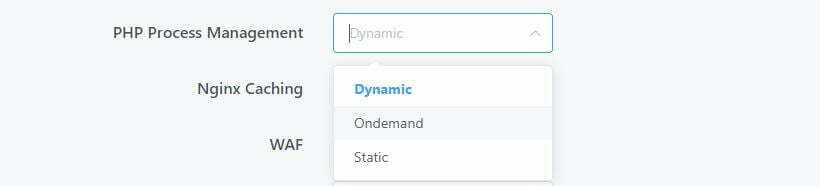
PHP PROCESS MANAGEMENT
Here you can choose the default option for how your PHP workers are set on your new websites. If you’re unsure, we recommend you stick with the default option and leave it as “Dynamic“. You can choose to set them as Static, Dynamic, or Ondemand.
- Ondemand is where PHP workers are fired up as requested, but it is possible to have no php workers in existence.
- Static is where you set a finite amount of workers to be active at all times.
- Dynamic is a bit like both where you can set a minimum and maximum number of workers. PHP workers are generated when needed, with a minimum number set.
To learn more about PHP workers and how to change their settings on your vCanopy servers, check out this section of the Configuring PHP: PHP by Site – Process Manager/Workers.
NGINX CACHING
Set your preferred default caching option.

You can learn more about our caching options here: An Introduction to vCanopy Server Caching Options.
WAF
WAF stands for “Web Application Firewall”. vCanopy has two deep integrations with the 6G WAF and ModSecurity.

You can learn more about our WAF integrations here: –
SMTP INTEGRATION
We currently have an API integration with SendGrid’s SMTP service. If you’ve set your API key, you’ll have the option to choose to activate the SMTP integration automatically as new sites are created.

You can learn how to setup the SenGrid integration here: Using SendGrid SMTP for Transactional Emails.
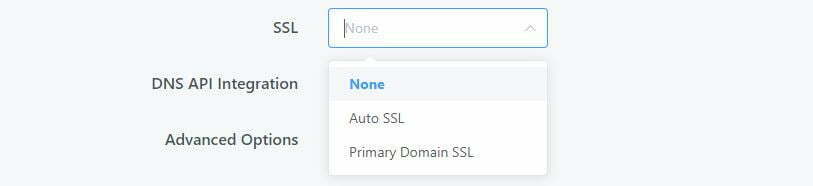
SSL
You have the option to provision an SSL for your websites automatically once they’ve been created. This will take place immediately once the install has finished being set up and the website is ready for use.
You have the option to choose AutoSSL (good for multisites and sites that will have multiple different domain names attached to them), Primary Domain SSL (suitable for regular websites), or None (best if you haven’t set up your DNS records or a DNS API integration).
You can learn more about provisioning SSL certificates for your websites here: Provisioning SSL Certificates.
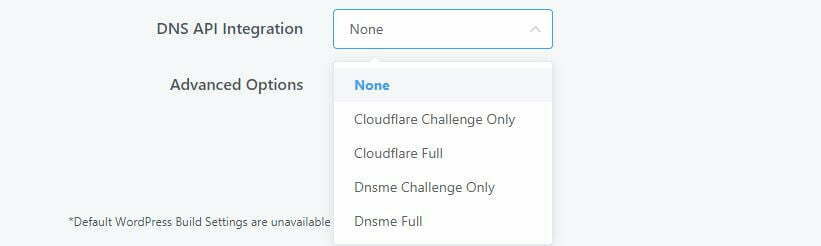
DNS API INTEGRATION
vCanopy has DNS API integrations with Cloudflare and DNS Made Easy. If you’re using one of these services and have set up your API key, you can choose to set that integration as your default.
The available options are: –
- None
- Cloudflare Challenge Only
- Cloudflare
- DNS Made Easy Challenge Only
- DNS Made Easy
You can learn about setting up DNS integrations here: –
ADVANCED OPTIONS
You have the option to create a staging site and a canary site for each of your websites. Staging is great for making changes and testing updates to make sure they all work correctly before you run them on your live site. This keeps them safe and up and running.
Canary sites are for our UpdateSafely feature. This is currently being refactored for re-release in the near future and isn’t operational at this time.

You can learn about staging sites here: Using staging sites on vCanopy.
Step 3. Save your settings
Once you’ve set your preferences simply hit the update button and you’re all set.

Now when you go to create a new website, your default options will be pre-selected for you, and you can adjust as necessary for new sites that need a slightly different configuration.
You can also reset them anytime by clicking the “Reset to vCanopy Default” at the top of the settings any time.