Introduction
In this tutorial, we’ll take a look at how to use the excellent AIOWP Migration Plugin to migrate your sites from your old hosting to vCanopy.
WordPress provides a variety of different plugin tools to help you migrate your sites from one host to another.
Often a host, especially shared hosting, won’t provide you with root access to the server where your sites are hosted. In these situations using one of these tools is necessitated.
In this article, we are going to use the All In One WP Migration plugin to migrate a site into a vCanopy server using an AIOWPM backup, but the process looks pretty much the same no matter where you’re importing the website into.
Throughout this article, we will be referring to the site you wish to migrate as the origin site and the site or server being migrated into as your destination site or server.
Before you begin, we recommend disabling all caching on your origin and destination server before proceeding. This includes any server-based page and object caching systems that might be in place, and any application-level plugin based caching.
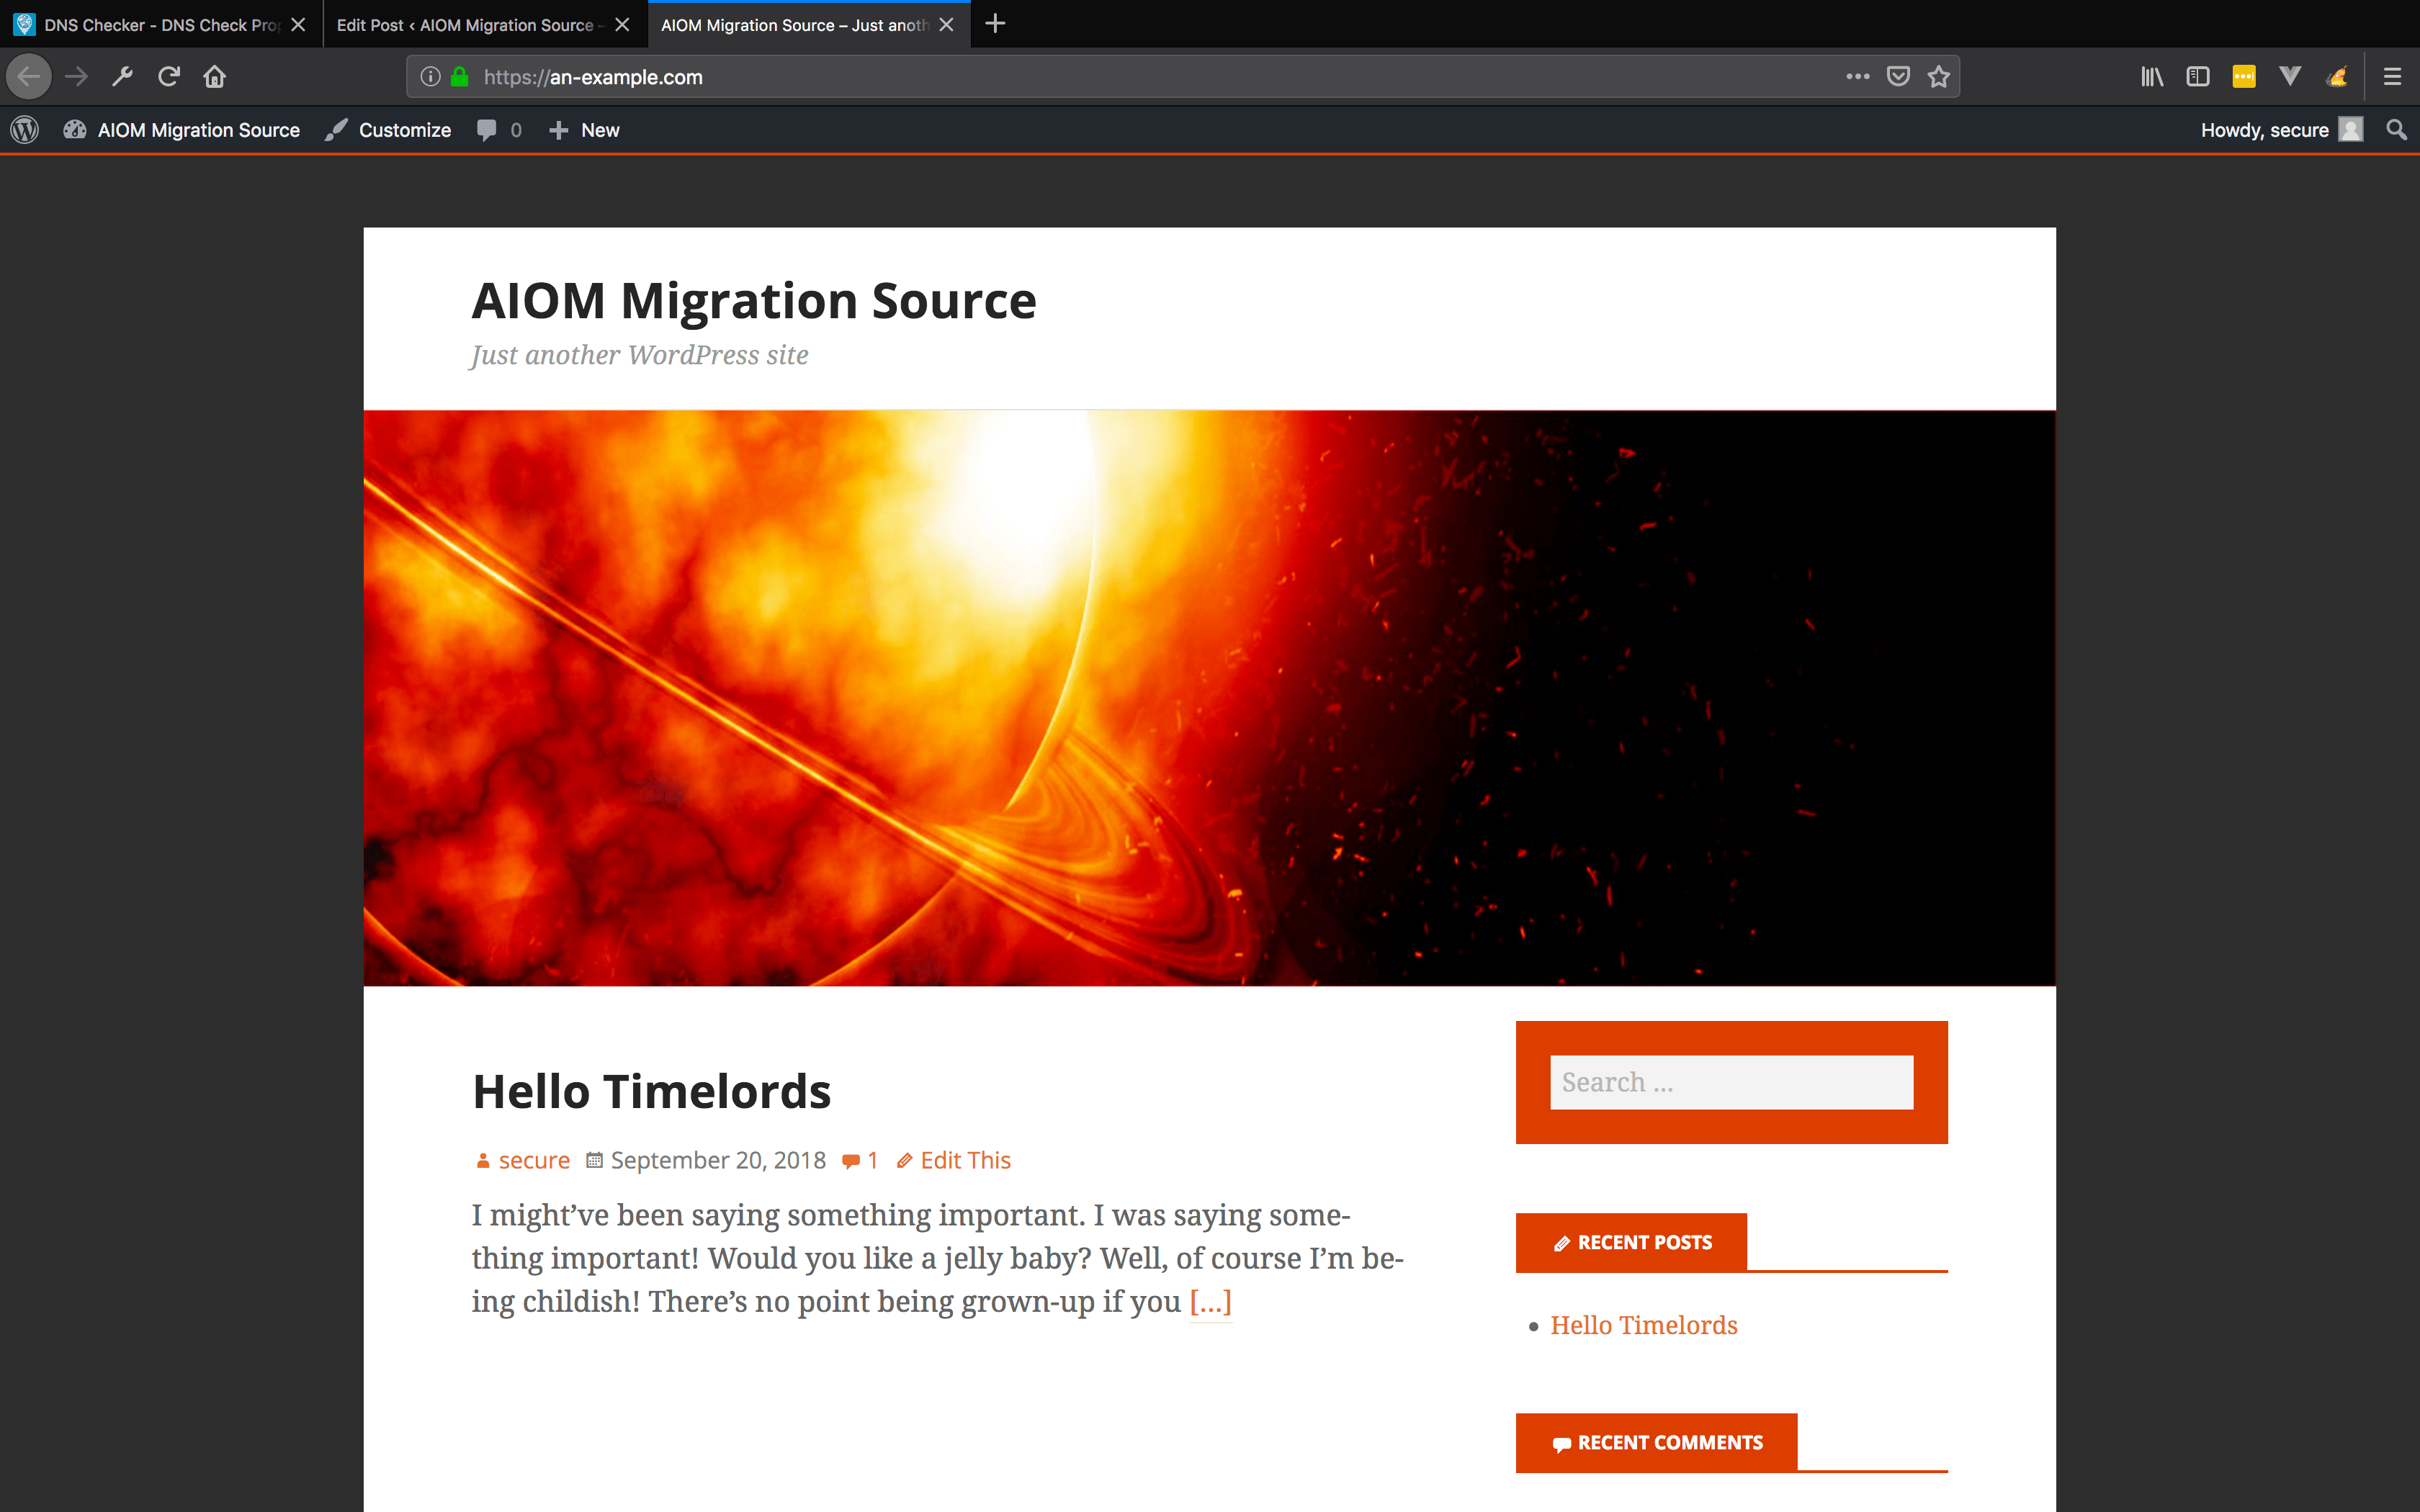
For this article, the demo origin site I will use has a small amount of dummy content and is using the stargazer theme.
MULTISITE NOTICE
If you're migrating in a multisite, be sure to toggle on the appropriate multisite setting in your website customizer BEFORE you begin. Learn more here:
How to Enable WordPress Multisite on vCanopy
Step 1. Backup your Origin site with All In One Migration
The plugin authors, ServMask, have extensive documentation about using this plugin at their Knowledge Base. Please refer to this documentation for any use of the more advanced features of the plugin. You may also contact them for free help here.
Install and activate the All in One WP Migration plugin on your origin site.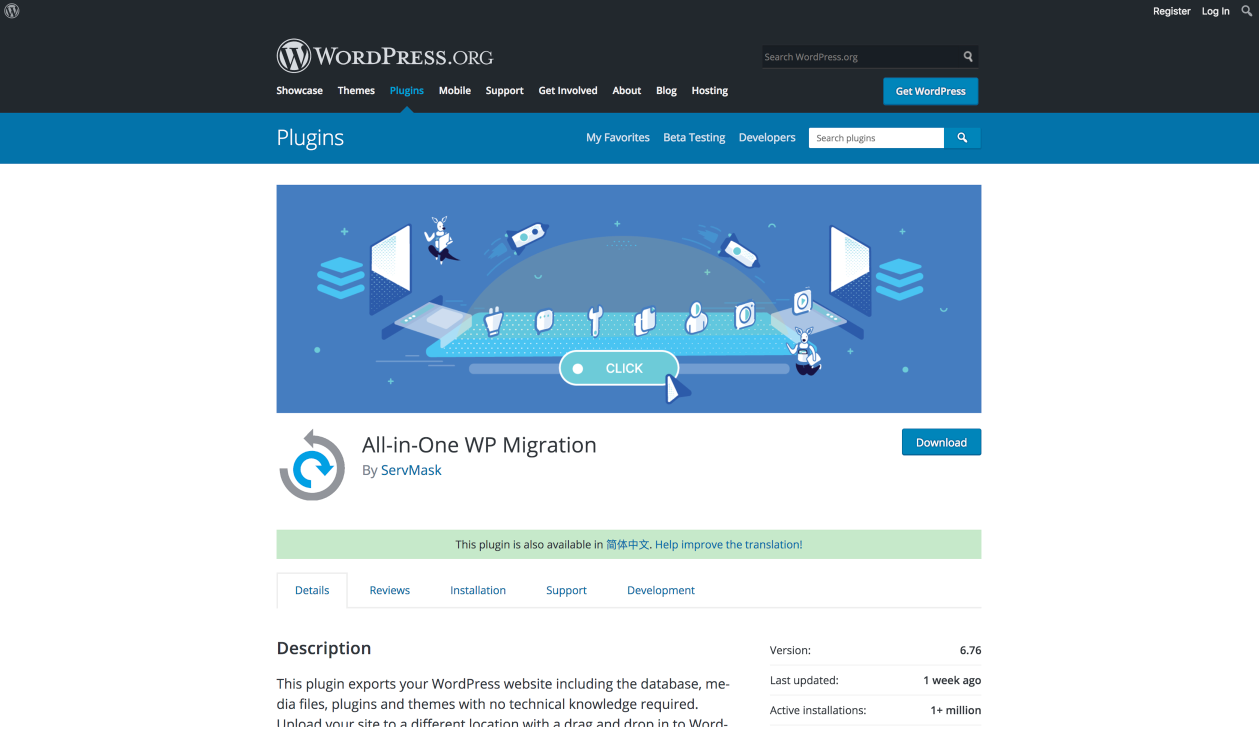
Once activated go to the All In One WP Migration settings Export page. This page includes a Database Find and Replace feature, and more Advanced options you can configure.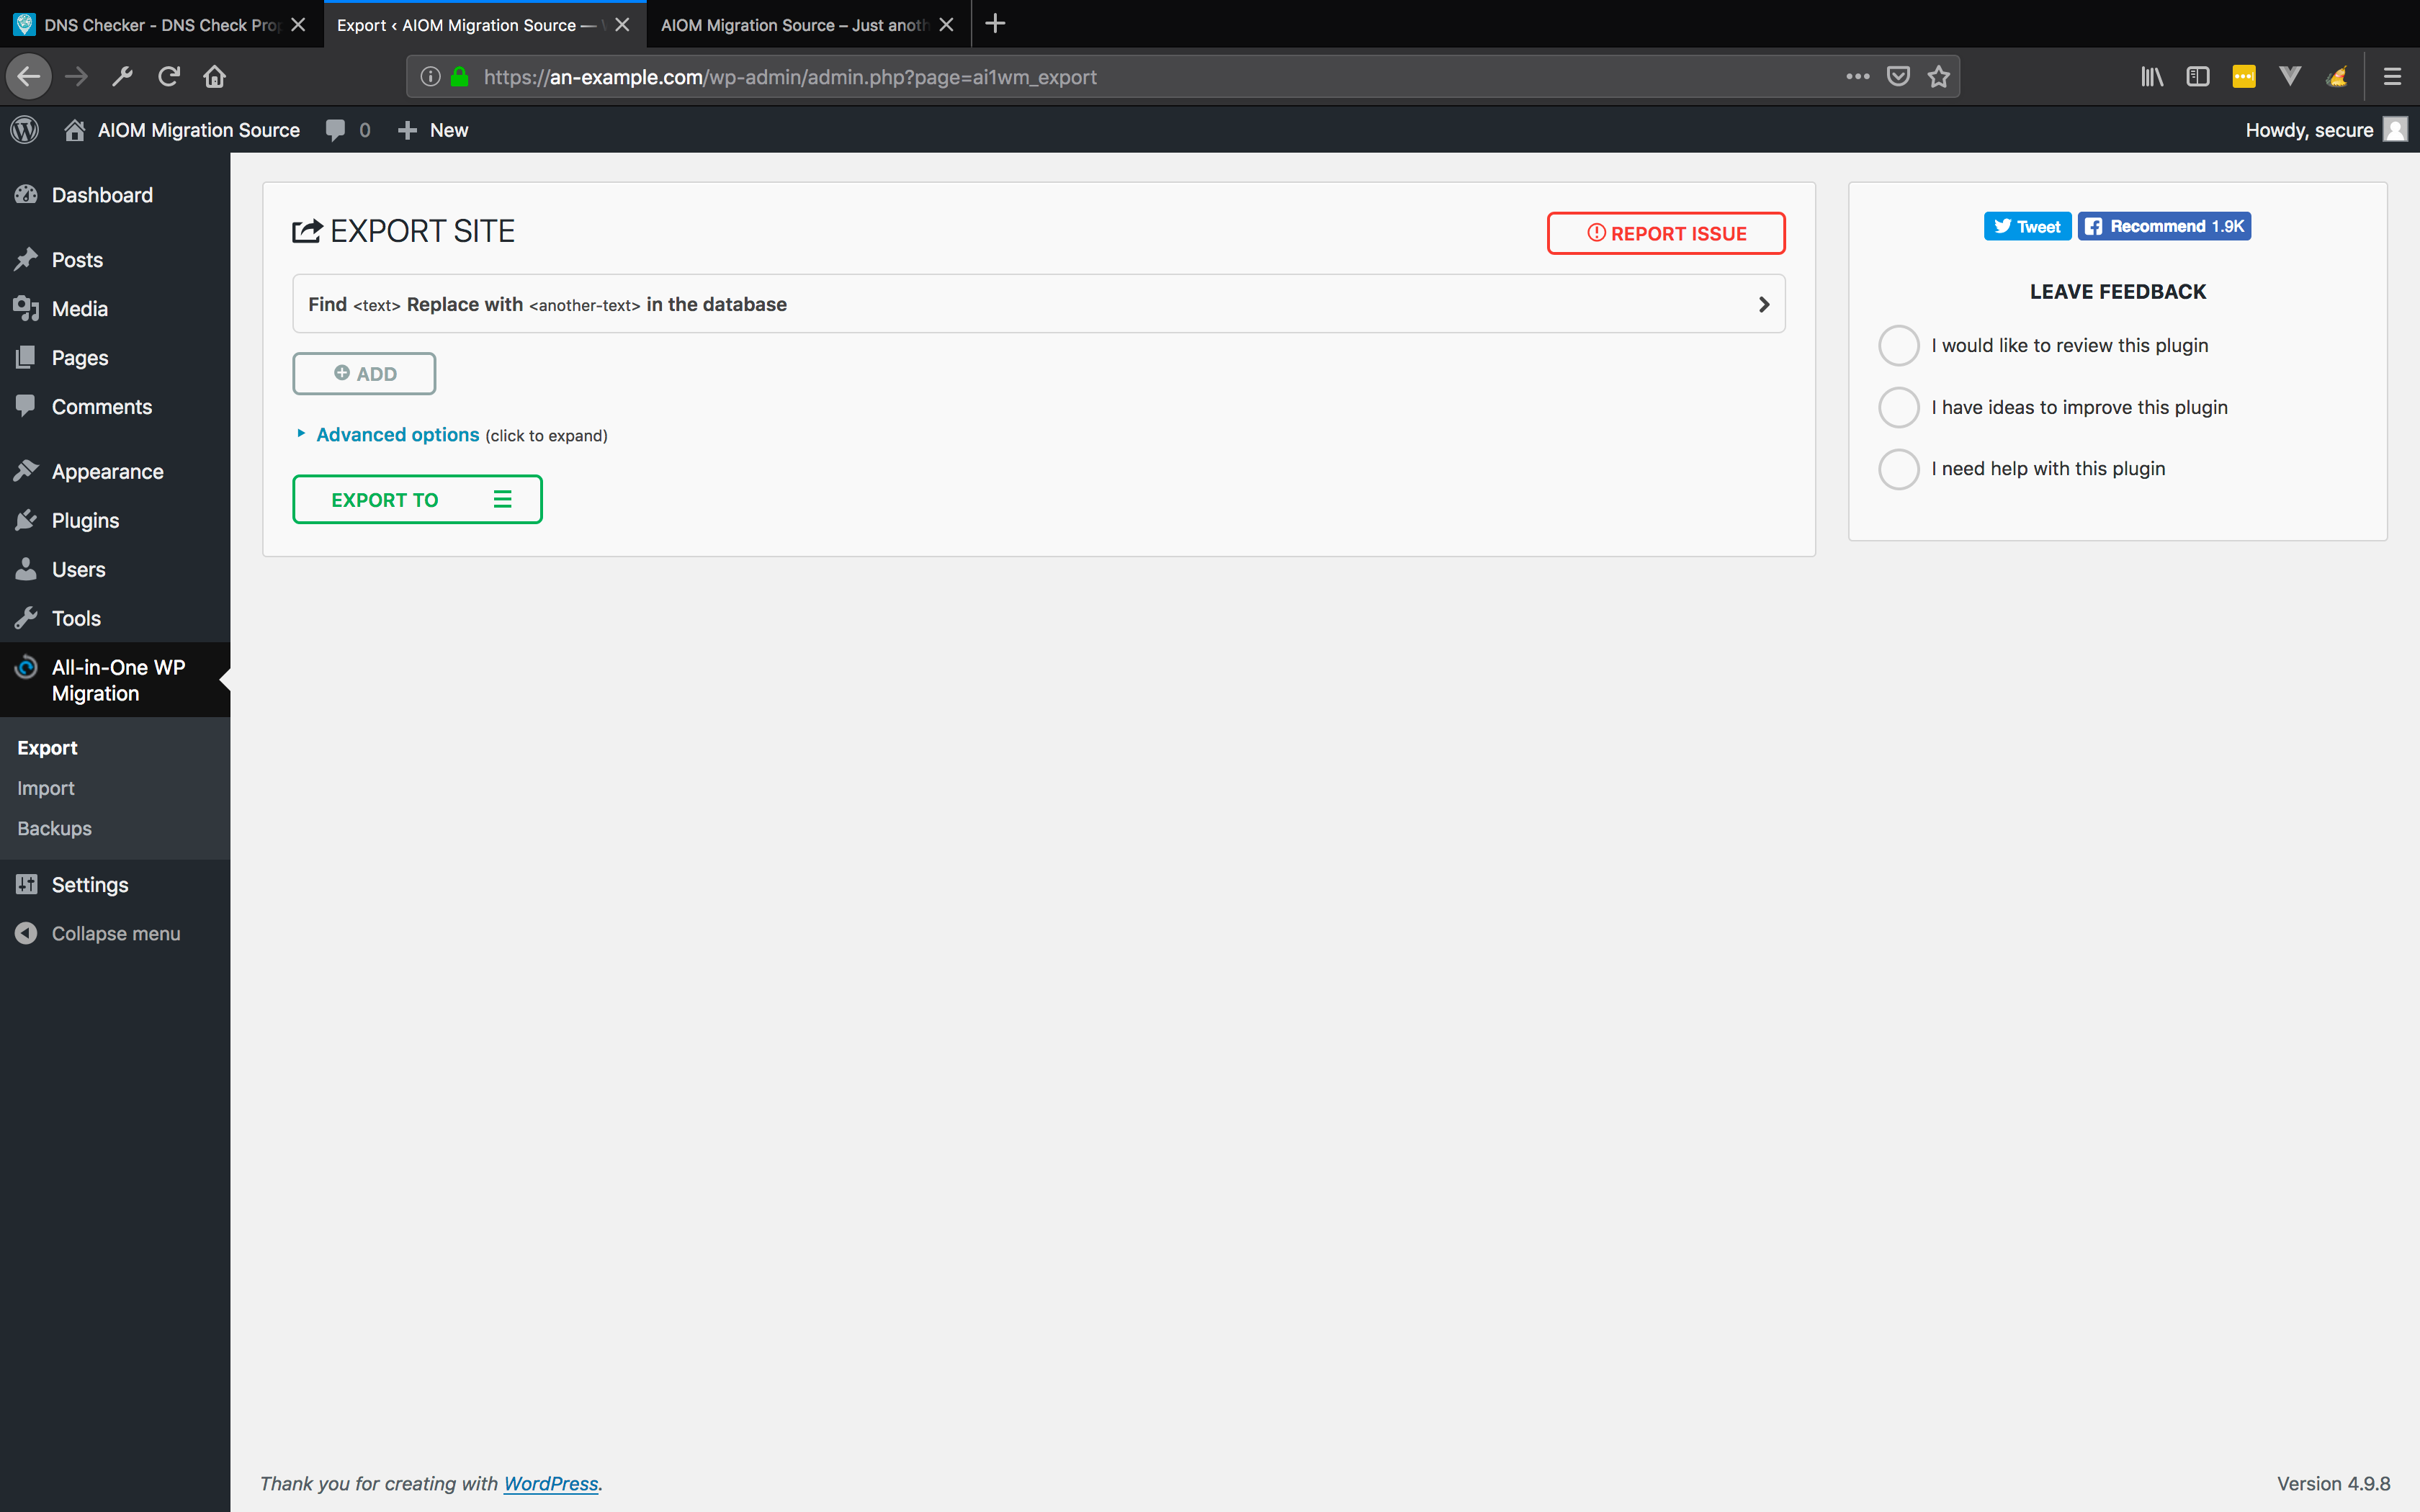
For this article, we don’t need any of the advanced options.
However, I have set the export to replace our site title with something appropriate so we can see that the migration has been successful. I am changing the site title from AIOM Migration Source to AIOMigration Completed.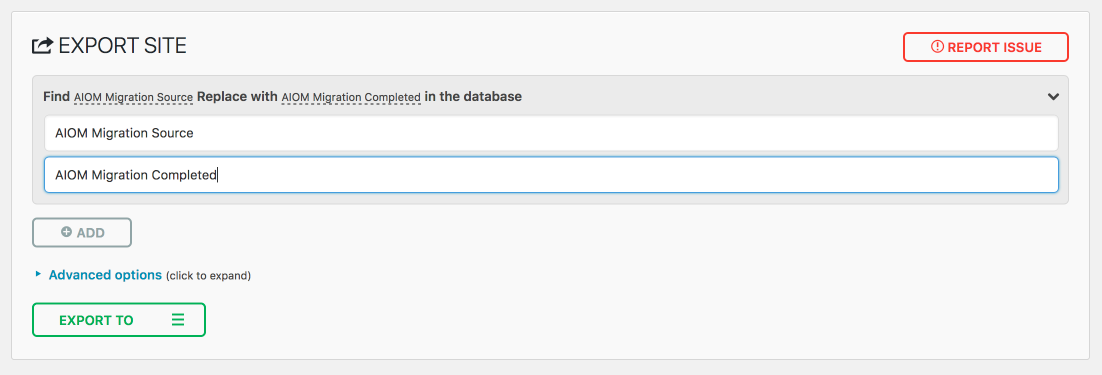
Click the EXPORT TO hamburger menu, and select File from the dropdown menu.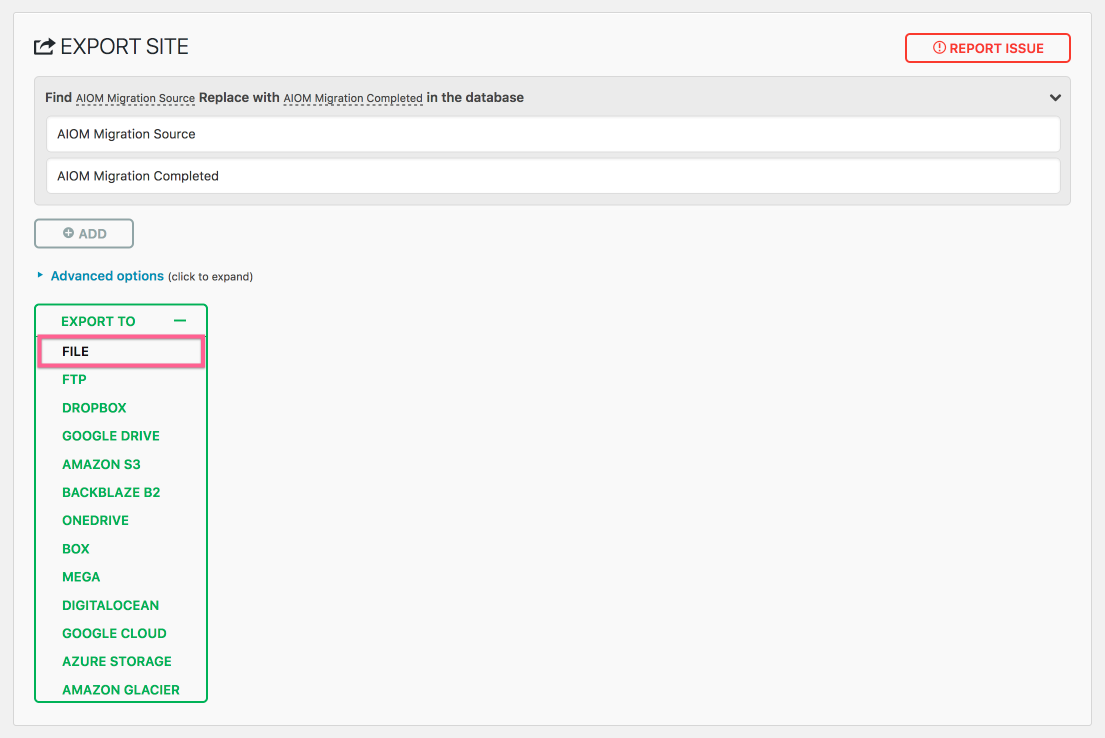
A Popup modal will appear detailing the progress of the export process.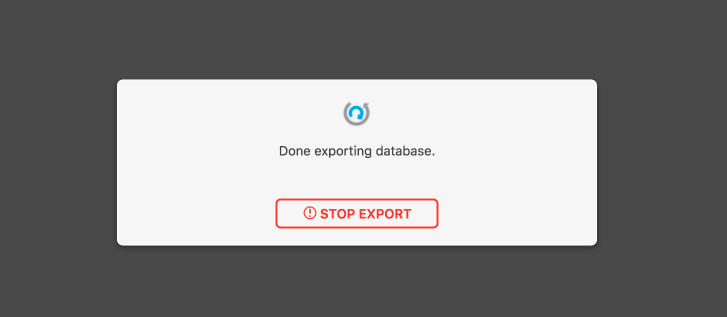
Once the export is complete, you will be presented with a button to download the site backup.
Click the big green button to begin the download process.
Another modal will appear and ask you to save the file. Notice that the downloaded file has an extension of .wpress, this is the All In One WP Migration format, you must be very careful not to change this filetype.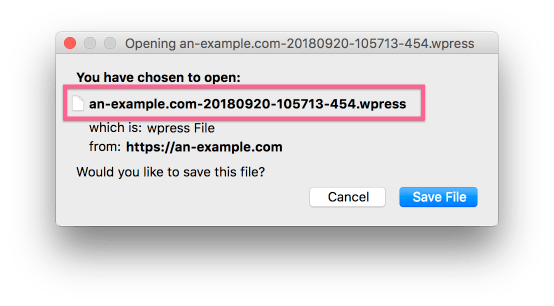
Store the backup file somewhere safe on your local machine.
Step 2. Create the Destination vCanopy site to migrate into
In your vCanopy account, if you haven’t already provisioned a server to host the migrated site, do so now. We have easy to follow guides with step by step instructions here.
On your destination server, you can now deploy the vCanopy destination site into which you will migrate the origin site, using the correct origin domain name.
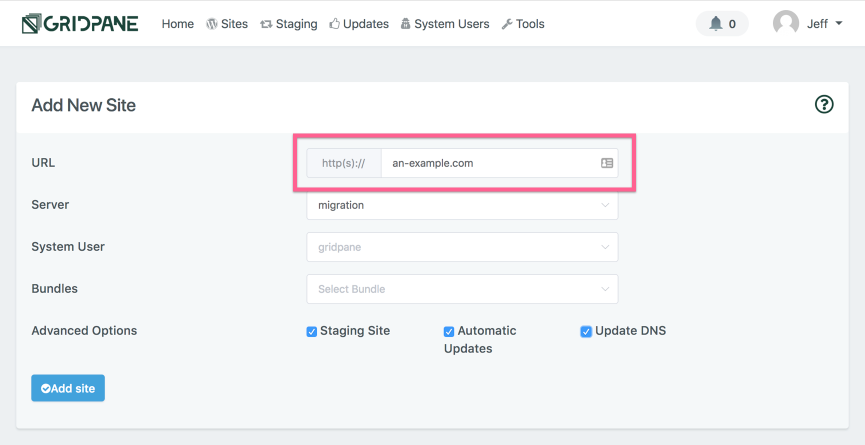
Once your site is provisioned and ready to be migrated into you will see it in the Active Sites panel with all icons turned Green.

Step 3. Enable a local URI redirect by editing your Hosts file
However, at the moment you can’t visit your destination site as the DNS records and Name Servers for the domain are currently point to the origin hosting. Now you need to edit your local machine’shosts file to enable a URI redirect. This will allow you to visit your destination site from your local machine using the correct site URI. With the redirect enabled, you will see the destination site, while the rest of the internet will see the origin site.
As I am using macOS I will open my /private/etc/hosts file for editing with the following command.
sudo nano /private/etc/hostsWe have more complete documentation regarding editing your local machine’s hosts file to redirect URIs here, including instructions on the location of a
hosts file on macOS, Windows and Linux machines.
For this tutorial the active domain is an-example.com and the destination server IP address is 188.166.148.89, so I need to add the following lines to my hosts file.
188.166.148.89 an-example.com
188.166.148.89 www.an-example.com
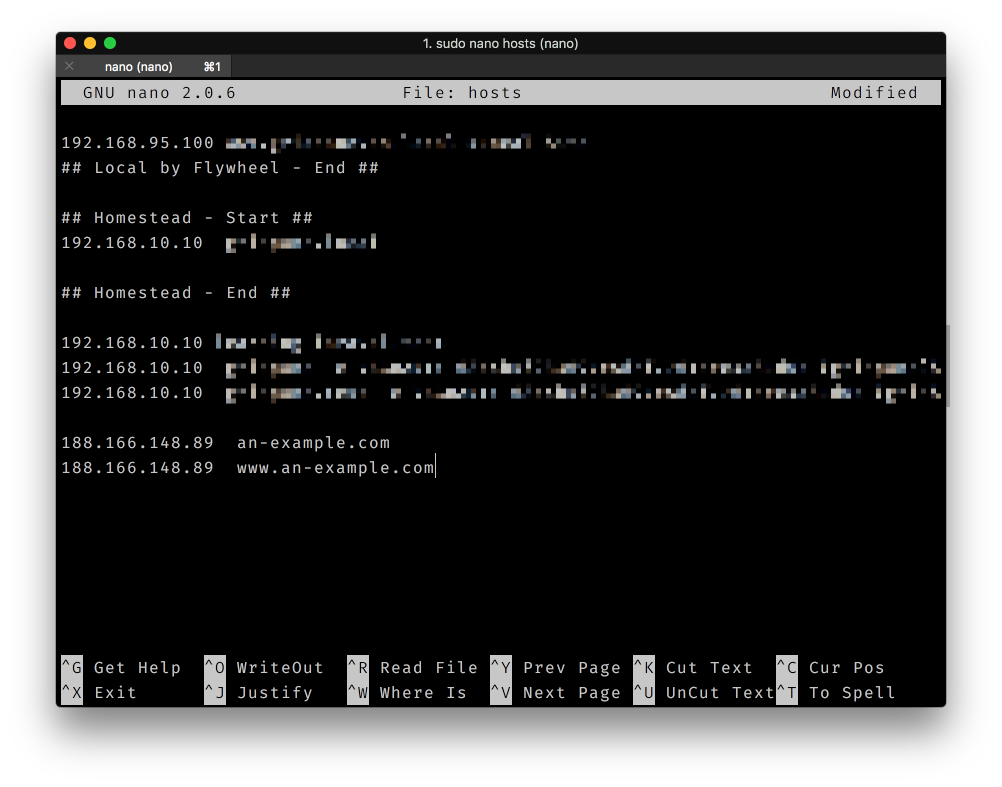 Once the edited
 hosts file has been saved you will be able to visit your vCanopy site using the active domain.
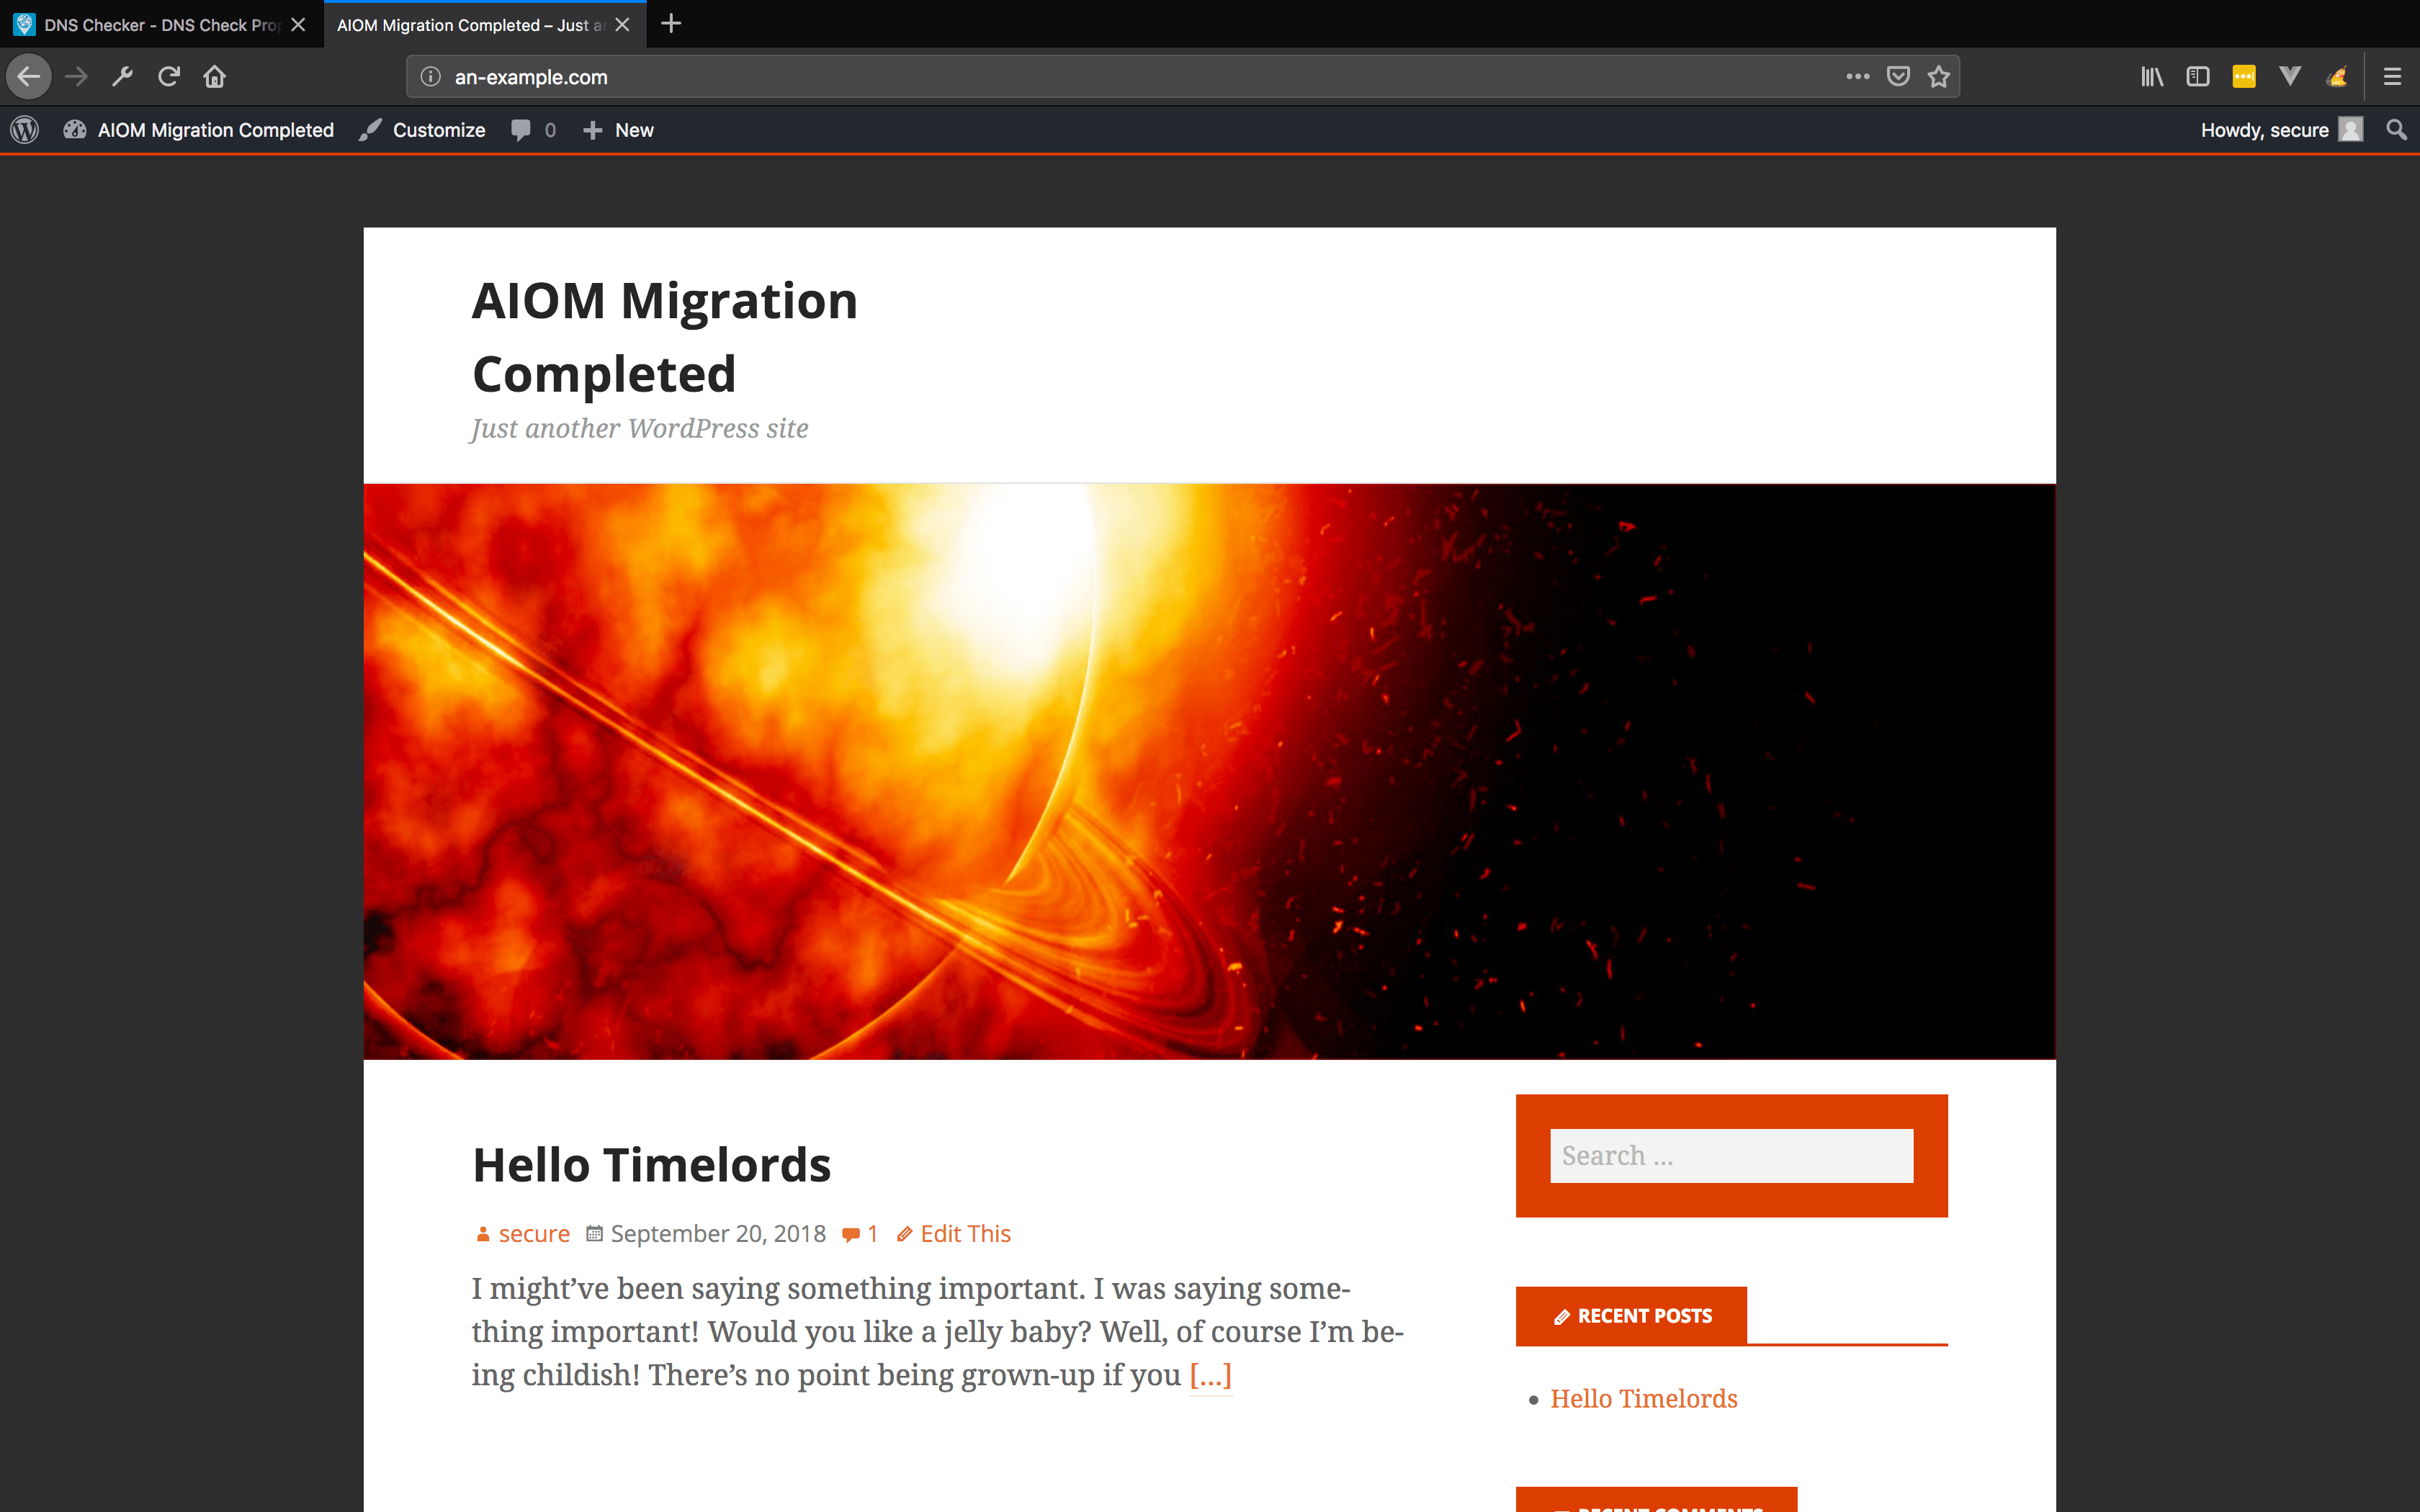
With regards to this articles example destination site, when I visit http://an-example.com I now see the recently deployed vCanopy site and not the origin site.
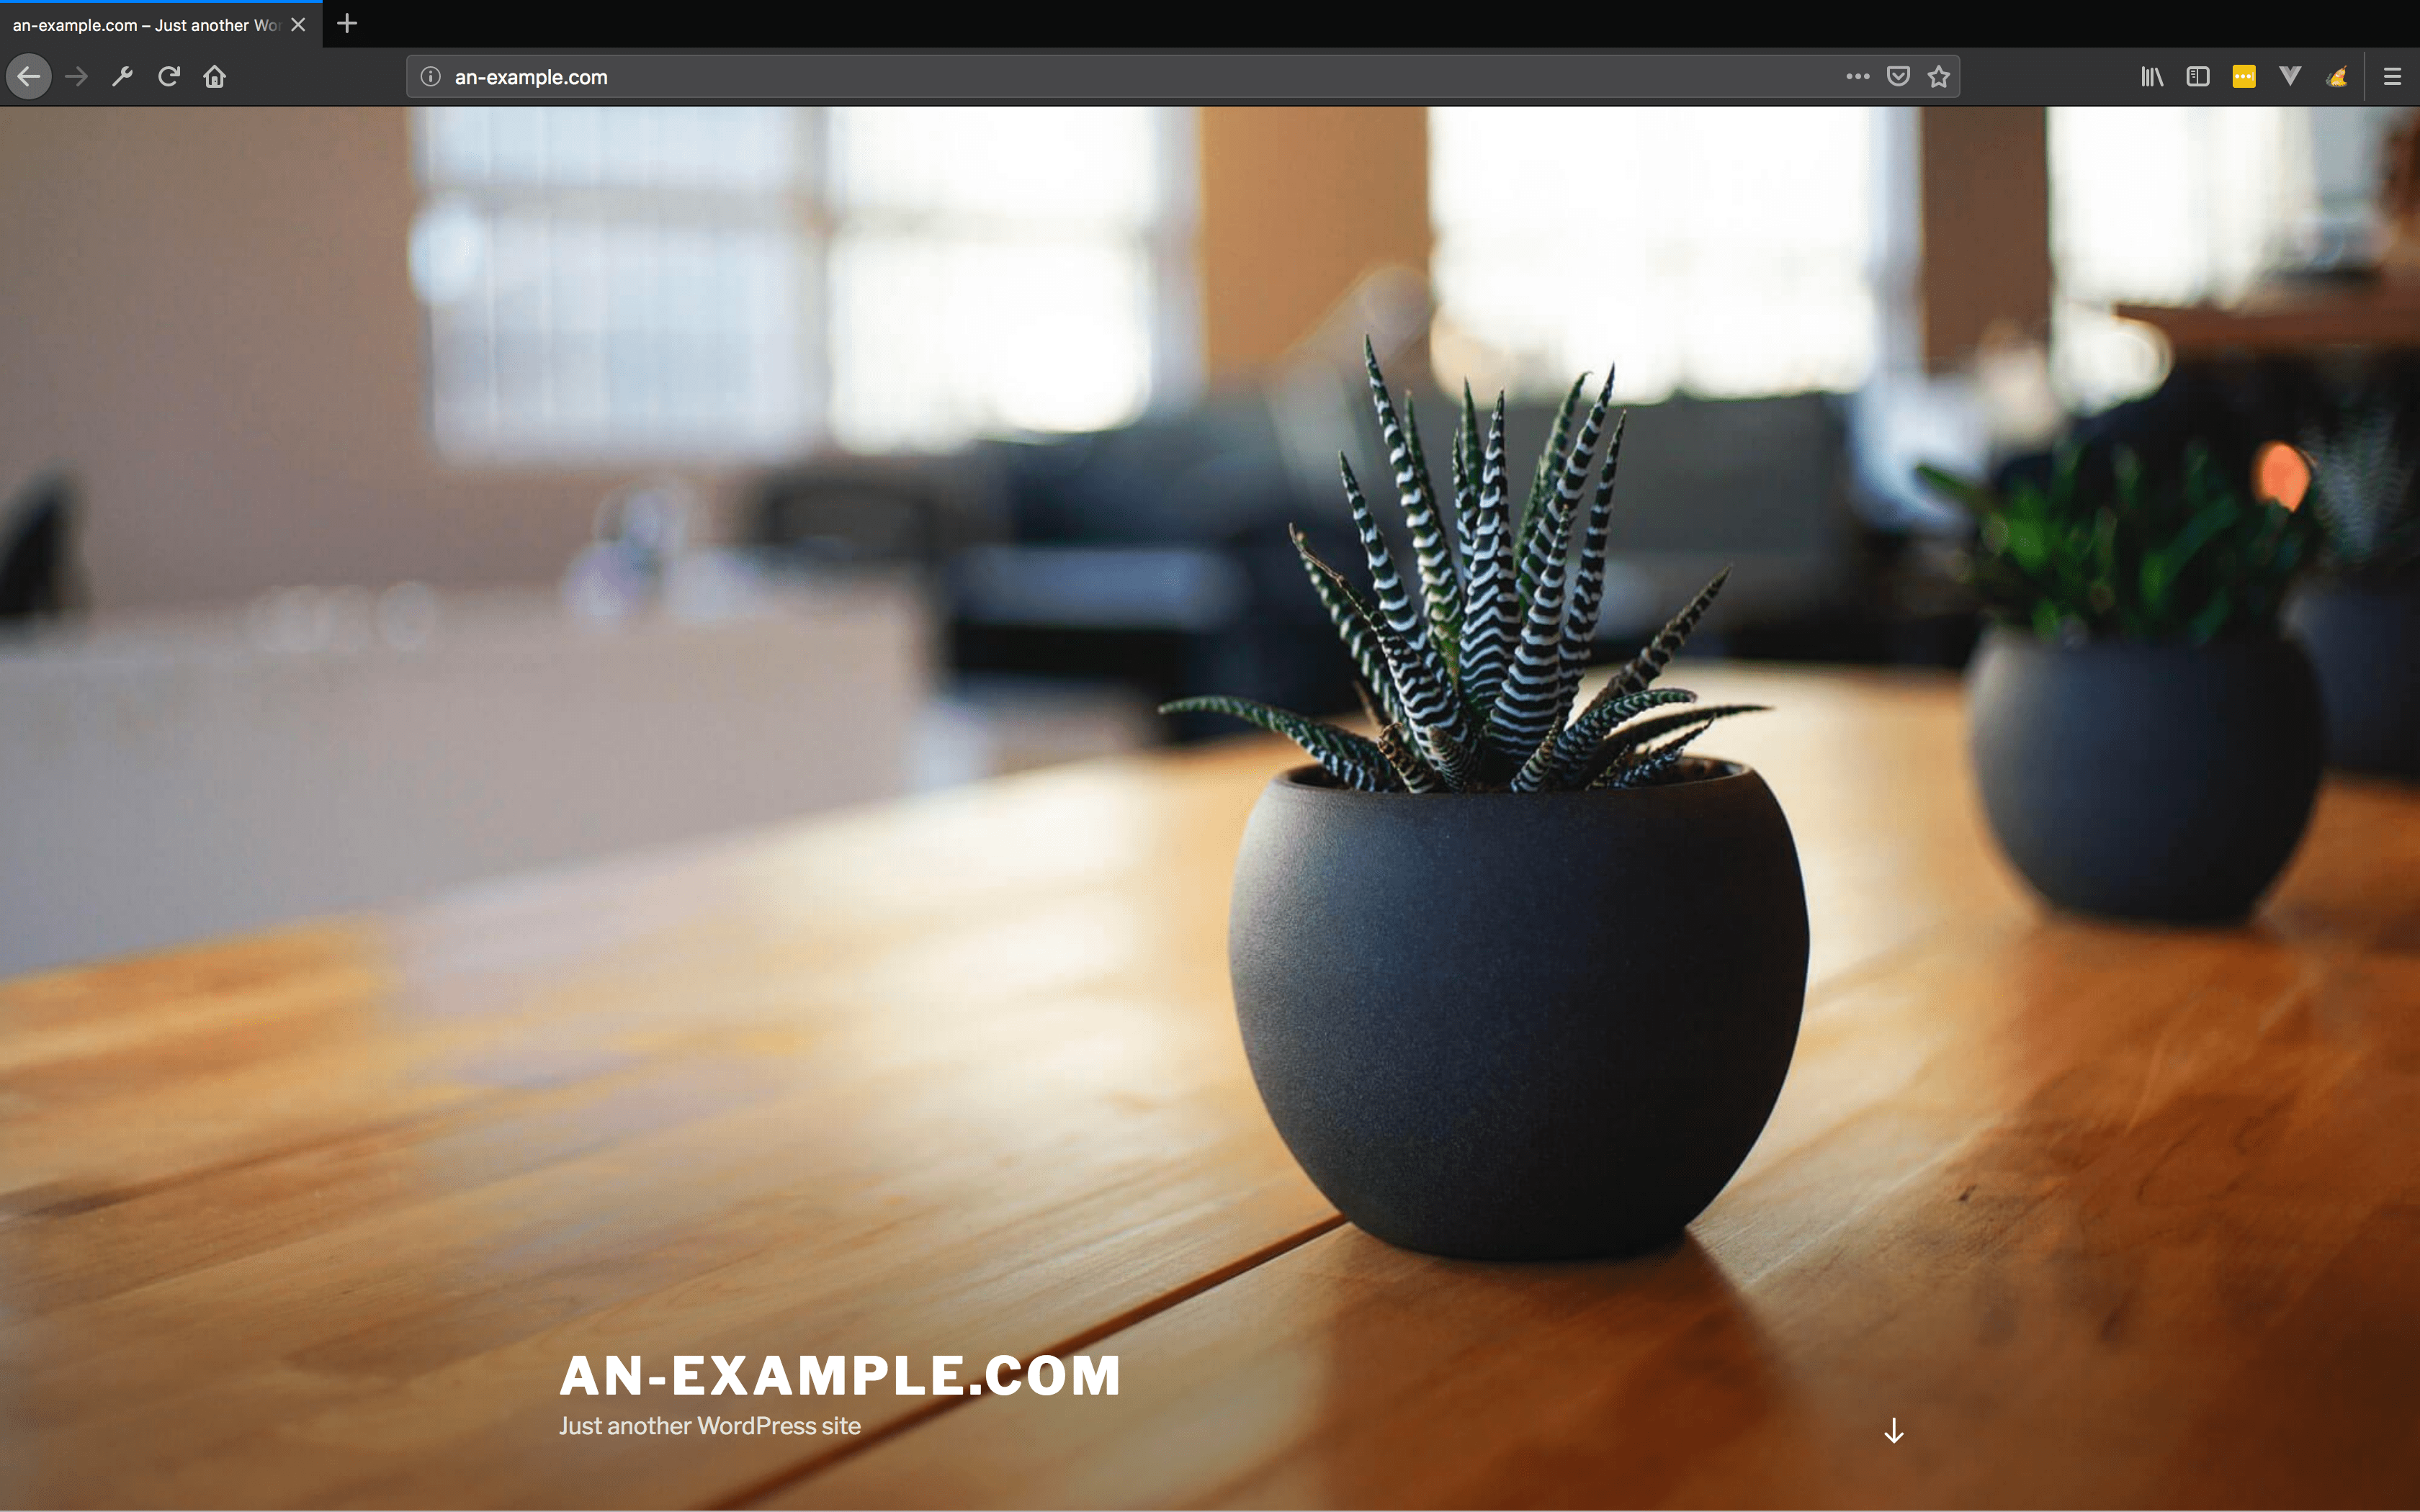
Step 4. Migrate Origin Site Duplicate into Destination Site
Here we’re at the final step where we’ll import the All in One Migration Backup into your Destination website.
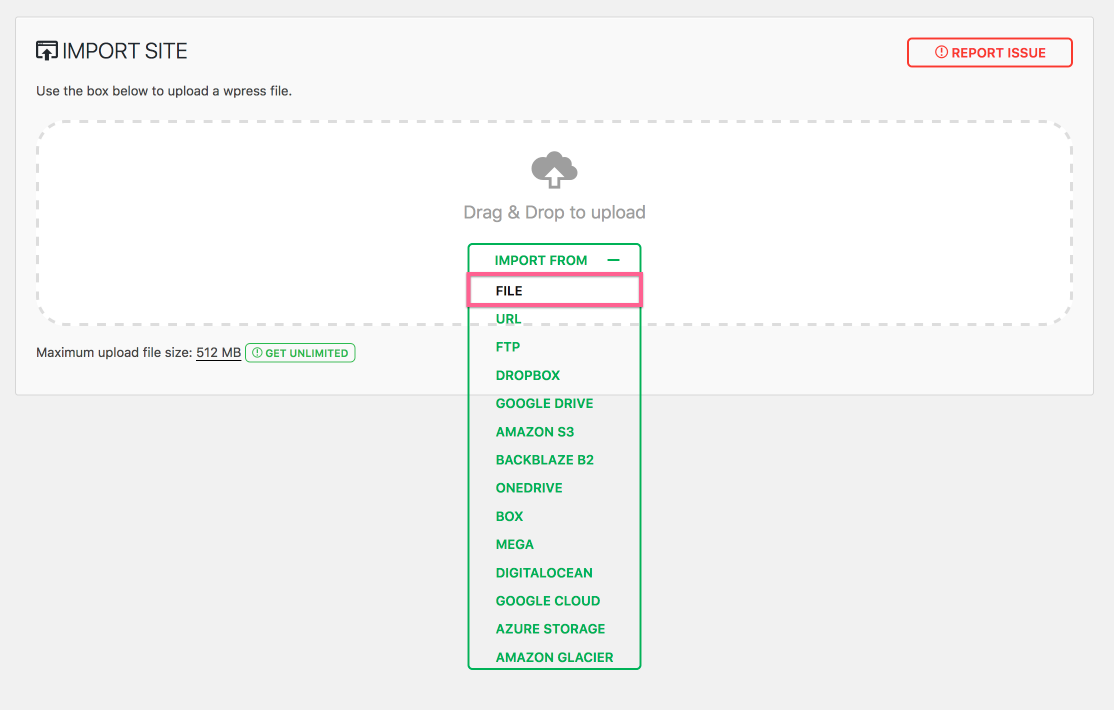
Install the All in One Migration Backup plugin on your vCanopy destination site and activate it. Once activated, go to the All in One WP Migration Import settings page and click the IMPORT FROM hamburger in the middle of the IMPORT SITE panel.
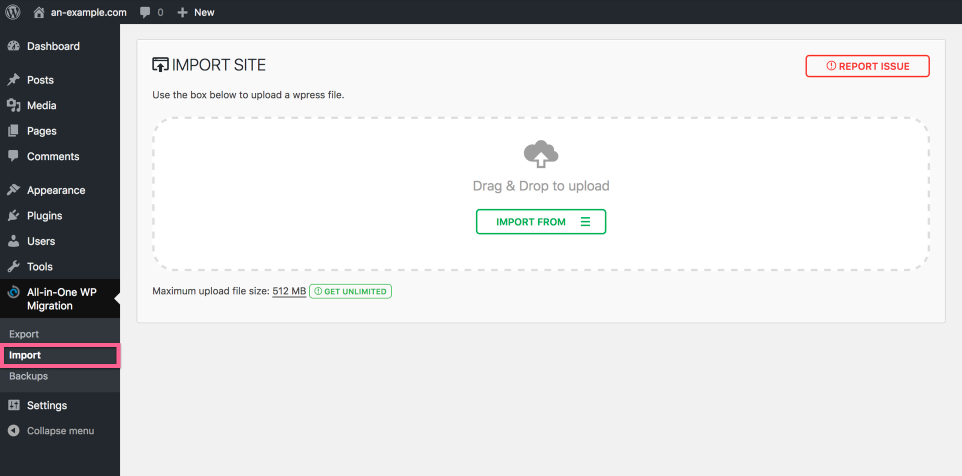
A dropdown menu will appear, select FILE.
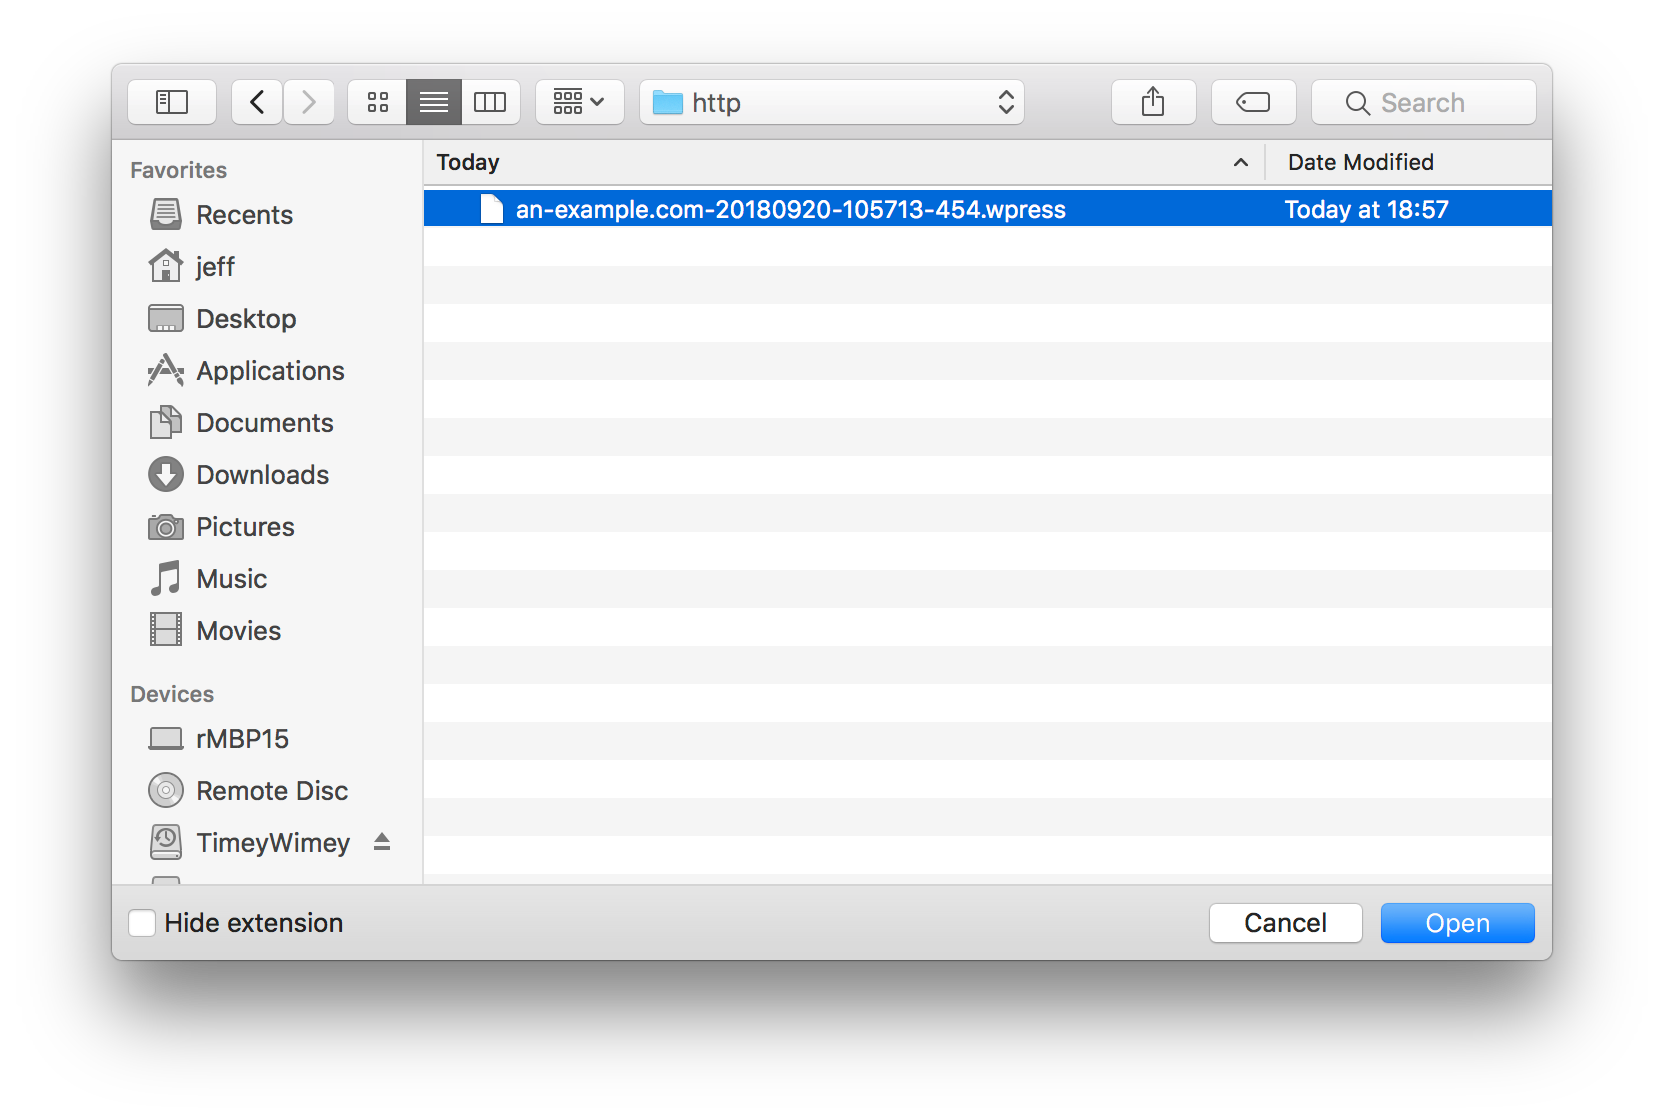
Now select the All In One WP Migration backup .wpress file you saved to your local machine in Step 1, and click Open.
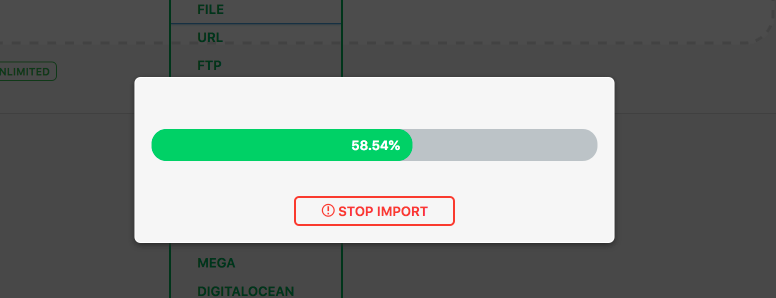
A popup modal will appear displaying the progress of the upload process, this may take some time depending on the size of the origin site being migrated and your internet connection.
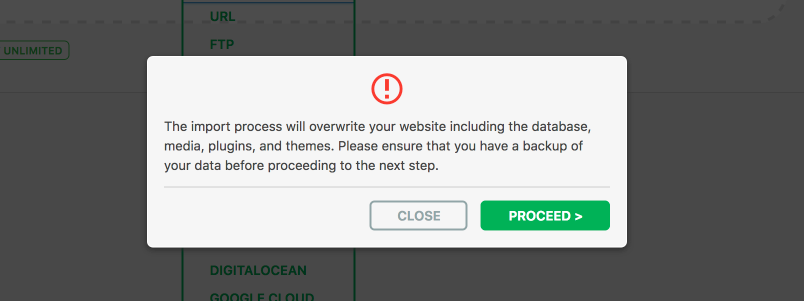
Once the upload is complete, the modal will be replaced with a warning notifying you that the existing site, including all files, plugins, themes, and the database will be overwritten by the migration. You will need to click Proceed.
Once the migration is completed and your data has been imported successfully, the popup modal will notify you of the need to reset your permalinks before your migrated site can be viewed correctly.
Click the Permalinks Settings link.
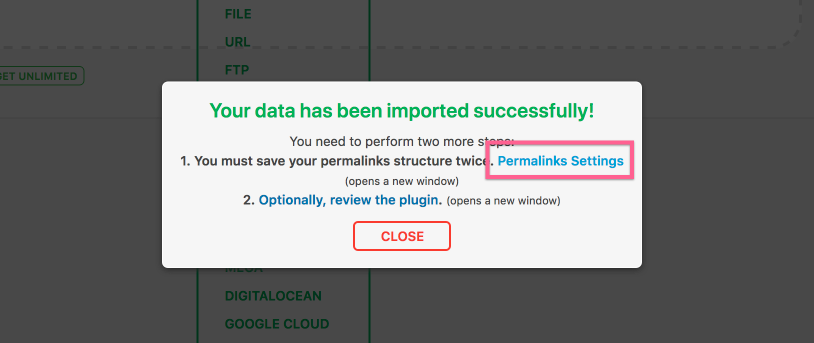
You will be automatically logged out. This is because your vCanopy destination site Admin User was deleted when the database was overwritten. You will need to log back in using the Admin User from the origin site.
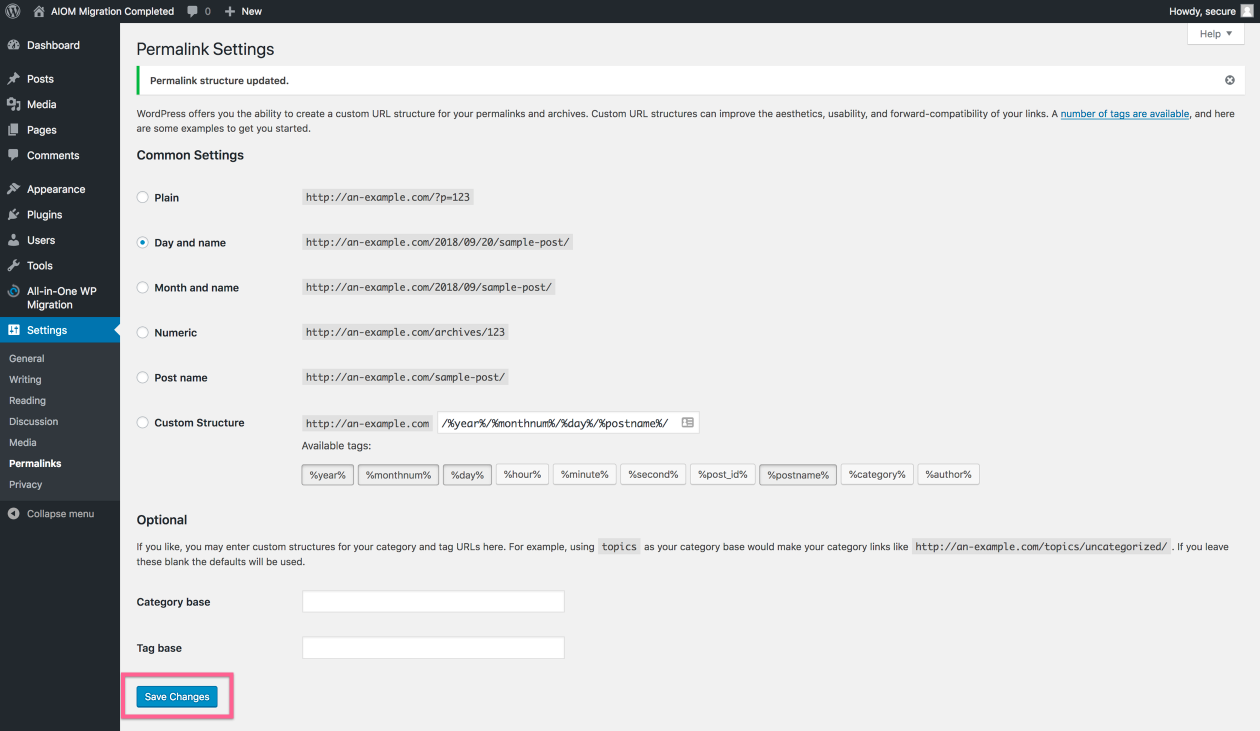
On the Permalinks Settings page, don’t touch any of the settings, but click save twice.
TEST YOUR DUPLICATE SITE BY VISITING ITS URL
Next, you should enable an SSL.
If you are using the DNS API method (method 2 in our article) you can enable the SSL before you swap DNS.
If you are relying on the webroot SSL method, you will need to swap your DNS first and there will be some HTTPS downtime. The site will be served as HTTP until a origin SSL is placed on the server.


